
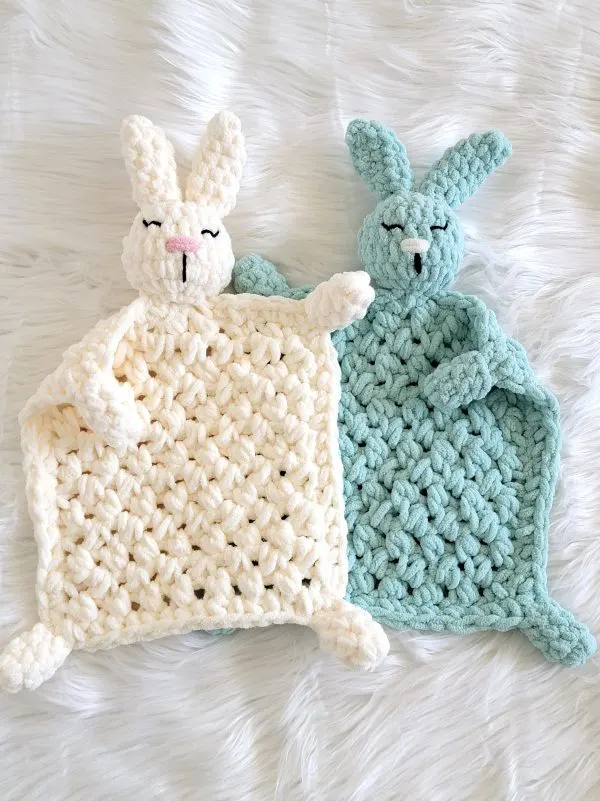
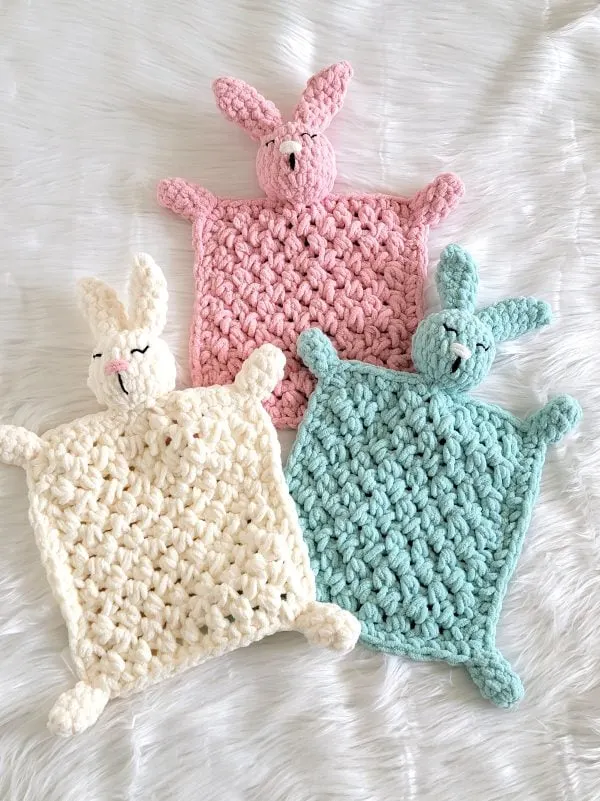
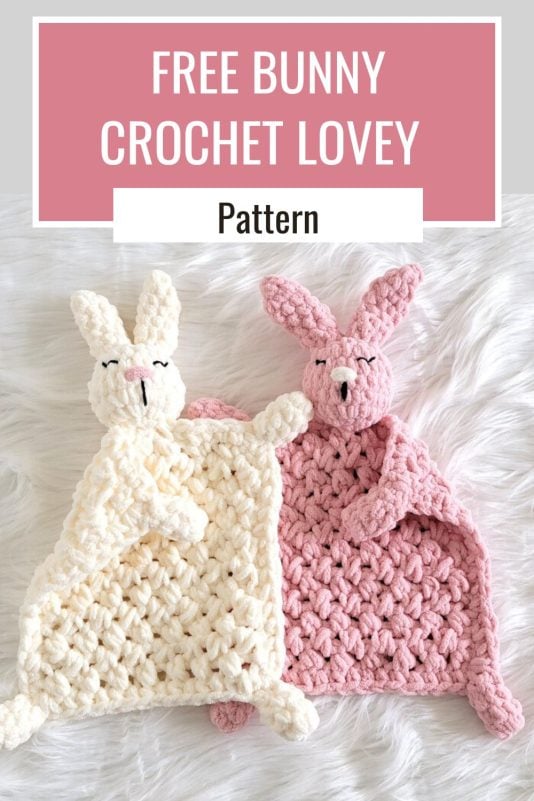
I’ve been wanting to design something bunny-themed for a while, and a bunny crochet lovey pattern just felt like the perfect mix of cute and simple. There’s something so sweet about a soft little comfort blanket with bunny ears.
The first time I saw a lovey, I was honestly intrigued. But once I saw how much babies adore them—and how comforting they can be—I was completely sold.

If you love this bunny lovey as much as I do, let me know. I’d be so happy to design more adorable lovey patterns for you!

Bunny Lovey Crochet Pattern
Materials
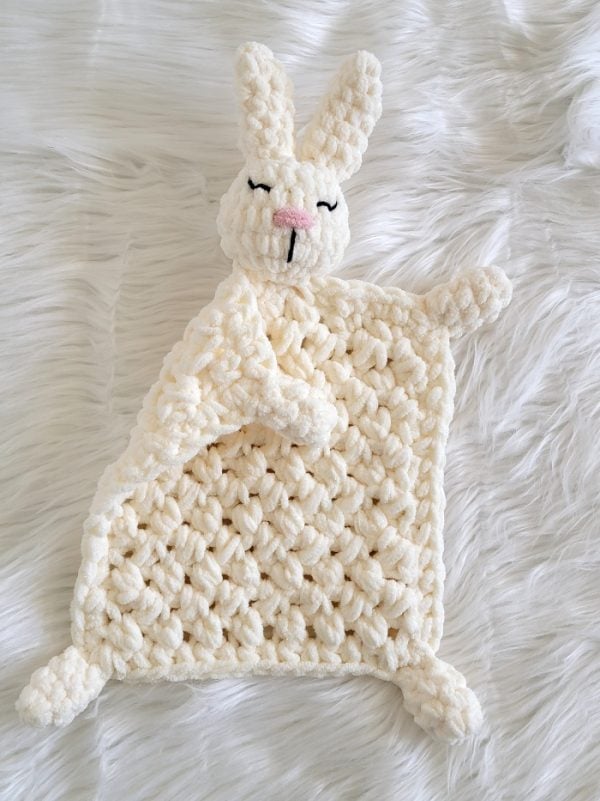
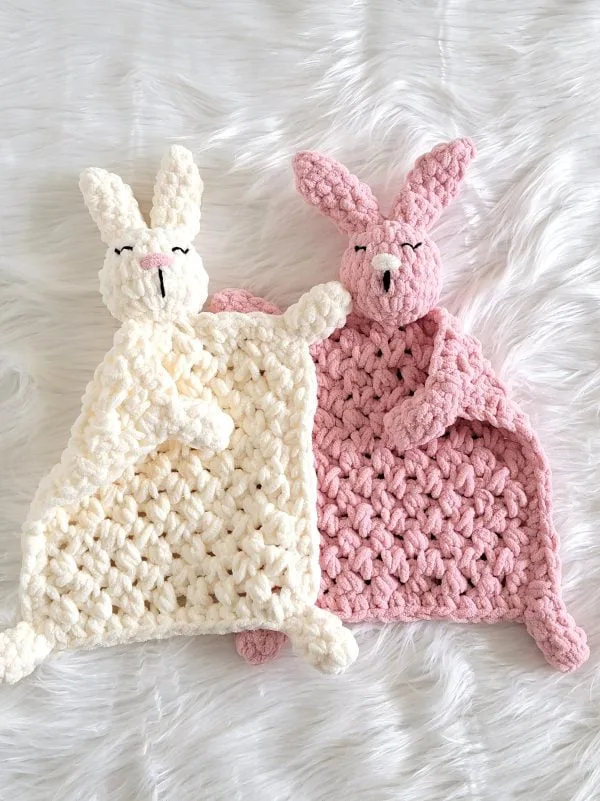
1. Bernat Baby Blanket yarn in Seafoam, Tan Pink, and Vanilla was used to make the sample bunny loveys. It is a size 6 super chunky chenille yarn.
2. Small amounts of worsted-weight yarn in black color for the eyes and mouth. You will also need a bit of the Tan pink or cream color Bernat Blanket yarn for the nose. You can also use the same black yarn for the nose.
3. K (6.5mm) and N/P (10mm) crochet hook
4. Tapestry needle to weave in the ends and sew the parts together
5. Stitch markers
6. Polyfill
Finished Size
The rectangular body is 11 inches long and 10 inches wide.
Yardage
100 yards
Stitch Abbreviations
The pattern is written in US terms.
st: stitch
ch: chain
sc: single crochet
YO: yarn over
dec: invisible decrease for Amigurumi (explained below)
Stitch Explanations
dec (invisible decrease): Insert hook into the front loop of the first st, insert hook into the front loop of the second st, YO, and pull through first 2 loops on your hook, YO, and pull through remaining 2 loops on your hook. This leaves no holes.
sc2tog: This is a regular decrease, and it is used in the pattern for parts that do not require any filling. To work a sc2tog, pull up a loop in the next 2 sts, YO, and pull through all the 3 loops on your hook.
Invisible join: After your last stitch, do not fasten off, just cut your yarn and pull the tail out through the stitch. Thread the tail through a yarn needle, sk the next st, and pass the needle under the next st, now insert it under the back loop of the same st from which the tail is emerging, and pull until it is the size of the rest of the stitches. You can now weave in the rest of the tail behind your work.
SHD (single half double decrease)-Insert your hook into the next st and pull up a loop, YO, and pull up a loop in the next st, YO, and pull through all the 4 loops on your hook to complete your SHD. It is like single crochet and a half double crochet stitch joined together.
Crochet Bunny Lovey Pattern
Pattern Notes
1. Overview: Make the body as a rectangle and set it aside. Next, make the head and sew the facial features onto it. Then make two ears and attach them to the head. Make four feet and attach one to each of the four corners of the rectangle. Finally, attach the head to the top center of the rectangle.
2. Every time you work into the marked stitch, move the marker up into the first stitch you worked into the marked stitch. This will help you keep track of the rounds.
3. You do not turn at the end of the rounds.
4. To sew two parts together seamlessly, insert your needle under the post of a stitch on the first piece, then under the post of the corresponding stitch on the second piece. Continue working back and forth in this way to join them neatly. See pic 1 below.
You can also whip stitch the pieces together, but this method creates a cleaner, more polished finish.
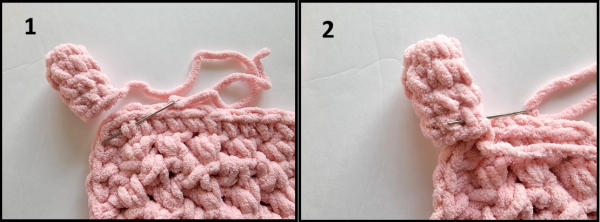
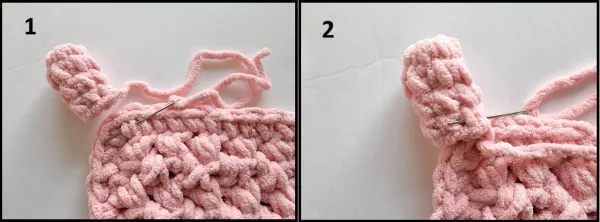
1. Steps for seamlessly attaching parts
Head of the Crochet Lovey
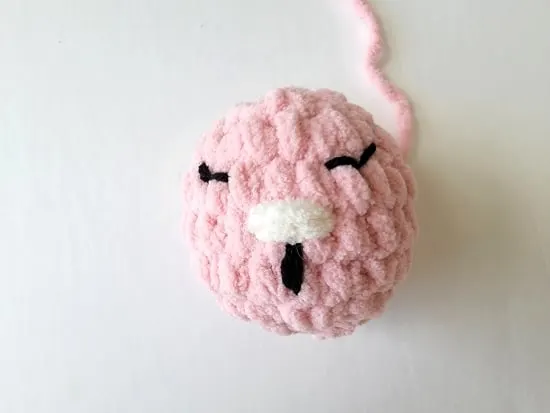
2. Finished head
Round 1: With the smaller K (6.5mm) hook, 7 sc in a magic ring. (7 sc)
Round 2: 2 sc in next st, mark the first st you made to indicate the first st of the round, 2 sc in next 6 sts to end of the round. (14 sc)
Round 3: *(2 sc in next st, 1 sc in next st), repeat from * to end of the round. (21 sc)
Rounds 4 to 6: 1 sc in next st and each st across to end. (21 sc)
Start stuffing the head with polyfill.
Round 7: *( 1sc in next st, dec across next 2 sts). (14 sc)
Round 8: *( 1sc in next st, dec across next 2 sts), repeat from * to last 2 sts, 1 sc in last 2 sts. Fasten off with a long tail. (10 sc)
Use a tapestry needle and whipstitch through the front loops of all 10 sts. Add more stuffing as needed, then pull to close the hole. Leave a 3/4- yard tail, knot, and bring it to the opposite end of the sphere where you started. This tail will be used to sew the head onto the rectangular body.
Adding the Facial features to the Head

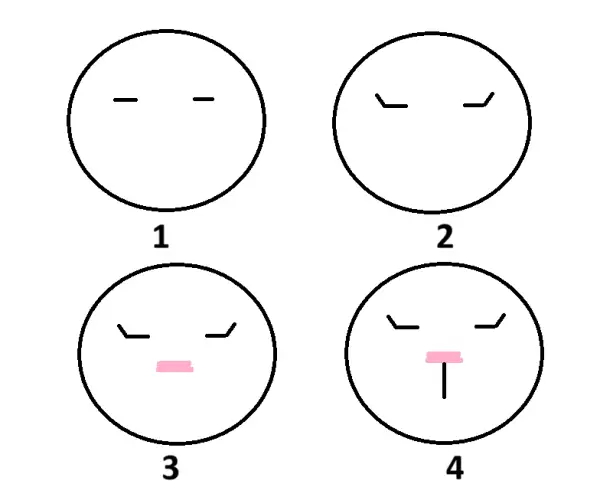
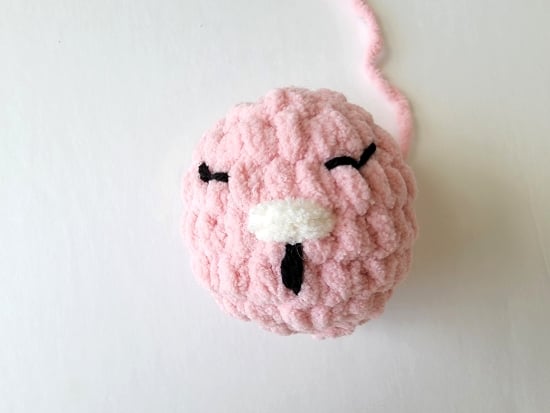
3. Adding facial features
Start by stitching a short horizontal line for each eye. Then add a small upward stitch at the outer corner of each eye to create the angled shape (see pic 3 above).
Using thick yarn, stitch two short horizontal strands close together to form the nose.
Next, add a short vertical line below the nose for the mouth.
After completing each feature, bring the yarn back to your starting point, tie the two ends securely, and hide the yarn tails inside the piece.
Ears for the Lovey Pattern- Make 2

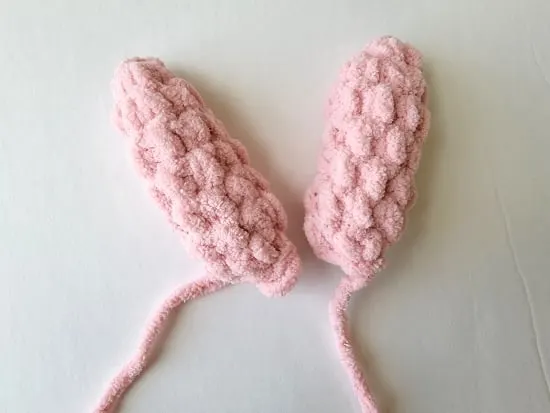
4. Finished ears
Round 1: With K (6.5)mm hook, 4 sc in a magic ring. Mark 1st sc. (4 sc)
Note: In the next round, work your first sc tight by tightening the loop on your hook before working the st. This is to avoid leaving a hole.
Round 2: 2 sc in the next marked st, move the marker up into your first st, and push your work right-side out before proceeding. 2 sc in the remaining 3 sts. (8 sc)
Rounds 3 to 6: 1 sc in next st and each st across to end. (8 sc)
Last Round: sc2tog across the marked st and the next st, (sc2tog across next 2sts) 3 times, sl st to first st. Fasten off with a long tail.
Attaching the Ears to the Head
Now, place the ears on top of the head and sew them together using the tapestry needle and the tails left on the ears. See Stitch Explanation to learn how to attach seamlessly. Hide the tails inside the ears.
Legs-Make 4

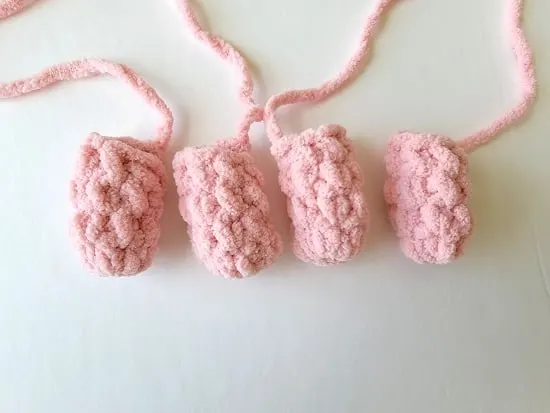
5. Finished legs
Round 1: With K (6.5)mm hook, 7 sc in magic ring. Mark 1st sc. (7 sc)
Round 2: 1 sc in next st and each st across to end. Push your work right side out now. (7 sc)
Rounds 3: Repeat Round 2. (7 sc)
Round 4: Repeat Round 2, sl st to first sc, fasten off with a long tail. (7 sc)
Rectangular Body
Gauge
3 SHD alternating with 3 chs= 4″
Pattern
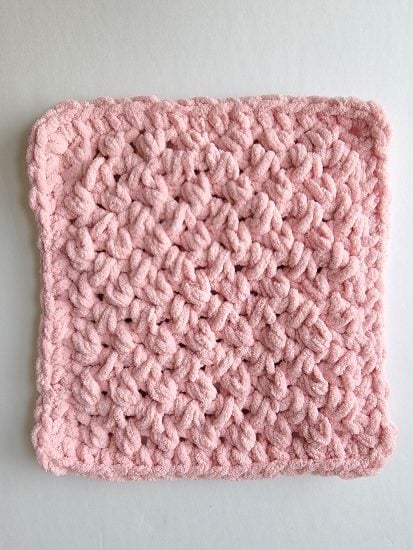
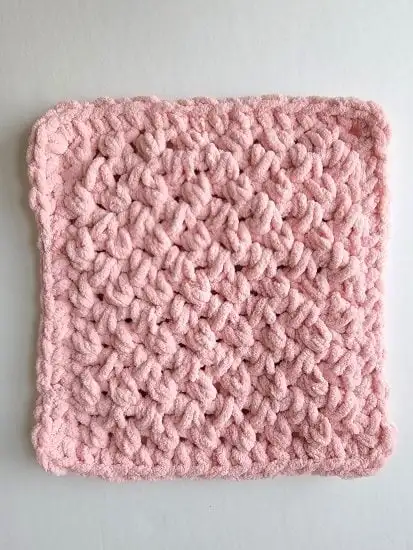
6. Finished rectangle for body
With the bigger N/P (10mm) hook, ch 17.
Row 1: SHD across 3rd and 4th ch from hook, *(ch 1, SHD over next 2 ch), repeat from * across to last ch, ch 1, 1 sc in last ch, turn. See Stitch Explanation above to learn how to work an SHD. (7 SHD)
Row 2: Ch 2 (does not count as a st here and throughout), SHD over first sc and next ch-1 space, *(ch 1, SHD over next SHD, and next ch-1 space), repeat from * across to last SHD, ch 1, sk last SHD, sc on top of skipped ch 2, turn. (7 SHD)
Row 3: Ch 2, SHD over first sc and next ch-1 space, *(ch 1, SHD over next SHD, and next ch-1 space), repeat from * across to last SHD, ch 1, sk last SHD, sc on top of beginning ch 2, turn. (7 SHD)
Keep repeating row 3 until you have completed 13 Rows in total, and proceed to work the border below.
Border
Ch 1 at the corner, evenly distribute sc sts along the left edge of the piece until you reach the next corner, 3 sc in the corner, 1 sc in the each free loop of the foudation ch to the next corner, 3 sc in the corner, distribute sc sts along the right edge of the piece until you reach the next corner, 1 sc in each st across along the top until you have 1 st left, 3 sc in last st, sl st to the first sc of the round. Fasten off and finish with an invisible join (see stitch explanation).
Attaching the Head and Legs to the Body
Attach the legs to the four corners of the rectangle using the tapestry needle and hide the yarn tails inside the legs.
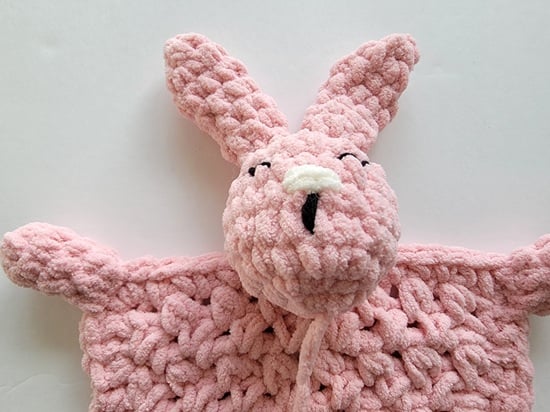
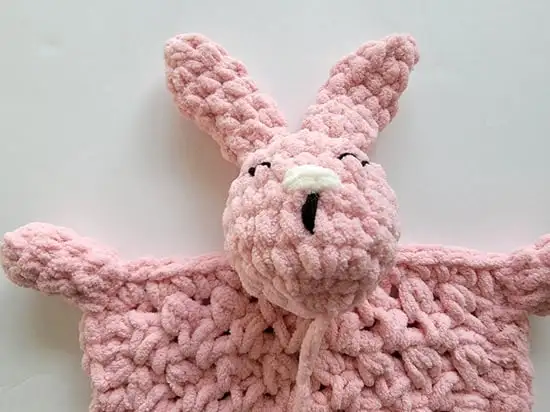
7. Head placed 3/4″ inside from the edge
Next, attach the head to the top center of the rectangle. Instead of sewing it directly along the edge, position the head about 3/4 inch in from the edge, as shown in pic 7 above, and sew it in place. Hide any remaining yarn tail inside the head for a neat finish. Your crochet bunny lovey is now ready!
Pin it for later:
Susan
Friday 27th of February 2026
This bunny lovey is the cutest little blanket I've seen. You did a great job on making a simple,easy, fun pattern