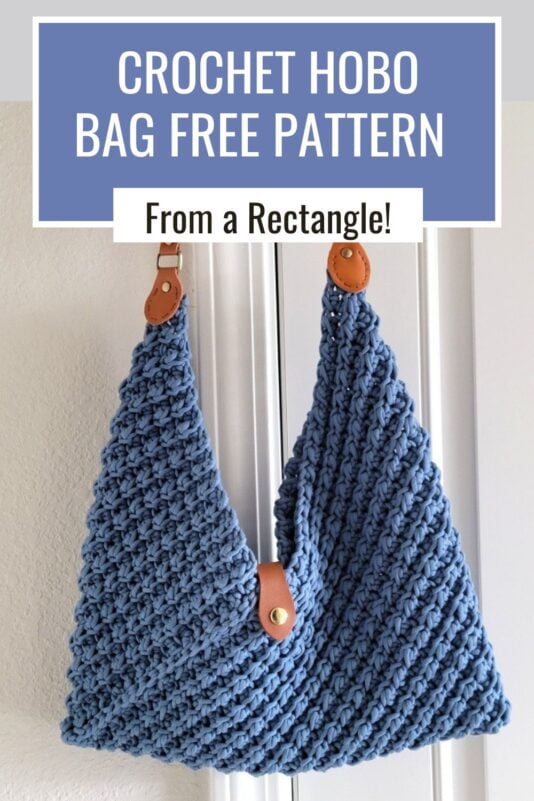
This crochet hobo bag pattern is beginner-friendly and made from a simple rectangle. A long rectangle is folded and seamed at the front and back to create the shape of the bag.

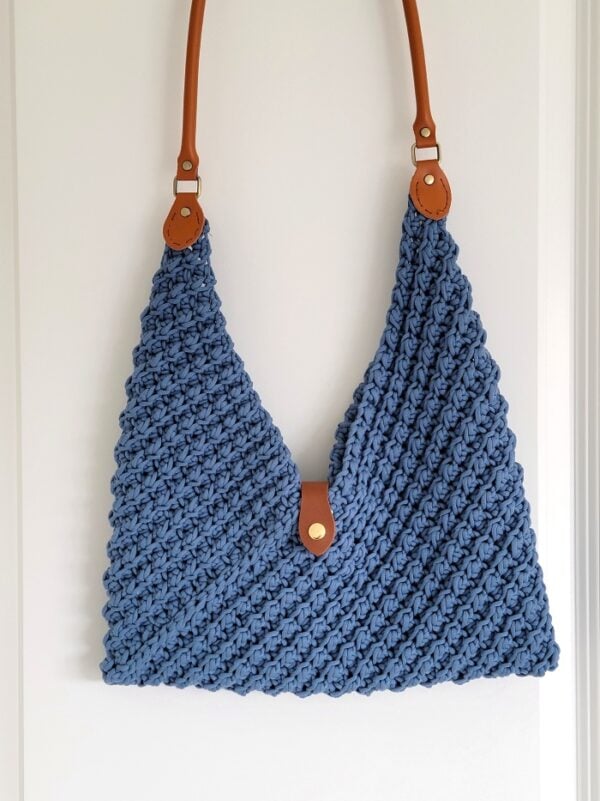
The textured stitch adds character to the simple design. While I personally prefer a leather handle, the pattern also includes instructions for a crocheted handle.
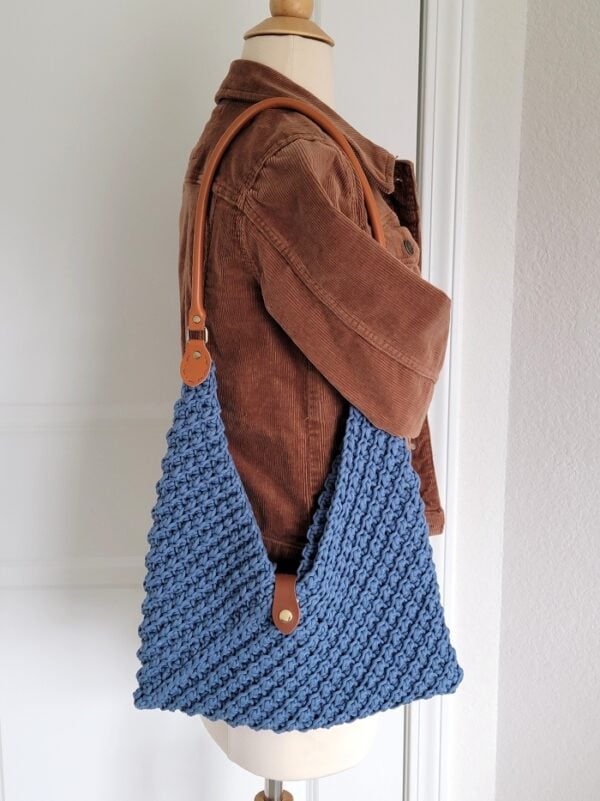
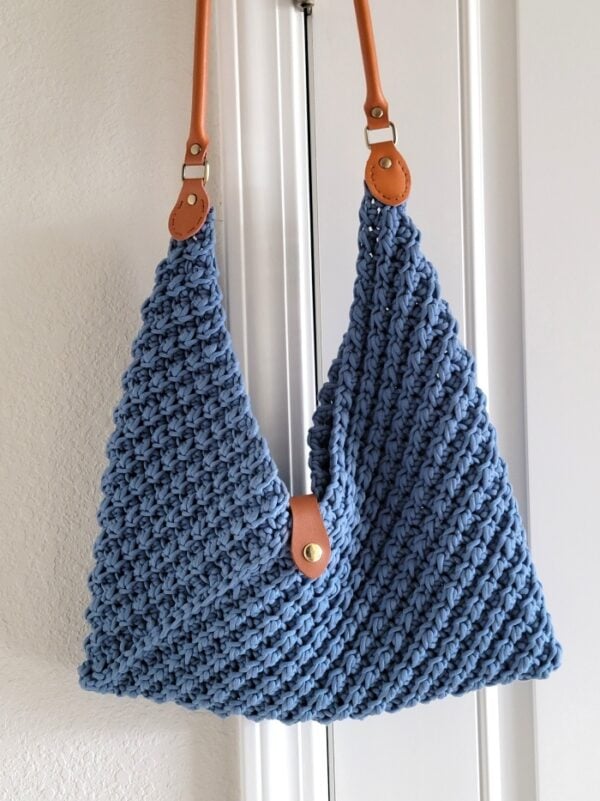
I hope you enjoy using this hobo bag this summer. Pair it with your favorite casual outfits for an effortless warm-weather look.
It’s the perfect accessory for beach days, market trips, or everyday errands. The roomy shape makes it both stylish and practical for carrying your essentials.
Crochet Hobo Bag Free Pattern
Materials
1. Bernat Maker yarn in color Steel Blue. It is a size 5 Bulky weight T-shirt yarn
2. Leather strap (crochet strap option is also included). I used a 23.6″ leather handle for mine.
3. K (6.5mm) for the body of the bag and I (5.5mm) hook if you are opting for a crocheted handle.
4. Thread and needle for attaching the leather bag handle. You can use yarn to attach the crocheted handle if that is what you are opting for, but a wax thread in a matching color is preferred in both cases.
5. A Leather snap button closure
Finished Size
One Size: Bag rectangle measures 29 inches by 9.5 inches before folding.
Yardage
1 skein or 315 yards of Bernat Maker Yarn.
Stitch Abbreviations
ch: chain
st: stitch
sc: single crochet
sl st: slip stitch
hdc: half double crochet
sk: skip
YO: yarn over
Stitch Explanations
1. Back Bumps of the Chain: The back bump is a little loop located at the back of each chain at the center as shown in the pic below.


2. Back Loop Only (BLO): Insert your hook under the loop away from you and work your hdc or sl st as shown in the pic below.


Gauge
Ch 39 and follow the pattern for the bag below for a total of 5 rows, then measure for gauge.
17 sts = 5″ in stitch pattern
Row gauge does not matter, as you will work to the specified measurements.
More Crochet Bag Patterns
Crochet Bag Pattern
Pattern Note
The bag is made from a rectangle that is folded and sewn in two places. For the fold to work properly, the length of the rectangle should be three times its width.
Ch 95. The initial chain can be any odd number.
Row 1: 1 sc in the back bump of the 2nd ch from the hook, 1 sc in the back bump of each ch across to the end, and then turn. (94 sts)
Row 2: Ch 1 (does not count as a st), 1 sl st in BLO of the first st, 1 hdc in the BLO of the next st, *(1 sl st in the BLO of the next st, 1 hdc in the BLO of next st), repeat from * to last st, 1 hdc in both loops of the last st, turn. (94 sts)
Row 3: Ch 1 (does not count as a st), 1 hdc in the BLO of the first hdc, 1 sl st in the BLO of the next sl st, *(1 hdc in the BLO of the next hdc, 1 sl st in the BLO of the next sl st), repeat from * to end, turn. (94 sts)
Repeat Rows 2 and 3 for a few more rows, then measure the length of your rectangle. Mine measured 29 inches.
Continue repeating the 2 rows until the rectangle measures 9.5 inches wide near the shorter edges, and fasten off. As mentioned earlier, for the fold to work properly, the length of the rectangle should be three times its width. The center of the rectangle may measure slightly narrower due to stretch, so be sure to measure closer to the edges for the most accurate width.
Folding the Bag
Place the rectangle flat with the ending tail at the bottom right corner. Fold the bottom left corner upward and the top right corner downward. Then, take the bottom corner of the right-side triangle along with the back layer, and fold it over so the bottom aligns with the right edge of the triangle on the left. See the picture collage below for the steps.
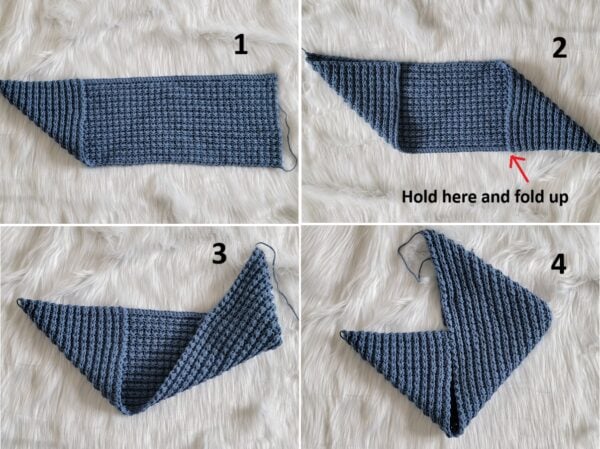
1. Steps for folding the bag
Seaming
Next, we do a crochet sl st seam through the BLO of the stitches on the front and the back of the bag. This is shown with a red dotted line in the next picture. With these two seams, we will have created the finished bag shape.
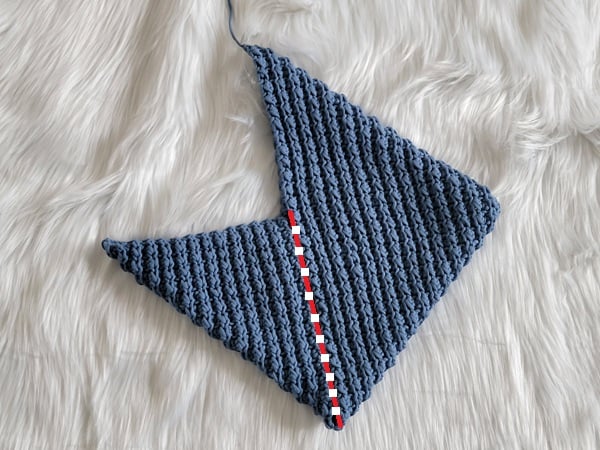
2. Seam the crochet hobo bag along the red line shown
Adding a Leather Handle
If you are using a leather handle, sew it onto the bag using the wax thread.
Rolled Crochet Handle
If you opt to add a crochet handle, follow the pattern below. The finished handle was 26 inches long.
With the smaller I(5.5 mm) hook, ch 78.
Row 1: 1 sc in 2nd ch from hook and each ch across to end, turn. (77 sc)
Row 2 to 4: Ch 1, 1 sc in 1st st and each st across to end, turn. Fasten off after the 4th row.
Skip 8 stitches and start slip-stitching the 2 longer edges to form a tube. Stop slip stitching when you have 8 sts left at the end. Fasten off with a long tail for sewing (see pics 3 and 4 below).

3. Leave the ends flat and sl st the longer ends together to form a tube
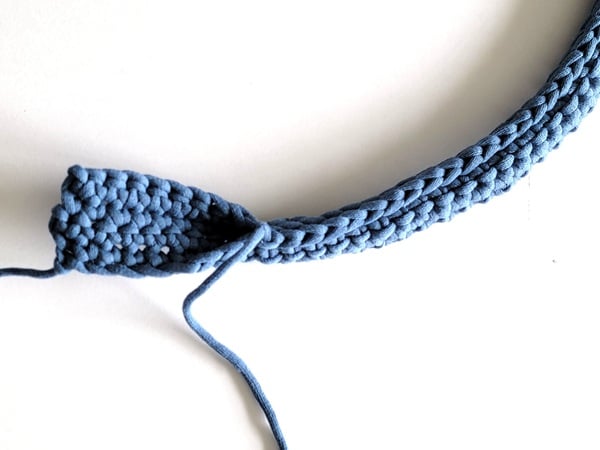
4. End of the handle left flat
To attach the handle, insert the flat ends and a small portion of the tube section into the bag, then sew them securely in place.
Finishing
Sew a leather snap closure onto the bag, then weave in any remaining yarn tails along the inside.
Pin it for later: