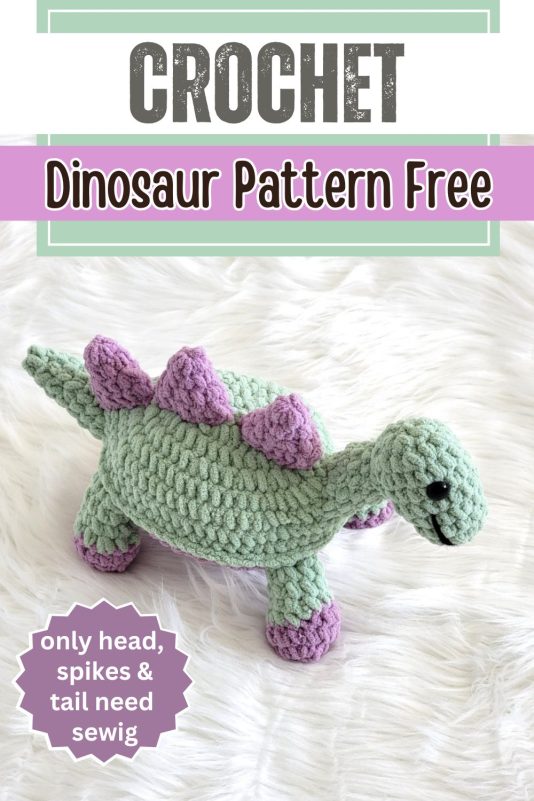
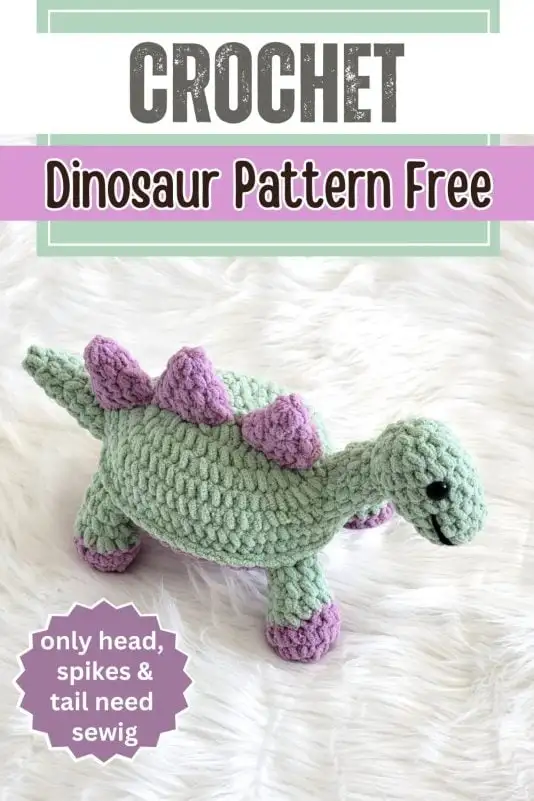
Rawr! Meet Chomper the Dinosaur! This adorable, low-sew crochet dinosaur pattern is the perfect project if you’re looking for something fun, fast, and seriously cute.

This is a low-sew project. With only the head, tail, and the purple spikes to sew on, this dino keeps the stitching to a minimum and the joy to the max!

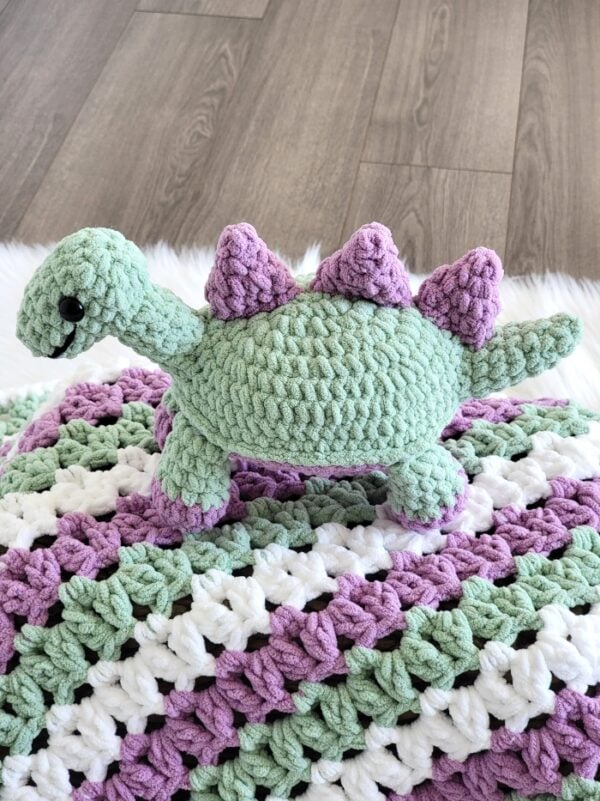
This mischievous little guy may look innocent with his soft spikes and cuddly grin…But don’t be fooled — he ate HALF my bag of fiber fill before I could blink! Now he’s stuffed, happy, and ready to snuggle

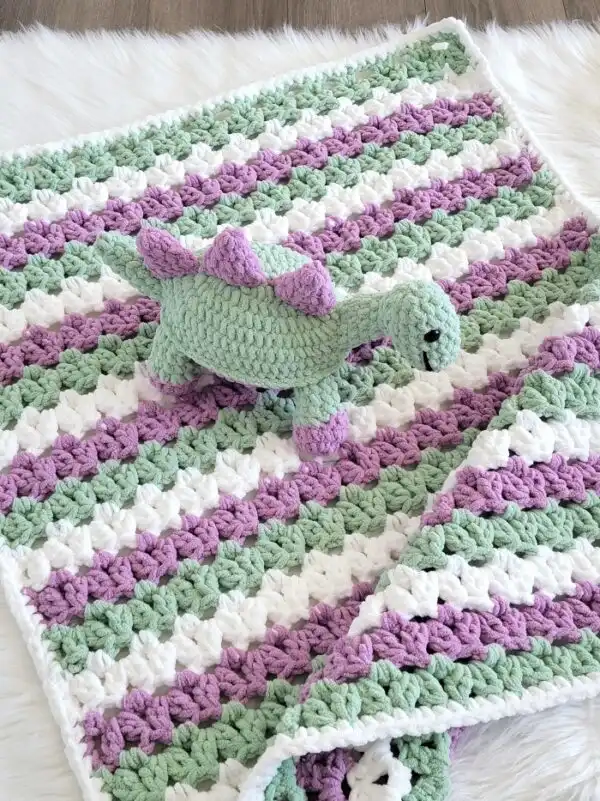
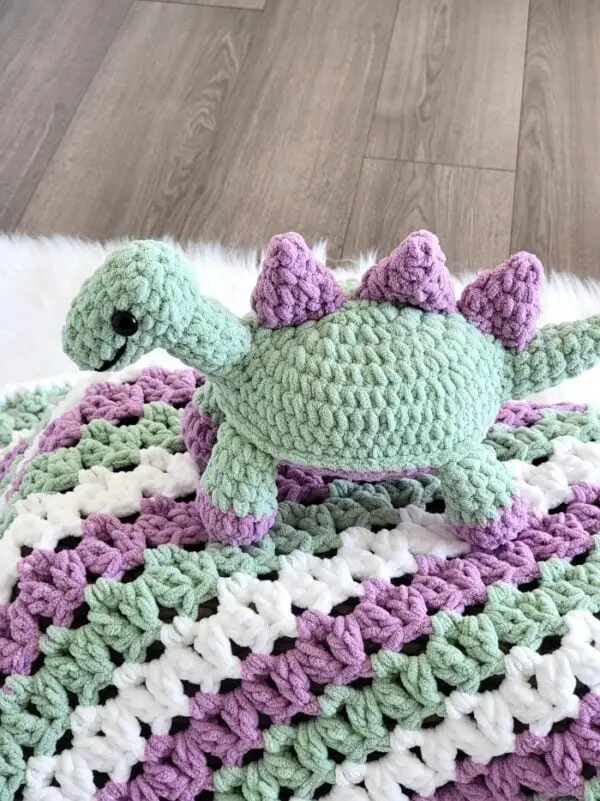
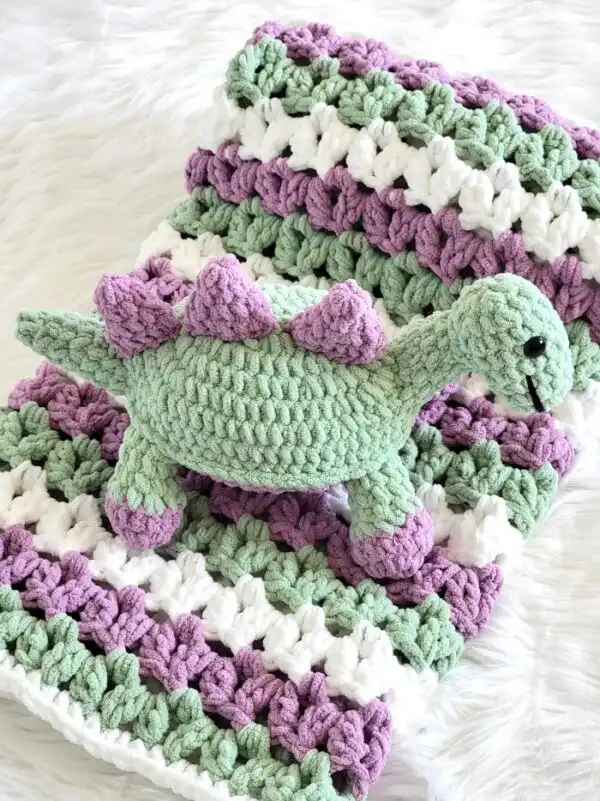
Designed to match perfectly with my Spring Parade Blanket, it makes a charming gift set for little ones – or anyone who loves a touch of dino magic. Plus, with step-by-step photos guiding you through every part, it’s beginner-friendly and totally doable, even if you’re new to amigurumi.

Grab your hook, pick your favorite colors, and let’s crochet a dino that’s ready to stomp, snuggle, and steal hearts!
Crochet Dinosaur Pattern
Materials
1. Bernat Baby Blanket yarn in White and Planetary Purple Sparkle, and Bernat Blanket yarn in Clary Sage. It is a size 6 super chunky chenille yarn
2. K (6.5mm) hook
3. Tapestry needle to weave in the ends
4. Stitch markers
5. Fiber fill
6. A pair of 16mm safety eyes
7. Small pieces of cross-stitch fabric to secure the eyes (for extra security)
8. 3/4 yard of black worsted-weight yarn for the mouth.
Finished Size
15″ long from head to tail.
Yardage
120 yards of Clary Sage and 70 yards of the Planetary Purple Sparkle.
Stitch Abbreviations
The pattern is written in US terms.
st: stitch
ch: chain
sc: single crochet
sk: skip
YO: yarn over
Stitch Explanations
sc2tog: Pull up a loop in the next 2 sts, YO, and pull through all 3 loops on your hook.
Invisible join: After your last stitch, do not fasten off, just cut your yarn and pull the tail out through the stitch. Thread the tail through a yarn needle, sk the next st, and pass the needle under the next st. Now insert it under the back loop of the same st from which the tail is emerging, and pull until it is the size of the rest of the stitches. You can now tie the yarn inside your work and weave it in, or hide it in the stuffing later.
More Amigurumi Patterns:
Crochet Pattern
Pattern Notes
1. Overview: Only the head, tail, and spikes need sewing.
The body is made in two parts: a green upper half and a purple belly. First, the legs are made separately and attached as you join the two body pieces together. Next, the neck is worked directly into the opening left on the body. After that, the tail and head are sewn onto the body. Finally, the spikes are added to complete the assembly.
2. Every time you work into the marked stitch, move the marker up into the first stitch you worked into the marked stitch. This will help you keep track of the rounds.
3. You do not turn at the end of the rounds.
4. For convenience, we will call the colors purple and green.
Body
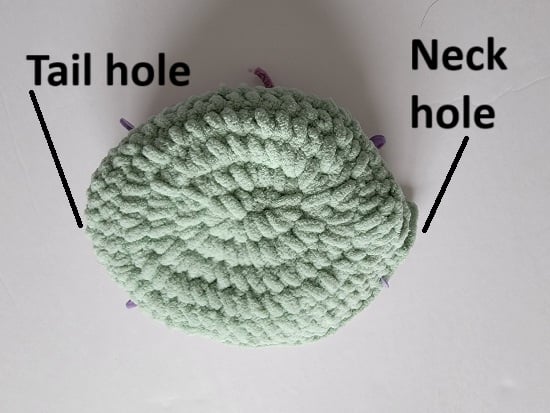
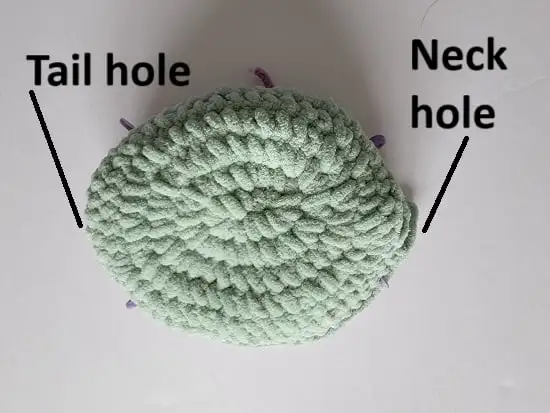
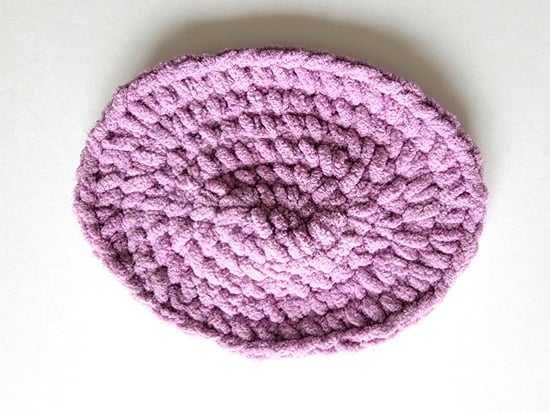
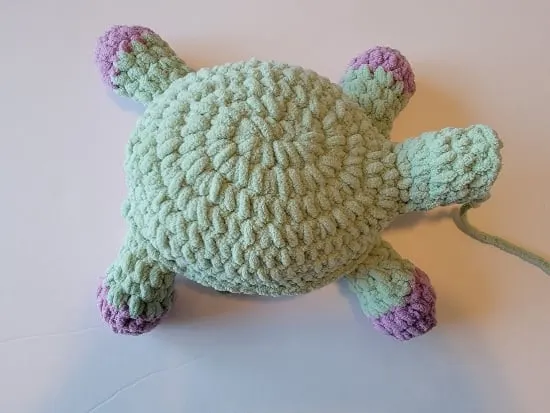
1. Finished body with holes for neck and tail
Note: When working into the free loops of the foundation chain, insert your hook under the spot where two loops meet. This helps prevent a hole from forming.
Round 1: With green yarn, ch 4, 2 sc in 2nd ch from hook, 2 sc in next ch, 5 sc in last ch, work along the free loops of the foundation chain, 2 sc in next free loop, 3 sc in last loop. (14 sc)
Round 2: (2 sc in next st, 1 sc in next st)2 times, 2 sc in next 4 sts, 1 sc in next st, 2 sc in next, 1 sc in next st, 2 sc in last 3 sts. (24 sc)
Round 3: 2 sc in next 2 sts, 1 sc in next 6 sts, 2 sc in next 2 sts, 1 sc in next st, 2 sc in next 2 sts, 1 sc in next 8 sts, 2 sc in next 2 sts, 1 sc in last st. (32 sc)
Round 4: 2 sc in next st, 1 sc in next st, 2 sc in next st, 1 sc in next 4 sts, 2 sc in next st, 1 sc in next 3 sts, *(2 sc in next st, 1 sc in next)5 times, 1 sc in next 2 sts, 2 sc in next st, 1 sc in next 2 sts, (2 sc in next st, 1 sc in next) 3 times to end of round. (44 sc)h
Round 5: 1 sc in next 2 sts, (2 sc in next st, 1 sc in next)2 times, 1 sc in next 8 sts, (2 sc in next st, 1 sc in next)2 times, 1 sc in next 6 sts, (2 sc in next st, 1 sc in next)2 times, 1 sc in next 10 sts, (2 sc in next st, 1 sc in next)2 times, 1 sc in last 2 sts. (52 sc)
Round 6: 1 sc in next 4 sts, 2 sc in next st, 1 sc in next 14 sts, 2 sc in next st, 1 sc in next 10 sts, 2 sc in next st, 1 sc in next 14 sts, 2 sc in next st, 1 sc in next 5 sts, leave last st unworked. (55 sc)
Note: Your oval rounds may have a slight twist due to working in a spiral without turning at the end of each round. However, once your dinosaur is fully assembled, this won’t be noticeable.
Round 7: Ch 3, sk 3 sts (ie, skip the next unworked st, marked st, and the next st), 1 sc in next 5 sts. Now fold your work along the middle line and check if this is in the front center of your oval. If not, unravel one st, and readjust by starting the ch 3 earlier. This hole will be used for working the neck. Continue working 1 sc in each st across until you end in the st right before the ch 3 for the neck hole.
Round 8: 1 sc in next 3 chs (go under 2 loops of the chain), mark the first of these 3 sts, 1 sc in each st until you reach 2 sts before the center back of your oval, ch 5, sk 5, 1 sc in next 5 sts. Now fold your work along the middle line and check if this is in the center back of your oval, in line with your neck hole in the front. If not, readjust by starting the ch 5 earlier or later. (56 sc)
This hole will be used for attaching the tail. Continue working 1 sc in each st across until you end in the st right before the marked st, cut yarn, and pull the tail out through the st. Finish with an invisible join.
Belly

2. Finished belly
Using purple yarn, work Rounds 1 to 5 of Body above.
Round 6: 1 sc in next 4 sts, 2 sc in next st, 1 sc in next 14 sts, 2 sc in next st, 1 sc in next 10 sts, 2 sc in next st, 1 sc in next 14 sts, 2 sc in next st, 1 sc in next 6 sts, cut yarn, and pull the tail out through the st. Finish with an invisible join. (56 sc)
Legs (make 4)
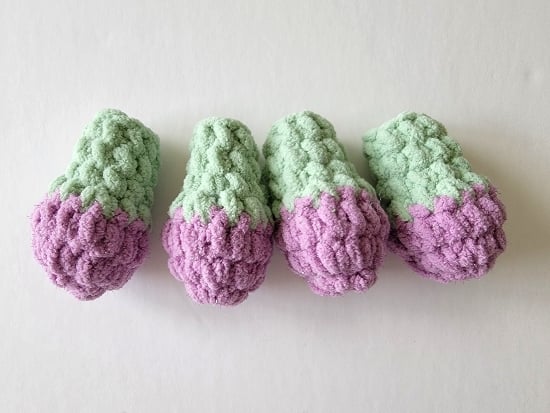

3. Finished Legs
Round 1: With purple yarn, 7 sc in magic ring. (7 sc)
Round 2: 2 sc in next st, mark the first st you made to indicate the first st of the round, 2 sc in next 6 sts. (14 sc)
Round 3: 1 sc in next st and each st across to end, sl st to the marked st. (14 sc)
At this point, turn your work right side out if it isn’t already.
Round 4: Pull the green yarn through the purple loop on your hook, tug the purple yarn to make its loop disappear, cut the purple yarn, and knot the 2 tails inside your work. Continue with the green yarn, ch 1, *(1 sc in next st, dec across next 2 sts), repeat from * to last 2 sts, 1 sc in last 2 sts. (10 sc)
Start stuffing as you go, and do not add any stuffing to the end of the legs, so you can attach it to the body easily.
Rounds 5 & 6: 1 sc in next marked st and each st across to end. (10 sc)
Round 7: *(1 sc in next st, 1 sc in next 2 sts, sc2tog across next 2 sts). repeat from * to end. Sl st to marked st, cut yarn and pull tail out through the stitch. (8 sc)
Stuff the legs, leaving just the last round free for sewing.
Tie the yarn tail inside your legs and trim the yarn. Tuck it inside.
Marking the Position for the Legs
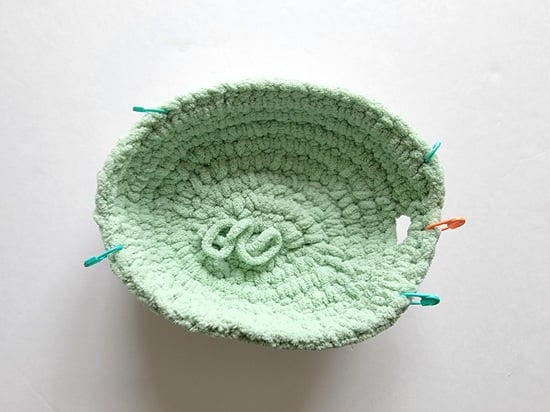

4. Markers are placed to attach the legs. The orange marker serves as a guide
Note: All the markers are placed on the green body.
Place a marker at the middle of the neck hole (orange marker in the picture), skip 3 sts to the left and right of it, and place a marker in the 4th st on each side.
At the back where you have the hole for the tail, skip 2 sts from the end of the ch-5 and place a marker on the 3rd st for a hindleg. Repeat on the other side as well.
Joining the Body and the Legs
Notes
1. The leg will be added as we join the top body to the belly.
2. Each leg is attached using 4 sl sts. If you feel like the end of the leg is hanging, make one more sl st going through the edge of the leg to secure it.
3. You only have to tuck in the tail on the legs, and don’t have to weave it in.
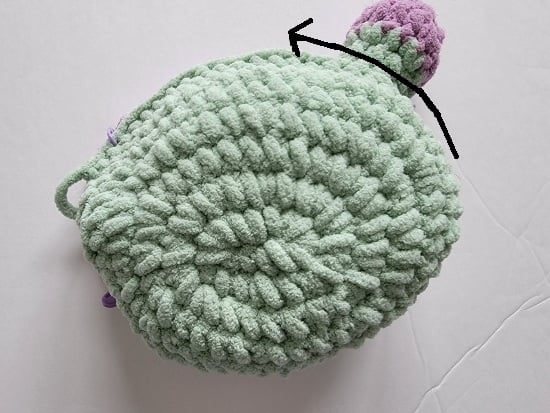
5. Start slip stitching from the back and attach the legs as you go
Place the purple belly under the green body, aligning the ovals. The right side of the purple belly should be facing downward. With green yarn, insert your hook through the st right after the ch-5 for the tail and the purple layer underneath, and pull up a loop. Sl st into the next st before the marked st, place a leg between the 2 layers at the marked st, and make 4 sl sts going through the green body, both layers of the leg, and the belly. You can pass your hook through one layer at a time.
Once the leg is attached, sl st in the next st going through both the layers, sl st both layers together until 3 sts left before the next marker, and now attach the first foreleg with 4 sl sts until you end in the marked st, sl st in next st going through both the layers, sl st both layers together until your cross the head marker and reach the marker for the 2nd foreleg.
Attach the second foreleg with 4 sl sts, sl st in next st going through both the layers, start stuffing the body, sl st both layers together until 3 sts left before the next marker, and attach the second hind leg with 4 sl sts, continue to sl st through both layers, and at the ch loop for the tail hole, go under 2 loops of the chain to sl st, sl st until you reach where you started, cut the yarn and pull the tail out through the stitch.
At this stage, you can add more stuffing through the neck and tail holes if you want.

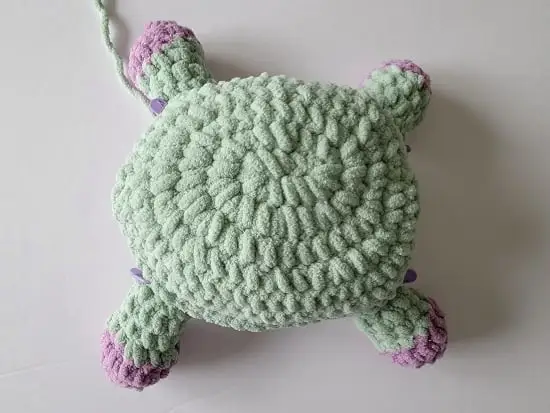
6. All 4 legs are attached
Making the Legs Upright

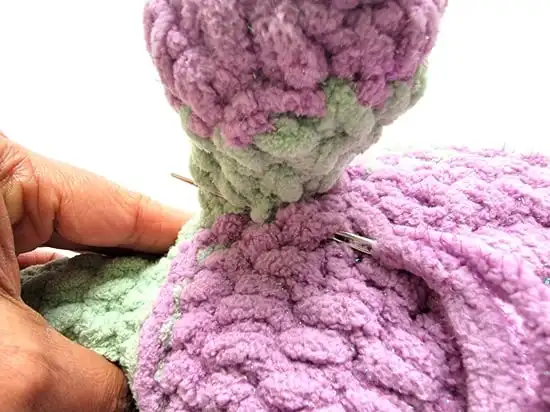
7. Hold the leg close to the body and sew it to the purple belly
Your legs will be spread out at this point. Turn your plushie upside down, hold each leg close to the body, and sew it to the belly using purple yarn to make it stand upright. Your legs will now hold up if you want.
Adding the Neck

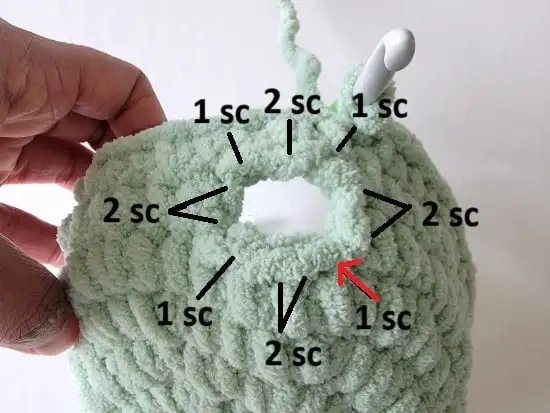
8. Work the first round of neck as shown
Round 1: Start at the top of the neck hole, 1 sc in the first skipped st, place a marker in this st, 2 sc in next st, 1 sc in next st, 2 sc on the side of the hole, 1 sc in next ch loop, 2 sc in next ch loop, 1 sc in last ch loop, 2 sc on the side of the hole. (12 sc)
Note: In the next round, we will make increases along the top and decreases along the bottom to turn the neck upward.
Round 2: 1 sc in marked st, 2 sc in next 3 sts, 1 sc in next st, (sc2tog)3 times, 1 sc in last st. (12 sc)
Stuff the neck and base of the neck until it is stiff. You want it to be able to hold the weight of the head.
Rounds 3 & 4: 1 sc in marked st and each st across to end. (12 sc)
Round 5: 1 sc in marked st, 1 sc in next 4 sts, 2 sc in next st, 1 sc in next 4 sts, sc2tog across last 2 sts, sl st to marked st. Cut yarn, leaving a 3/4 yard tail, and pull the tail out through the st.
Stuff the neck until very stiff.

9. Finished neck
Head

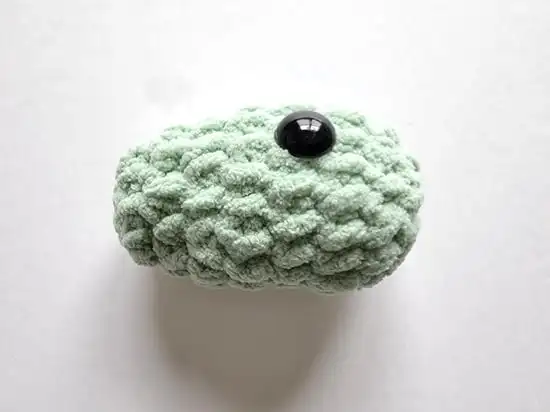
10. Finished head with eyes attached
Round 1: With green yarn, 8 sc in magic ring. (8 sc)
Round 2: *(2 sc in the next st, 1 sc in the next), repeat from * to end. (12 sc)
Round 3: 1 sc in next st and each st across to end. (12 sc)
Round 4: *(2 sc in the next st, 1 sc in the next), repeat from * to end. (18 sc)
Start stuffing the head and add more stuffing as you go.
Rounds 5, 6 & 7: 1 sc in next st and each st across to end. (18 sc)
Round 8: *(1 sc in next st, sc2tog across next 2 sts), repeat from * to end. (12 sc)
Attach eyes on the 6th round, leaving 4 sts between them. You will first insert the screw, stuff the head and check if you like the positioning. Then you can take out the stuffing, and place a rectangular piece of cross-stitch fabric (1-1/2″ X 1″) on the screw back before adding the backing for the safety eyes. The fabric will add an extra layer of security to the eyes and keep them from pulling out through the sts. For younger children, embroider eyes with black yarn to avoid a choking hazard.
Add stuffing before the next cinching round.
Round 9: *(sc2tog across next 2 sts), repeat from * to end, sl st to first st, cut yarn to leave a 1/2 yard tail and pull tail out through the st. (6 sc)
Whip stitch through the front loops of each st around and pull to close the hole, knot and hide the tail inside the head.
Joining the Head to the Neck
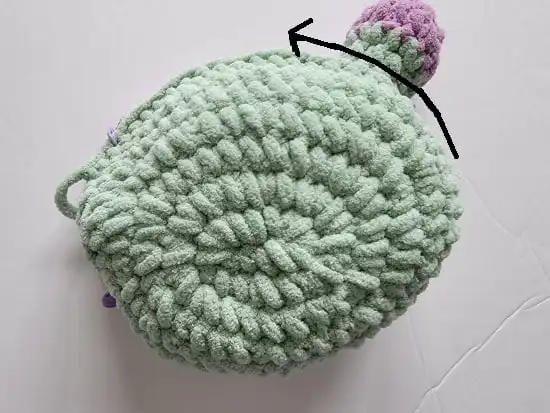
Place the head on the neck so that a small portion extends behind it, then start sewing it to the neck. Before you close it fully, add more stuffing to the neck. You can use a chopstick to push the small bits of stuffing inside at a time.
Adding a Mouth
- You’ll need black yarn and the tapestry needle.
- Find your starting point: Look at the front of your toy’s head. Count down 4 rows from where the face begins, then move about 1/4 inch (or 1 stitch) below the eye. This is where you’ll start.
- Push your needle through this spot and bring it out at the same position on the opposite side of the head.
- Pull the yarn across the front of the face. Then insert your needle back into the first hole where you started and push it out through the second hole again.
- Add the center anchor: Bring the yarn across the front again, but this time at the middle of the mouth, catch a stitch on the head, and loop around the first strand of yarn to secure it in place.
- Insert your yarn back through the first hole and out through the second hole. Then go into another point under the black strand and back out through the first hole.
- Tie the two yarn ends together in a knot, and hide the knot and tails inside the head.
Tail

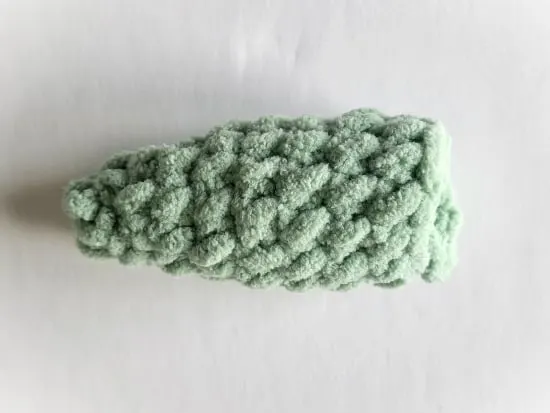
11. Finished tail
Round 1: With green yarn, 4 sc in magic ring. Mark 1st sc. (4 sc)
Note: In the next round, work your first sc tight by tightening the loop on your hook before working the st. This is to avoid leaving a hole.
Round 2: 2 sc in next marked st, mark your first st and push your work right side out before proceeding, 1 sc in next st, 2 sc in next st, 1 sc in last st. (6 sc)
Round 3: *(2 sc in next st, 1 sc in next st), repeat from * to end. (9 sc)
Round 4: 1 sc in next st and each st across to end. (9 sc)
Round 5: *(2 sc in next st, 1 sc in next 2 sts), repeat from * to end. (12 sc)
Rounds 6, 7 & 8: 1 sc in next st and each st across to end. (12 sc)
Round 9: 1 sc in next st and each st across to last st, 2 sc in last st. Sl st to first st, cut yarn and pull tail out through the st. (13 sc)
Tie the yarn tail inside your legs and trim the yarn. Tuck it inside. It is easier to use a new strand of yarn to sew the tail on.
Joining Tail to the Body
Insert the tail into the back hole left on the body. This will conveniently hold it in place for sewing, even without using pins. I positioned the tail pointing upward and used my finger to pull out the edges to cup the tail. Use a strand of green yarn and sew the tail onto the body.
Spikes (make 3)

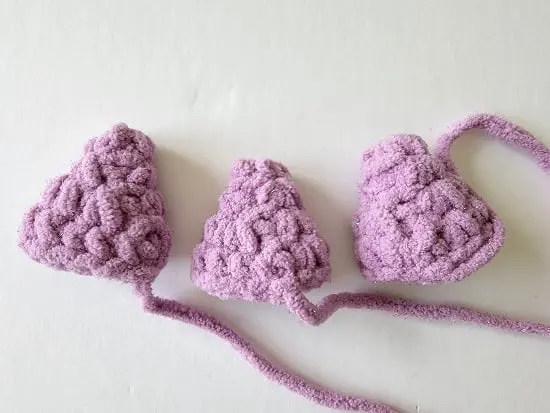
12. Finished spikes
Round 1: With purple yarn, 4 sc in the magic ring, sl st to marked st. (4 sc)
Round 2: Ch 1, 2 sc in next st, 1 sc in next st, 2 sc in next 2 sts, sl st to marked st. (7 sc)
Push your work right side out.
Round 3: Ch 1, 2 sc in next st, (1sc in next st, 2 sc in next)3 times, sl st to marked st. (11 sc)
Round 4: Ch 1, 2 sc in next st, 1 sc in next 5 sts, 2 sc in next st, 1 sc in remaining 4 sts, sl st to marked st. Leave a 3/4 yard tail for sewing and pull the tail out through the stitch. (13 sc)
You do not have to stuff the spikes.
Adding the Spikes to the Body
First, pin the spikes to the body to find a placement you like. Keep in mind that the base of each spike will spread out slightly once sewn down. If your spikes seem too wide to fit, you can unravel the last round and redo it with just one increase, ending with 12 stitches instead of 13.
Sew the spikes onto the body using the tails left. To avoid leaving specks of purple on the green body, every time you go into the green body, lift the spike and work into a green st under the spike.
Finishing
Hide any yarn tails left inside the body of your crochet dinosaur. Enjoy! You can find the matching blanket here.
More Amigurumi Patterns:
Pin it for later: