Crochet Men’s Scarf Pattern, Snow Tracks Scarf
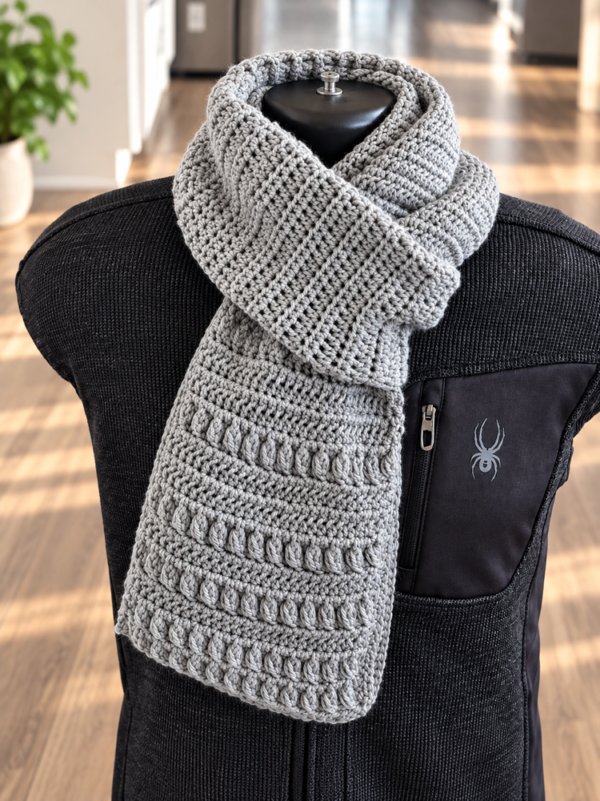
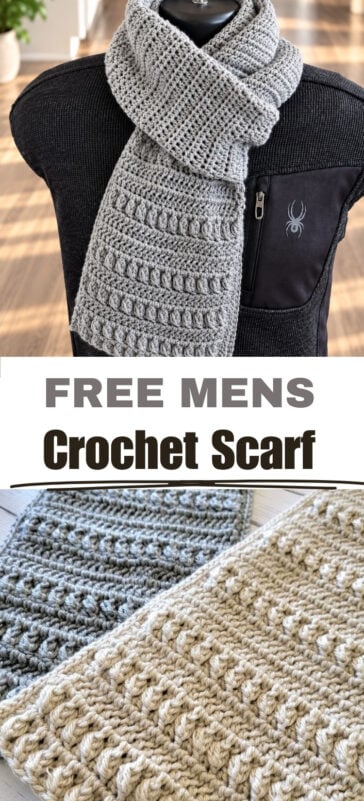
Even though I designed it as a Mens Crochet Scarf, it really is a unisex pattern that will work equally well for men and women. The knit-look texture gives the scarf a classic, polished look that can easily dress up a winter outfit.
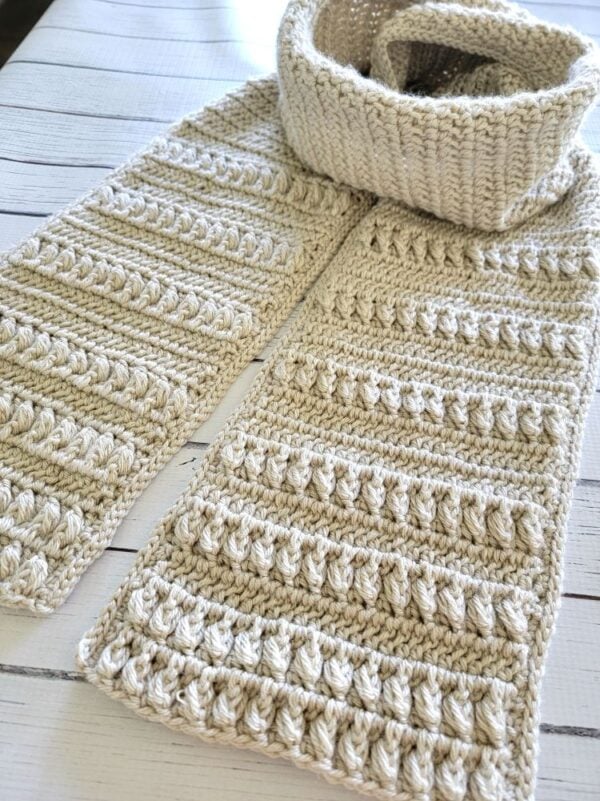
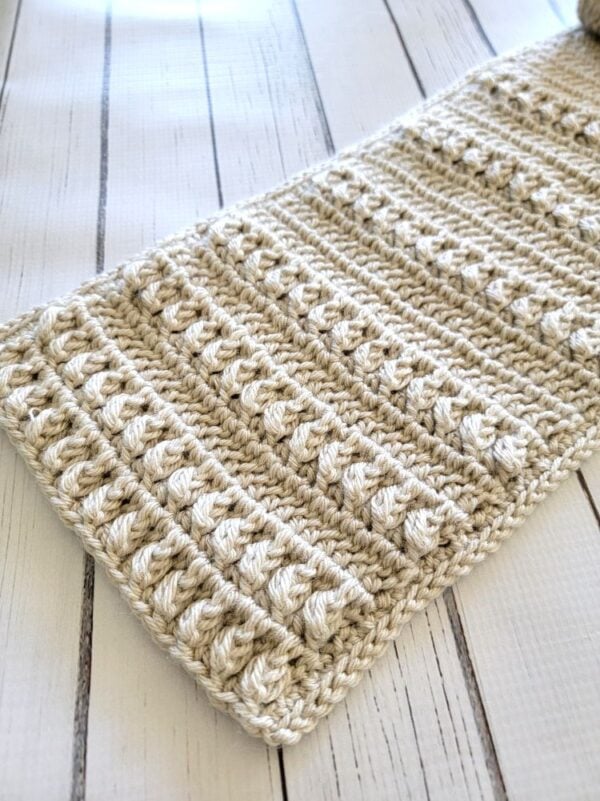
The beautiful texture comes from a variation of the puff stitch that reminds me of little droplets. These raised puff stitches are interspersed with a variation of the half double crochet stitch, giving this Crochet Winter Scarf plenty of texture and dimension.
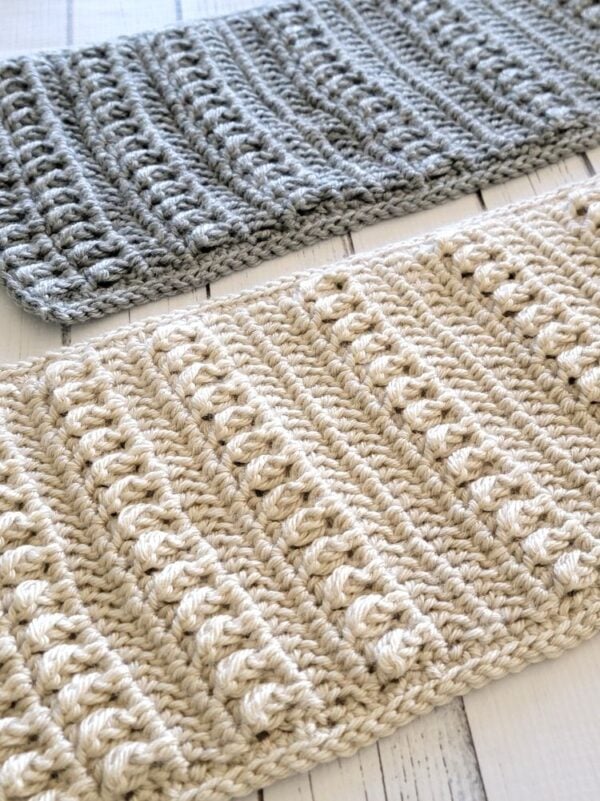
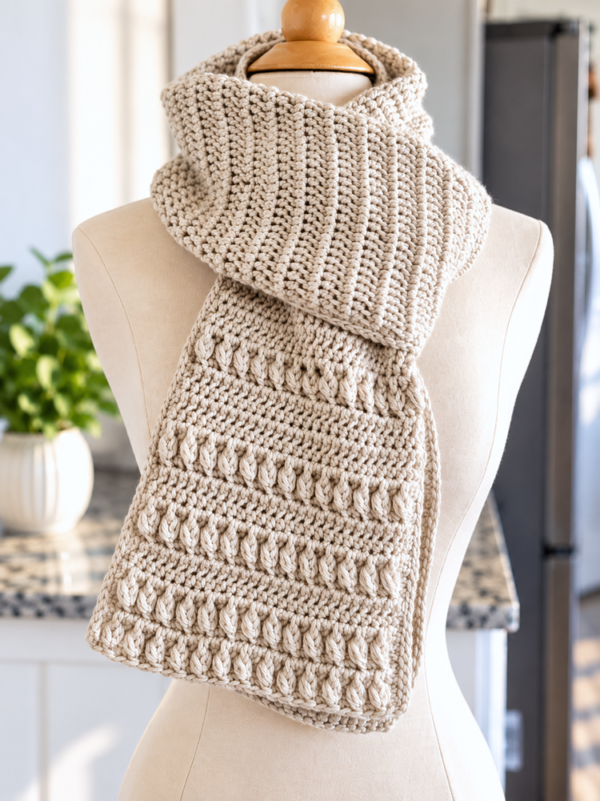
This may not be one of those Quick Crochet Gifts for Men, but I think the finished scarf is worth every minute you put into it. I hope you enjoy making this Men’s Crochet Scarf Pattern as much as I enjoyed designing it.
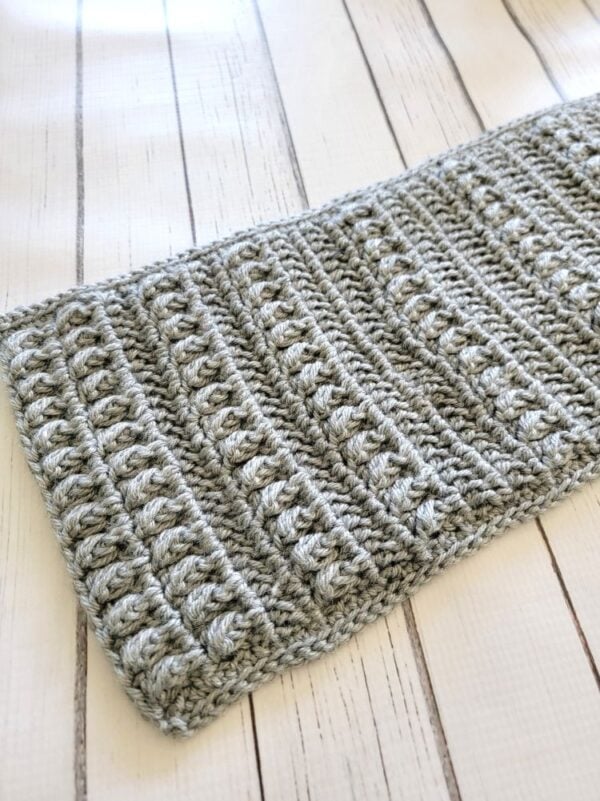
Crochet Men’s Scarf Pattern
Materials
1. Worsted weight yarn. Lion Brand Skein Basic Stitch Anti-Pilling yarn in colors Beige Heather and Silver Heather was used to make the crochet scarves.
2. A US size 7 (4.5 mm) crochet hook and an H (5mm) hook.
3. Tapestry needle to weave in the ends.
4. A pair of locking stitch markers.
Finished size
70″ long and 7-1/2″ wide.
Yardage
3 skeins or 550 yards
Stitch Abbreviations
The pattern is written in US terms.
ch: chain
sk: skip
sl st: slip st
sc: single crochet
hdc: half double crochet
dc: double crochet
YO– yarn over
Stitch Explanations
1. FPpuff (Front Post Puff Stitch): *(YO, insert hook around the post of the next dc, and pull up a loop to the height of the current row) twice. YO and pull through all loops except the last one. You will now have 2 loops on your hook. YO and pull through both loops. FPpuff completed.
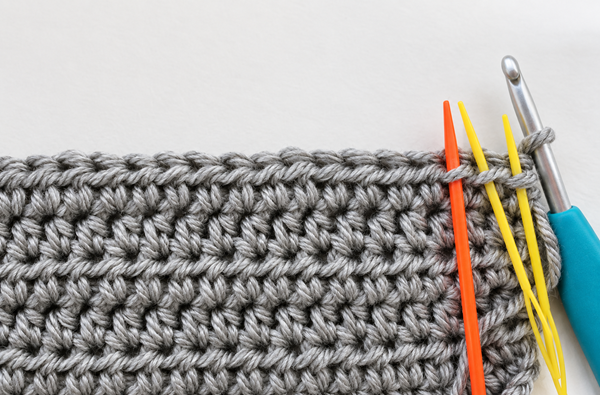
2. Hdc in third loop: work hdc into the horizontal loop in the front of your stitch. See pic below.
3. hdc2tog (half double crochet 2 together): YO, insert hook into the next st and pull up a loop, YO again, insert hook into the following st and pull up a loop. You will now have 5 loops on your hook. YO and pull through all 5 loops. hdc2tog completed.
4. Hhdc (herringbone half double crochet): This stitch is optional in the pattern and can be replaced with a regular hdc. To work a hhdc, YO, insert your hook into the next st, pull up a loop through the st and the first loop on your hook, 2 loops left on your hook, YO and pull through the remaining 2 loops on your hook.
5. FLO (front loop only): Work your sl sts inserting your hook only under the front loop of the stitch (see diagram below).

Gauge
With a size 7 (4. 5 mm) hook, 8 puff sts alternating with 7 dc = 4 inches long
You might also like these free scarf patterns:
Wanderer Crochet Scarf Pattern
Pie Crust Crochet Winter Scarf
Men’s Scarf Crochet Pattern
Pattern Notes
The last stitch of the dc rows is worked into the top of the beginning ch-2 and not the beginning ch-3. This gives a straight edge.
With the smaller 4.5mm hook, ch 29 for a 7-1/2″ wide scarf. You can chain any odd number to make it wider or narrower.
Row 1: 1 dc in 4th ch from hook (3 skipped chains count as a dc), 1 dc in next ch and each ch across to end, turn. (27 dc)
Row 2: Ch 2 (does not count as a st), 1 dc in 1st st, FPpuff in next dc, sk the st behind the puff st, 1 dc in next st), repeat from * to beginning ch, 1 dc on top of beginning ch-2, turn. (13 FPpuffs + 14 dc)
Row 3: Ch 2 (does not count as a st), 1 dc in 1st st and in each st across to end, turn. (27 dc)
Row 4: Repeat Row 2
Note: It is easy to lose stitches while working your half double crochet (hdc) rows below, so stitch markers are used to keep track of the first st.
Row 5: Ch 1 (does not count as a st), 1 hdc in first st, place a marker in this st, 1 hdc in each st across to end, turn. (27 hdc)
Row 6: Ch 1 (does not count as a st), 1 hdc in the 3rd loop of the first st (see pic above), place a marker in this st, 1 hdc in the 3rd loop of the next st and in each st to the last st, 1 hdc in the last marked st (not into the third loop), turn. (27 hdc)
Row 7: Ch 2 (does not count as a st), 1 dc in 1st st and in each st across to end, turn. (27 dc)
Row 8: Ch 2 (does not count as a st), 1 dc in 1st st, FPpuff in next dc, sk the st behind the puff st, 1 dc in next st), repeat from * to beginning ch, 1 dc on top of beginning ch-2, turn. (13 FPpuff sts+ 14 dc)
Repeat Rows 5 to 8 one more time.
Row 13: Repeat Row 5
Row 14: Repeat Row 6
Row 15: Repeat Row 5
Row 16: Repeat Row 6
Row 17: Ch 2 (does not count as a st), 1 dc in 1st st and in each st across to end, turn. (27 dc)
Row 18: Ch 2 (does not count as a st), 1 dc in 1st st, FPpuff in next dc, sk the st behind the puff st, 1 dc in next st), repeat from * to beginning ch, 1 dc on top of beginning ch-2, turn. (13 FPpuff sts+ 14 dc)
Repeat Rows 13 to 18 two more times.
Middle Part
Notes
1. The middle section can be worked in either regular hdc or hhdc, depending on your preference. The hhdc gives a knit-look texture but takes longer to work. If you choose hhdc, simply replace all hdc stitches with hhdc in the rows below until you reach the Textured Rows
2. Decreases are added to the first row of the middle because a hdc or hhc row is wider than FPpuff st rows.
Row 31: Ch 1 (does not count as a st), 1 hdc in first st, place a marker in this st, 1 hdc in next 2 sts, *( 1 hdc in next 5 sts, hdc2tog across next 2 sts), repeat from * 2 more times, 1 hdc in last 3 sts, turn. (24 hdc)
Row 32: Ch 1 (does not count as a st), 1 hdc in first st, place a marker in this st, 1 hdc in each remaining st across to end, turn. (24 hdc)
Repeat Row 32 and after working 5–6 rows of the middle section, check that the 24 sts are approximately the same width as the textured section. If the widths do not match, unravel these rows and add or reduce the number of hdc2tog as needed to adjust the width.
Repeat Row 32 until the total length of your scarf is close to 42 inches, and work the textured rows below to mirror the other end of the scarf.
Textured Rows
Note: The row count for this section starts again at Row 1. Whenever you are instructed to repeat a row, follow the row numbers given under the Textured Rows section, not the row numbers from the beginning of the pattern.
Base hdc Row: Ch 1 (does not count as a st), 1 hdc in first st, place a marker in this st, 1 hdc in next 2 sts, *(1 hdc in next 5 sts, 2 hdc in next st), repeat from * 2 more times, 1 hdc in last 3 sts, turn. (27 hdc)
Row 1: Ch 2 (does not count as a st), 1 dc in 1st st and in each st across to end, turn. (27 dc)
Row 2: Ch 2 (does not count as a st), 1 dc in 1st st, FPpuff in next dc, sk the st behind the puff st, 1 dc in next st), repeat from * to beginning ch, 1 dc on top of beginning ch-2, turn. (13 FPpuff sts+ 14 dc)
Row 3: Ch 1 (does not count as a st), 1 hdc in first st, place a marker in this st, 1 hdc in each st across to end, turn. (27 hdc)
Row 4: Ch 1 (does not count as a st), 1 hdc in the 3rd loop of the first st, place a marker in this st, 1 hdc in the 3rd loop of the next st and in each st to the last st, 1 hdc in the last marked st, turn. (27 hdc)
Row 5 & 6: Repeat Rows 4 and 5.
Repeat Rows 1 to 6 two more times.
Next, repeat Rows 1 to 4 two times.
Lastly, repeat Rows 1 and 2 two times; do not fasten off.
Edging
Row 1: Ch 1 at the corner, work along the long edge and distribute sc sts as evenly as possible up to the next corner, turn.
Row 2: Switch to the bigger hook if you sl st tight, ch 1, 1 sl st in FLO of the next st and each st across to the corner, fasten off.
Repeat the same 2 rows on the other long edge of your scarf.
If the shorter edge is wider than the rest of the scarf, you can work a row of sl sts along that edge on the textured side of the scarf to help draw it in and even out the width.
Finishing
1. Weave in all the tails along the back of the scarf. Enjoy your men’s crochet scarf.
2. Steam-block the textured part if needed by holding your steam iron close to the back of the scarf without touching the yarn. Touching acrylic yarn directly with an iron is not recommended, as it can damage the fibers.
If you have never steam-blocked this yarn before, I recommend testing it on a small swatch first.
You might also like these free scarf patterns:
Textured Crochet Scarf Pattern
Pie Crust Crochet Winter Scarf
Unisex Knit Look Crochet Scarf
Pin it for later: