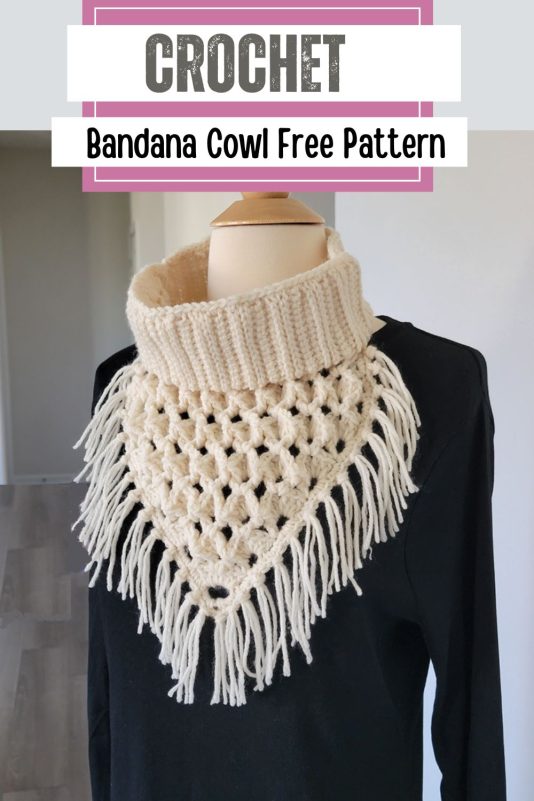
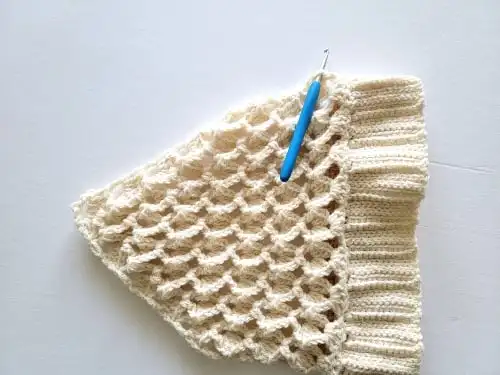
This crochet bandana cowl is my take on the crocodile stitch cowls. It uses the marshmallow stitch and is an absolute cakewalk compared to the crocodile stitch.
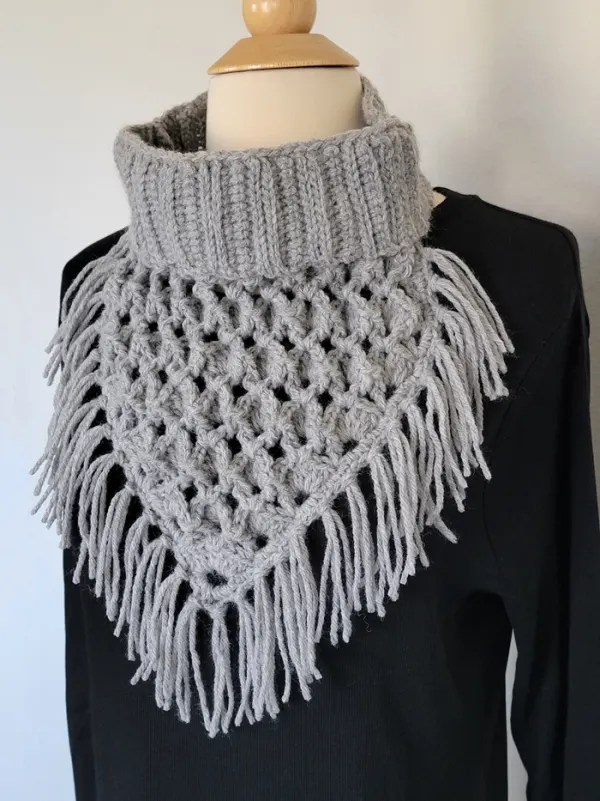
I love the look of the crocodile stitch, but it can be tricky to explain without a video. It also tends to feel really complicated for beginners.

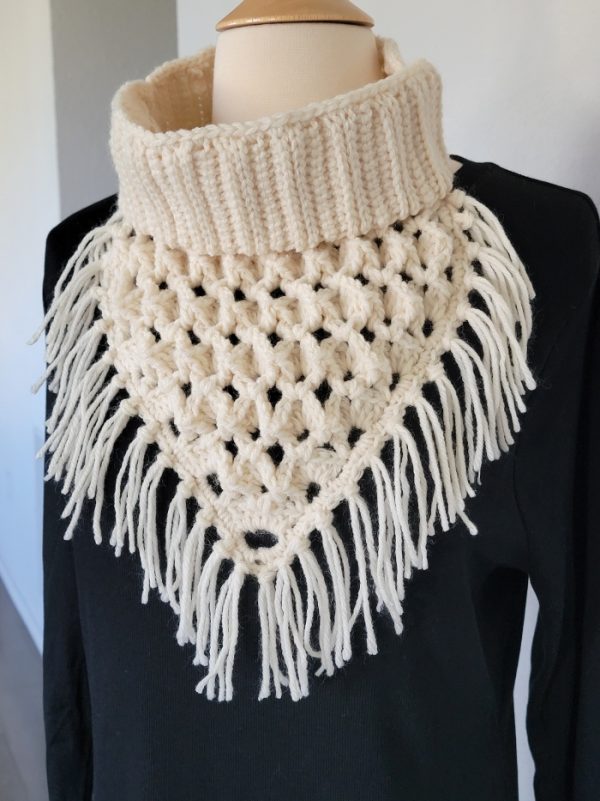
So I designed this version to be accessible for all skill levels. You can make it with or without the fringe—your choice. Enjoy!

Crochet Banadan Cowl Pattern
You can work from the free pattern below or purchase an ad-free PDF for $3.99 here. You will receive a download link once you make payment and click “Return to Merchant”
Pin it for later here.
Materials
-
Worsted-weight yarn. I used Lion Brand Wool-Ease in colors Fisherman and Grey Heather.
-
Hooks H (5 mm) and G (4mm)
-
Tapestry needle to weave in the ends
-
A piece of 4″ wide cardboard to make fringes
- A stitch marker
Finished Size
The triangle is 11 inches wide and measures 11 inches from the top to the bottom point.
Gauge
4 shells = 4 inches
Yardage
1 skein or 197 yards, including the fringes. It took the whole 1 skein with no yarn left over.
Stitch Abbreviations
ch: chain
sc: single crochet
sl st: slip stitch
dc: double crochet
fpdc: front post double crochet
Stitch Explanations
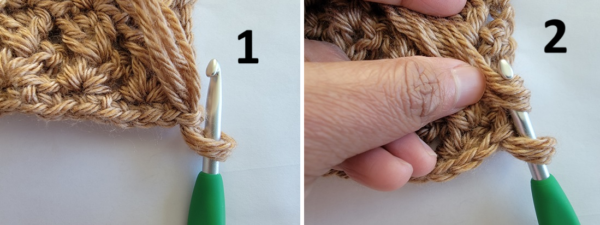
1. Sl st or sc in the Back Loops Only (BLO): While working your st, instead of inserting your hook under both the loops of your stitch, you will insert it only under the back loop to leave the front loop free, see the picture below.
2. Sl st or sc in the Front Loops Only (FLO): While working your st, instead of inserting your hook under both the loops of your stitch, you will insert it only under the front loop to leave the back loop free, see the picture below.


1. Shows how to work in the front or back loops only
3. V st: (1 dc, ch 2, 1 dc) worked into the same st.
4. Shell St: (3 dc, ch 2, 3dc) worked into the same ch-2 space.
5. Front post double crochet (fpdc): You can see a tutorial here.
Pattern
Ribbed Collar
Note: To slip stitch loosely, pull up the loop on your hook to make it bigger before you work a sl st, The bigger the loop, the looser your sl st will be. After practicing it intentionally for a few minutes, you’ll start doing it on autopilot.
With the smaller 4mm hook, ch 14.
Row 1: 1sc in the 2nd ch from hook and each ch across to end, turn.—-13 sc
Row 2: Ch 1 ( does not count as a st here and throughout), 1 sc in BLO of first st and each st across to end, turn. —–13 sc
Row 3: Ch 1, sl st in FLO of first st and each st across to end, turn.—–13 sl st
Rows 4 & 5: Ch 1, sl st in BLO of first st and each st across to end, turn. —–13 sl st
Row 6: Ch 1, 1 sc in BLO of first st and each st across to end. Place a marker on this side of the band to indicate the Right Side and turn. —–13 sc
Row 7: Ch 1, 1 sc in BLO of first st and each st across to end. —–13 sc
Repeat Rows 3 to 7 until your ribbing measures 21 inches long. It doesn’t matter which row your last row is.
Now bring the two ends together, making sure you’re working on the wrong side of the band (the side without the marker). Slip stitch through the BLO of the last row and the free loops on the foundation chain side. Turn it right side out so the seam is on the inside.
Triangle Front Piece
Note: For the V-st rows, instead of working a beginning ch 3 for a dc, a ch 4 is worked, as that seemed better for the drape of the scarf.
Row 1: With bigger hook, ch 6 (counts as 1 dc+2 ch here), 1 dc in the 6th ch from hook. ——1 V-st
Row 2: Ch 3 (counts as a dc here and throughout), shell into the ch space of the V-st, 1 dc into the same ch space.——–1 Shell+ 2 dc
Row 3: Ch 6 (counts as 1 dc and ch 2 here and throughout), 1 dc in the same st as ch 6 (first V-st made), 1 V-st in the ch-2 space of the shell, 1 V-st on top of beginning ch-3, turn. ——-3 V-sts
Row 4: Ch 3 (counts as a dc here and throughout), shell in the next ch-2 space, 1 fpdc in the next dc (the second leg of the V-st), 1 fpdc in the next dc, shell in the next ch-2 space, 1 fpdc in the next 2 dc, shell in the next ch-2 space, 1 more dc into the same ch-2 space, turn.——– 3 Shells
Row 5: Ch 6, 1 dc in the same st as ch 6 ( first V-st made), 1 V-st in the ch-2 space of the next shell and each shell across to end, 1 V-st on top of the beginning ch-3. You will be skipping a lot of stitches to work your V’s, which is what makes your shell stitches pop and resemble petals.———5 V-sts
Row 6: Ch 3, shell in the next ch-2 space, 1 fpdc in the next dc (the second leg of the V-st), *(1 fpdc in the next dc, shell in the next ch-2 space, 1 fpdc in the next dc), repeat from * until 1 V-st is left, 1 fpdc in next dc, shell in the next ch-2 space, 1 more dc into the same ch-2 space, turn.——– 5 Shells
Repeat Rows 5 and 6 until you have completed a total of 11 Rows. Your last row will be a V-st Row, and the number of V-sts and shells will increase by 2 for every row.
Row 12: Ch 3, 2 dc in 1st ch-space, sk next dc, *(1 fpdc in the next dc, shell in the next ch-2 space, 1 fpdc in the next dc), repeat from * until 1 V-st is left, 3 dc in ch-2 space of last V-st, turn. ——9 shells+6 dc
Row 13: Ch 3, 1 dc in same st as beginning ch-3 (first st), V-st in next ch-2 space and each ch-2 space across, 2 dc on top of beginning ch-3, turn.——-9 V-sts + 4 dc
Row 14: Ch 3, 1 dc in same st as beginning ch-3, sk adjacent dc, *(1 fpdc in the next dc, shell in the next ch-2 space, 1 fpdc in the next dc), repeat from * in each V-st across, 2 dc on top of beginning ch-3, turn.—-9 shells+ 4 dc
Rows 15 & 16: Repeat Rows 13 and 14.
Last Row: Ch 3, 1 dc in same st as ch-3, 4 dc in each ch-2 space across, 2 dc on top of beginning ch-3, do not fasten off.
The finished triangle is 10″ tall and 10-1/2″ wide at the top. See pic 2 below for the finished triangle part.
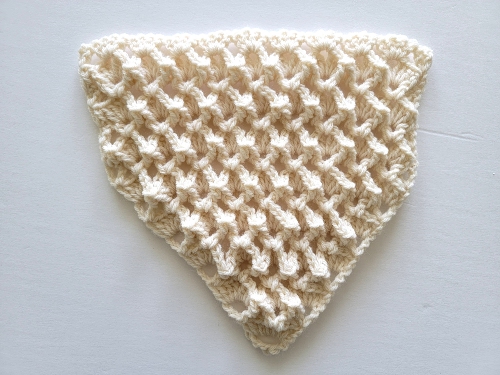
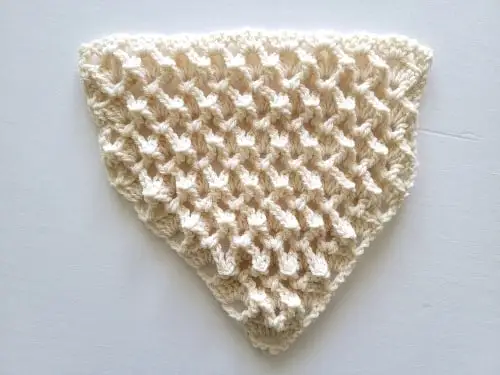
2. Finished triangle part
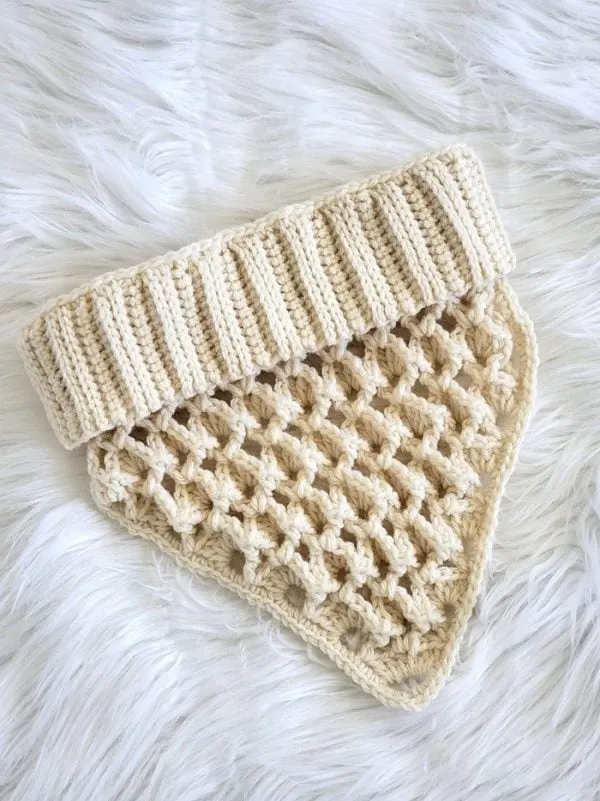
Attaching the Collar
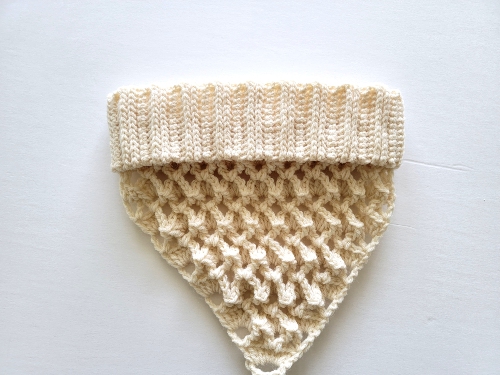
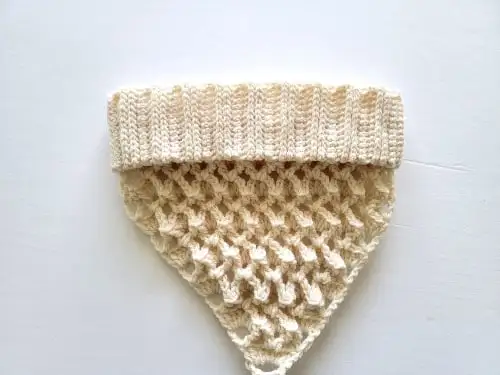
3. Slip the collar over the triangle
Now slip the finished ribbing over the triangle piece. The seam should be centered at the back. Make sure the right side of both the triangle and the collar are facing up.
Continue with your working yarn and work a round of sc to join the collar to the triangle along the top edge. Continue working sc sts along the back of the collar until you reach back where you started the round, sl st to the first sc, and fasten off.
Adding Edging to the Triangle
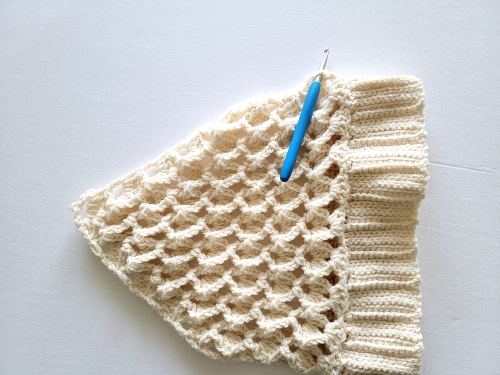
4. Start sc edging from the point shown
Lift the collar. Using the larger hook, slip stitch to the top left edge of the triangle and work a row of sc. I placed 3 sc sts across each row end. In the bottom space, work 3 dc, ch 2, 3 dc, then continue distributing sc sts evenly up the right edge. Fasten off at the top of the triangle.
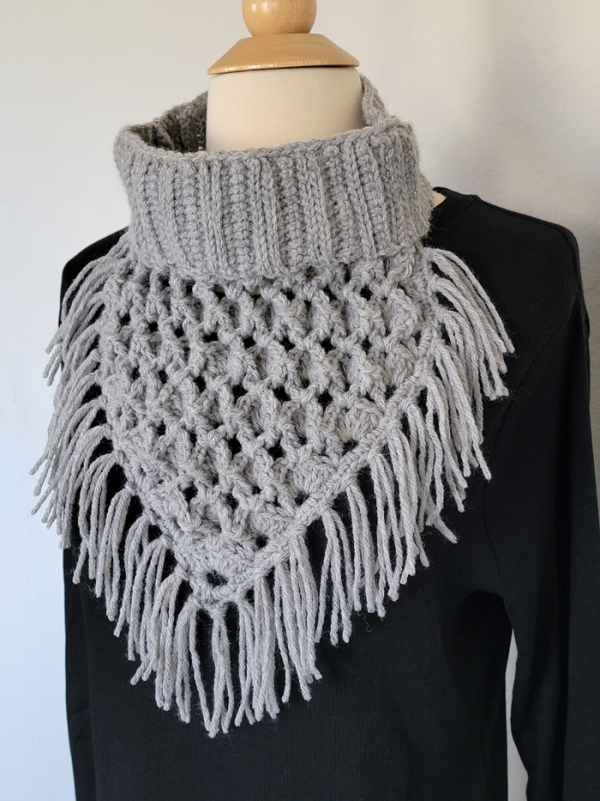
Adding Fringes
Wrap the yarn multiple times around the cardboard. Cut along one side to get many strands of the same length.

5. Adding tassels to the cowl
Take two strands of yarn, fold them in half, and insert the folded middle through the edge of the cowl to form a loop. Use your hook to grab the loose ends and pull them through the loop (see photo above). Gently tug to tighten.
I added one tassel in every 3rd stitch, and at the bottom point, I placed three tassels close together for a fuller look.
Finishing
Weave in any tails left inside the cowl. Enjoy your bandana crochet cowl!
Pin it for later here: