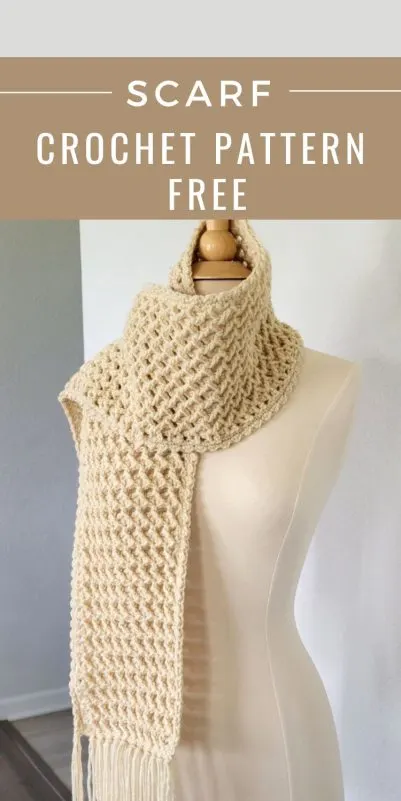
There’s nothing like a handmade scarf to keep you cozy. This scarf crochet pattern free tutorial looks complicated, but it’s actually easy to make.
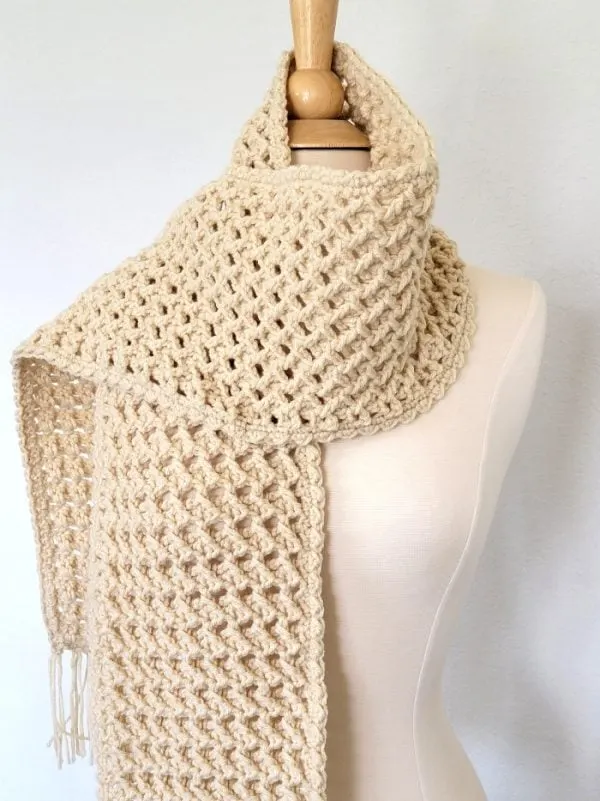
The stitches create a beautiful open texture. It looks stylish without being tricky.
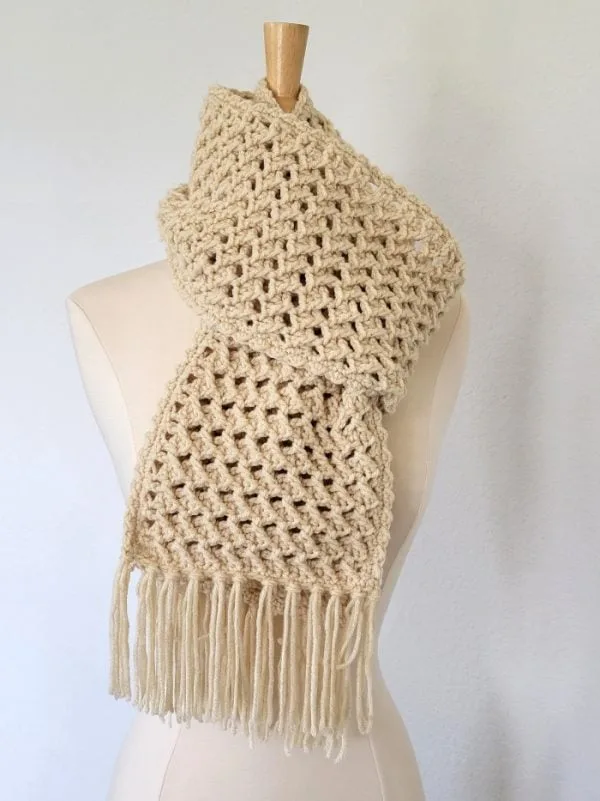
And of course, the fringe gives it that timeless finish. It’s the perfect mix of cozy and classic.
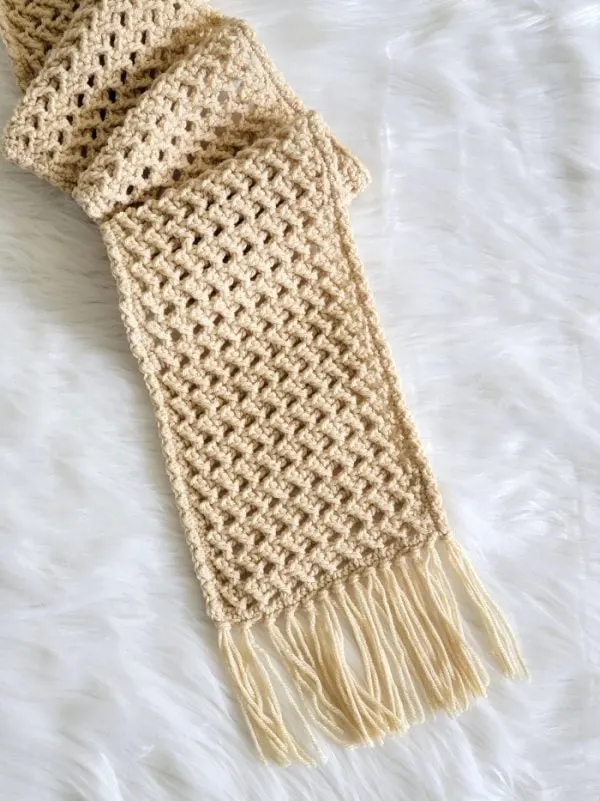
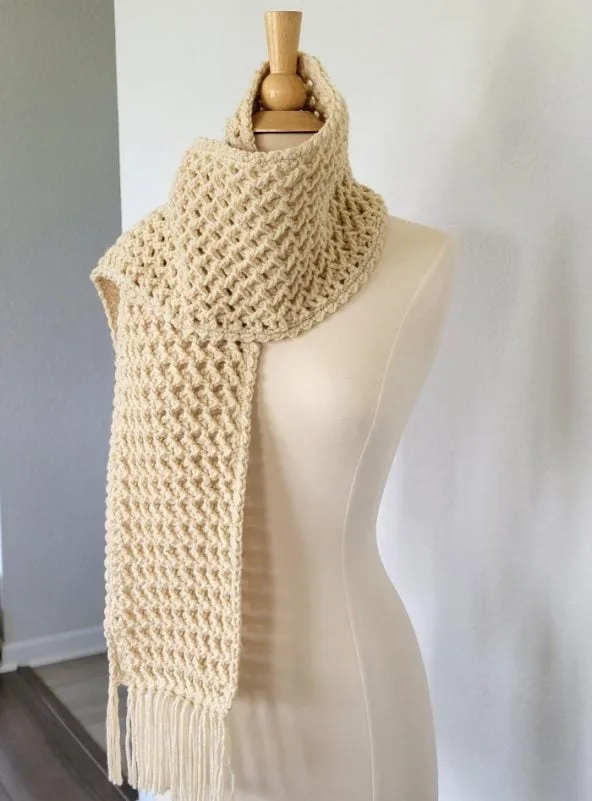
If you want a project that works up quickly, this one’s for you. You’ll have a new favorite scarf in no time.
Crochet Scarf Pattern
Materials
1. Worsted weight yarn. Loops and Threads Impeccable in Heather color was used for this scarf.
2. H (5 mm) hook and hook & US size 7 (4.5 mm) hook for the border
3. Tapestry needle to weave in the ends
Finished Size
68″ long and 7-1/2″ wide. Tassels will add another 6 inches to the length.
Yardage
2 skeins of Loops and Threads Impeccable yarn or 550 yards of any yarn of the same gauge
Stitch Abbreviations
The pattern is written in US terms.
ch: chain
sl st: slip stitch
sc: single crochet
dc: double crochet
YO: yarn over
sk: skip
fpdc: front post double crochet (explanation is given below)
RS: right side of your scarf with texture
Stitch Explanations
fpdc (front post double crochet): See a tutorial for front post double crochet on my blog here: Front Post and Back Post Double Crochet Tutorial.
sc2tog: Pull up a loop in the next 2 sts, YO, and pull through all the 3 loops on your hook to complete your sc2tog.
More Scarf Crochet Patterns:
Crochet Pattern
With the bigger hook, ch 29. You can chain any multiple of 3+2 if you want to adjust the width of your scarf.
Row 1: 1 sc in 2nd ch from hook, *(ch 3, sk 2 chs, 1 sc in next ch), repeat from * to end, turn.——–9 ch-3 loops

1. Shows the sc sts around which you will work your fpdc sts
Row 2 (see pic 1 above): Ch 3, 2 dc in first ch-3 space, fpdc in the first sc before the ch-3 space. This will give you a slanting stitch in front of your work as shown in pic 2 below. *(sk next sc, 2dc in next ch-3 space, fpdc in the skipped sc before the ch-3 space), repeat from * to end, 1 dc in last sc at the corner, turn.—–9 repeats + 1dc

2. Shows slanting fpdc worked into sc sts
Row 3: Ch 3, sk the next st, 1 sc next st (middle st of the repeat), *(ch 3, sk 2 sts, 1 sc in the next st, the middle st of the repeat), repeat from * until you work a sc in the last repeat, ch 2, 1 sc on top of beginning ch-3, turn. ——9 ch-3 loops+ 1 ch-2 loop
Row 4: Ch 3, sk the adjacent ch-2 loop and the sc after it, 2dc in next ch-3 space, fpdc in the skipped sc before the ch-3 space, *(sk next sc, 2dc in next ch-3 space, fpdc in the skipped sc before the ch-3 space), repeat from * to end, 1 dc in beginning ch-1, turn.—–9 repeats
Row 5: Ch 3, sk the next st, 1 sc next st (middle st of the repeat), *(ch 3, sk 2 sts, 1 sc in the next st, the middle st of the repeat), repeat from * until you work a sc in the last repeat, ch 2, 1 sc on top of beginning ch-2, turn. ——9 ch-3 loops+ 1 ch-2 loop
Repeat Rows 4 and 5 until your scarf measures 68″ long and you end in dc row (Row 4). DO NOT fasten off. Tassels will add another 6 inches to the length.

3. Close-up of stitch pattern
Border
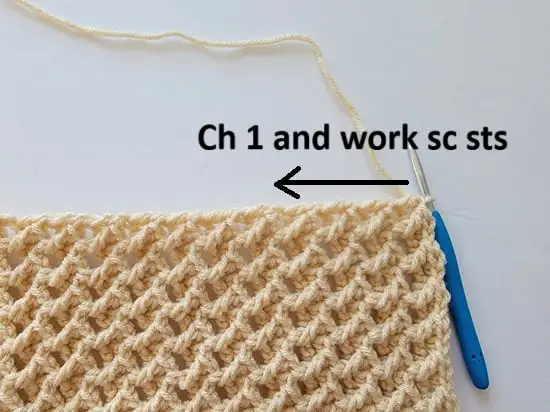
4. Starting the border at the corner
Pattern Notes
Switch to the 4.5mm hook.
Round 1: Ch 1 at the corner, and distribute sc along the row ends (see pic 4 above) as evenly as possible up to the next corner. Insert your hook into the body of the stitches to avoid leaving holes. When you reach the corner, ch 1, work sc across the foundation chain side up to the next corner, ch 1 at the corner, and distribute sc sts along the row ends to the next corner, ch 1 at the corner, and work along the last row as below:
1 sc in next 2 sts, sc2tog across next 2 sts to end, ch 1 at corner, sl st to first sc. Fasten off.
Now, we will reattach the yarn and work a row along the two longer edges of the scarf. On the WS of your scarf, sl st to the corner and work along a long edge, *(hdc in next st, sl st in next st), repeat from * to next corner. If you end in a hdc, sl st in the same st and fasten off. Repeat on the other long edge.
Adding Tassels
Note: Attach tassels on the RS of the scarf.
I used a small book to make tassels. You can also substitute a thick 5.75-inch-wide cardboard for the book. Wrap the yarn multiple times around the small book or your cardboard. Cut along one side to get many strands of the same length.

Take 2 strands, fold at the middle of the strands, and pull through the edge of the crochet scarf to form a loop, and grab the ends with your hook, and pull through the loop (see pic above). Now tug gently to tighten the loop.
First, add a tassel in each corner st, then add one in every 2nd st. Repeat on both edges, and your scarf is complete, enjoy!
Finishing
Weave in all the tails left.
More Scarf Crochet Tutorials:
