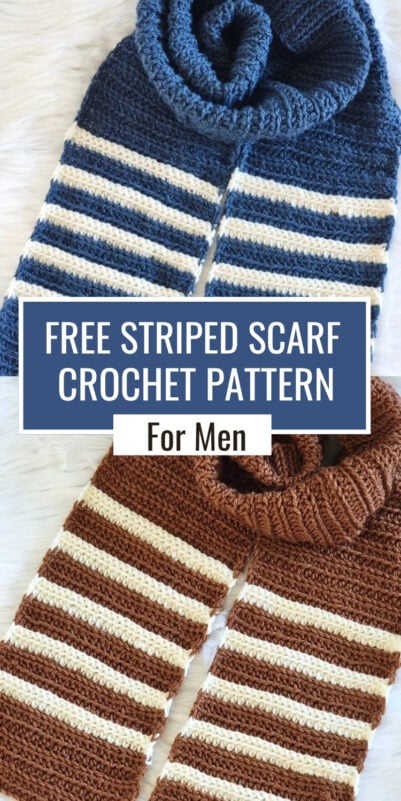
Striped Crochet Scarf Free Pattern for Men
Since it can be hard to find crochet designs for men, I decided to design a striped crochet scarf for men. I absolutely love this combination of navy and brown with the cream-colored stripes.
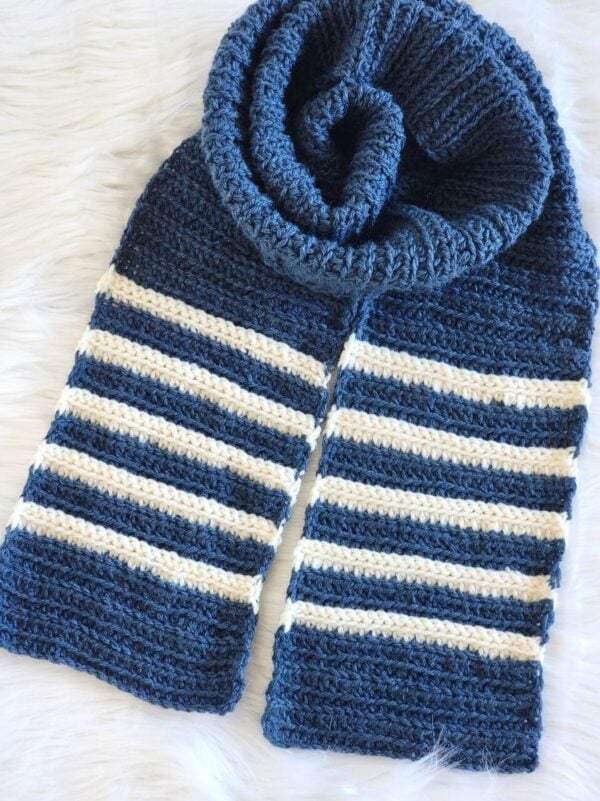
While designing it, I hit a little roadblock. If I worked the scarf from one end to the other, the stripes wouldn’t look the same on both ends. So I decided to make it in two halves and join them in the middle with a slip stitch seam. Have you ever worked a scarf this way?
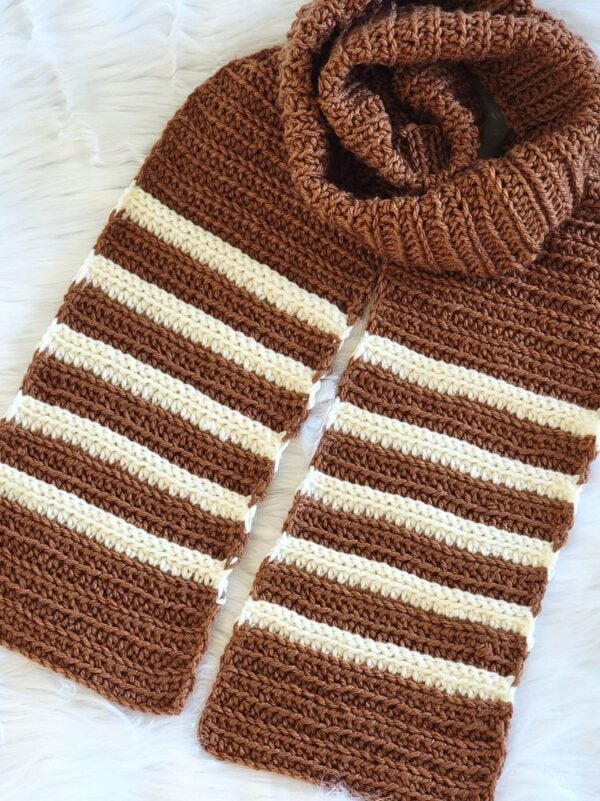
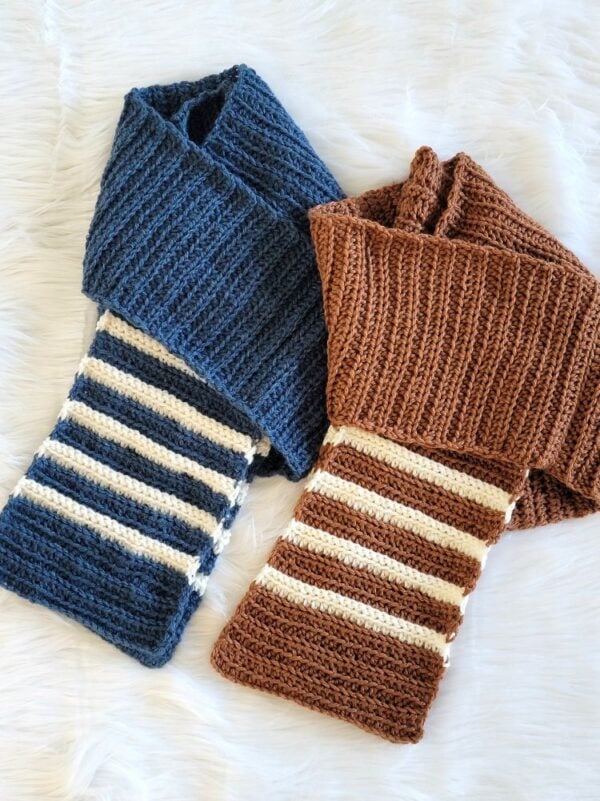
The scarf has a simple knit-look stripe pattern that is subtle and works really well for men. It can be worn tucked under a coat for extra warmth or left hanging loose to show off the stripes.
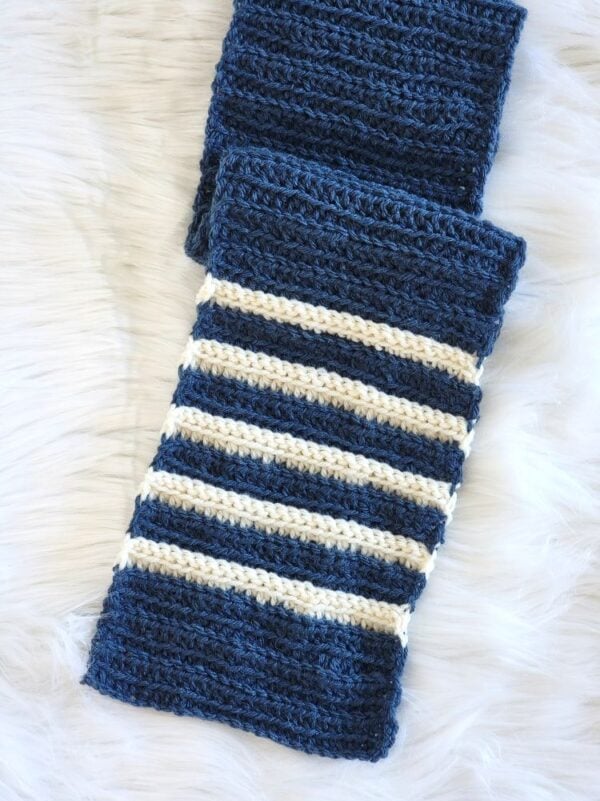
I hope you enjoy making this simple striped scarf pattern as much as I did. I think the classic colors and subtle texture make it a great everyday scarf for the men in your life.
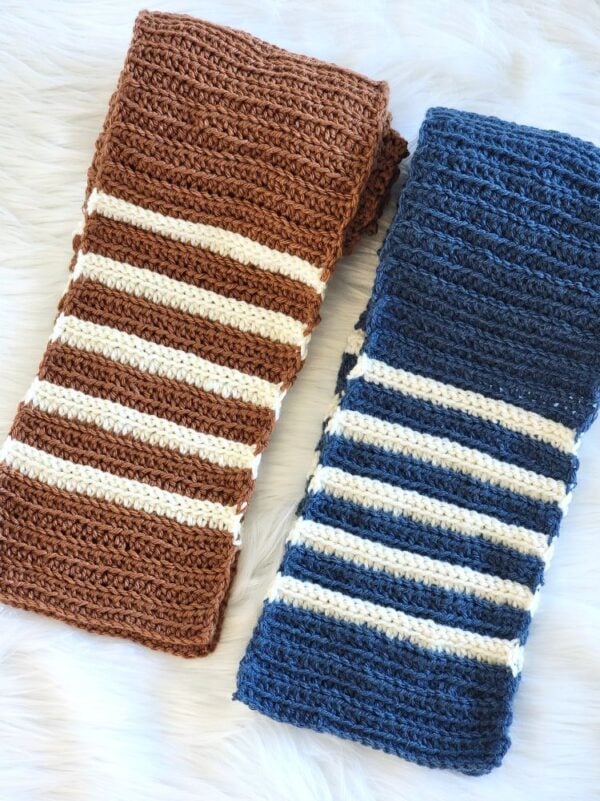
Striped Scarf Crochet Pattern for Men
Pin it for later here.
Materials
1. Worsted weight yarn. Lion Brand Wool-Ease in Denim and Fisherman was used for the Navy blue scarf, and Lion Brand Skein Tones in Truffle and Ivory was used for the brown one.
2. A US size H (5 mm) crochet hook.
3. Tapestry needle to weave in the ends.
Finished size
72″ long and 7-1/2″ wide.
Yardage
2-1/2 skeins or 500 yards of the main color and 1/2 skein or 80 yards of the cream color yarn.
Stitch Abbreviations
The pattern is written in US terms.
ch: chain
sk: skip
sl st: slip st
sc: single crochet
hdc: half double crochet
YO– yarn over
Stitch Explanations
FLO (Front loop only) or BLO (Back loop only): Work your sts inserting your hook only under the front loop or back loop of the stitch (see diagram below).

Gauge
With a size H (5 mm) hook, 14 hdc = 4 inches long
You might also like these free scarf patterns:
No Post Stitch Crochet Cable Scarf
Wanderer Crochet Scarf Pattern
Striped Men’s Scarf Crochet Pattern
Pattern Notes
1. Two identical pieces are made and joined in the middle with a slip stitch seam so the stripes look the same on both ends of the scarf.
2. To join a new color while completing your last hdc, begin the hdc as usual. When you have 3 loops on your hook, YO with the new color and pull through all 3 loops to complete the hdc. Start the next row with the new color.
To join a new color while working the last sl st, insert your hook into the st or loop specified, then YO with the new color and pull it through the st and the loop on your hook to complete the sl st. Start the next row with the new color.
3. I prefer the rugged look of the side edges, but I have also provided instructions for adding an edging if you prefer a more finished look.
If you choose to add the edging, you can weave in the beginning tail as you work each time you change colors. This will reduce the number of tails you have to weave in later. I recommend working over only one tail at a time.
Crochet Scarf Pattern
Row 1: With the Denim/Truffle color yarn, ch 30, 1 hdc in 3rd ch from hook ( beginning ch is not counted as a st), and each ch across to end, turn. (28 hdc)
Row 2: Ch 1 (does not count as a st here and throughout), 1 hdc in FLO of the 1st st and each st across to the last st, 1 hdc through both loops of the last st, turn. (28 hdc)
Row 3: Ch 1, 1 hdc in BLO of the first st and each st across to end, turn. (28 hdc)
Row 4: Repeat Row 2
Row 5: Repeat Row 3
Row 6: Ch 1, 1 hdc in FLO of the 1st st and each st across to last st, 1 hdc through both loops of the last st while joining the cream color yarn, fasten off the main color, turn. (28 hdc)
Row 7: Ch 1, 1 hdc in BLO of the first st and each st across to end, turn. (28 hdc)
Row 8: Ch 1, 1 sl st in the FLO of the first st and each st across to the last st, sl st in FLO of the last st while joining the main color back, fasten off the cream color yarn, turn. (28 hdc)
Note: The sl sts will be stuck behind your work.
Row 9: Ch 1, 1 hdc in the BLO of the first sl st. This st might loosen as you work it, so pull the cream yarn tail to tighten it. Work 1 hdc in the BLO of each remaining sl st across to the end. Turn.
Row 10: Ch 1, 1 hdc in FLO of the 1st st and each st across to last st, 1 hdc through both loops of the last st while joining the cream color yarn, fasten off the main color, turn. (28 hdc)
Repeat Rows 7 to 10 three more times. You will now have 5 cream stripes and 2 rows of the main color worked after that.
Row 23 (Right Side or RS): Ch 1, 1 hdc in BLO of the first st and each st across to end, place a marker on this side of the fabric to indicate the RS, and turn. (28 hdc)
Row 24: Ch 1, 1 hdc in FLO of the 1st st and each st across to last st, 1 hdc through both loops of the last st, turn. (28 hdc)
Repeat Rows 23 and 24 until your scarf measures approximately half of your desired finished length, ending with a BLO row. Fasten off. For example, I wanted my finished scarf to be 72″ long, so I fastened off when this piece measured 36″.
Second Half of the Scarf
Follow the same pattern above to make another identical piece, but this time end with a FLO row and DO NOT fasten off.
Joining the Two Pieces
Place the first piece with the RS facing up. Place the second piece on top of it with the RS facing down, so the right sides are facing each other.
Insert your hook through the corner of the bottom layer and pull the working loop from the top layer through. Sl st the two pieces together, working through the FLO of each st on the bottom layer and both loops of each st on the top layer. Fasten off.
Edging
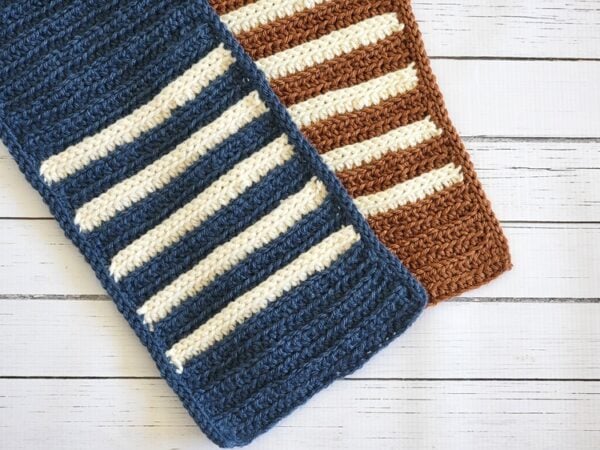
Row 1: Working on the RS of the scarf with the main color yarn, sl st into the corner and ch 1. Work along the long edge of the scarf, distributing sc sts as evenly as possible until you reach the next corner. Turn.
Row 2: Switch to a bigger hook if you sl st tight, ch 1, 1 sl st in FLO of the next st, and each st across to the next corner, fasten off.
Repeat the same 2 rows on the other long edge of your scarf.
Finishing
1. Weave in all the remaining tails along the back of the scarf. If the shorter edge is wider than the rest of the scarf, you can gently draw it in as you weave in the tails along that edge.
2. If you opted not to add the edging, you might find that the side edges curl or roll over. If needed, steam-block the edges by holding a steam iron close to the back of the scarf without letting the iron touch the yarn. Do not place the iron directly on acrylic yarn, as the heat can damage or melt the fibers.
If you have never steam-blocked this yarn before, I recommend testing it on a small swatch first.
You might also like these free scarf patterns:
Wanderer Crochet Scarf Pattern
Pin it for later: