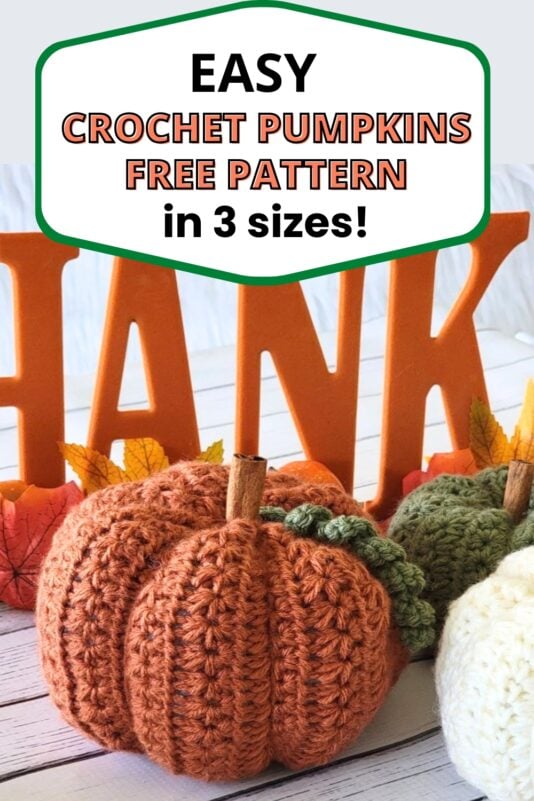
Crochet Pumpkin Free Pattern, Star Stitch Pumpkins
How adorable is this star stitch crochet pumpkin free pattern? After more than a decade of running a crochet blog, I don’t know why I never thought of designing pumpkins before!
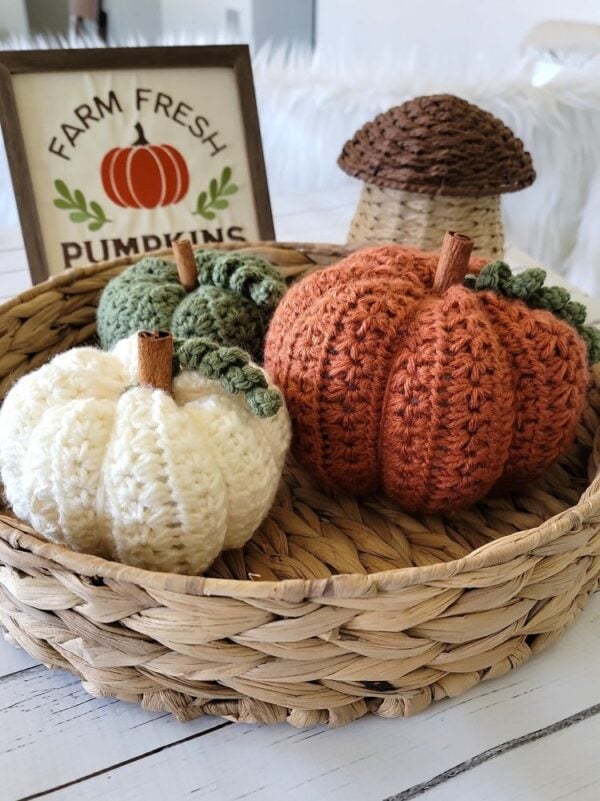
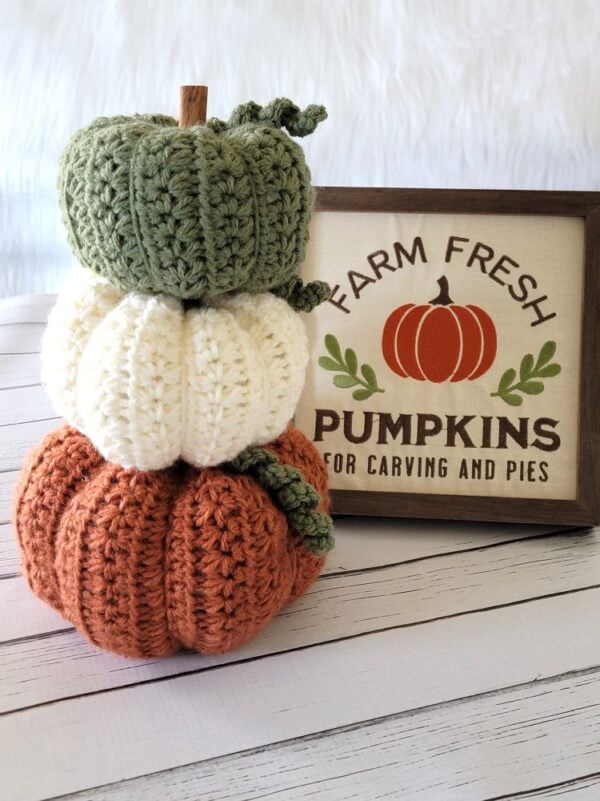
I am so in love with how these turned out that I already want to make more and more of them. I’ve even ordered more yarn so I can try a few different designs.
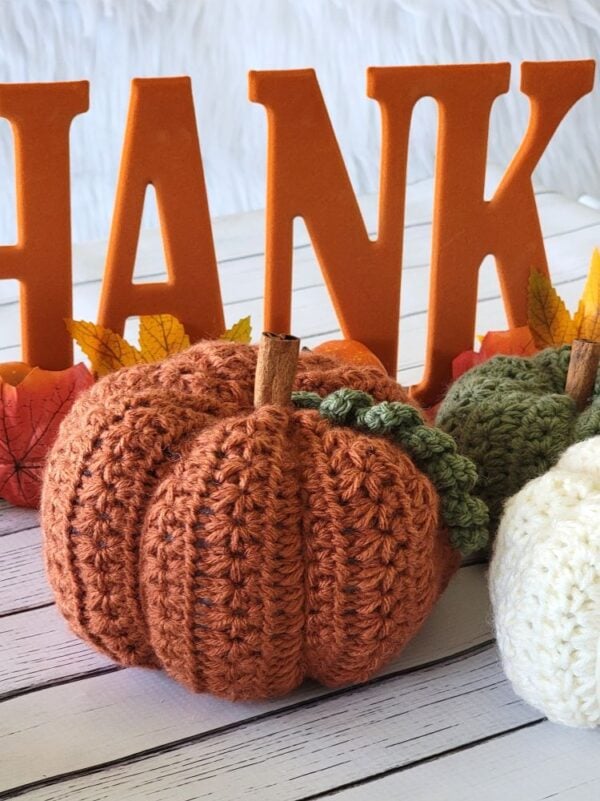
Do you think I should stick with the traditional fall colors for all of them, or would a different color theme be fun too? I’m thinking it might be nice to experiment with some unexpected colors.
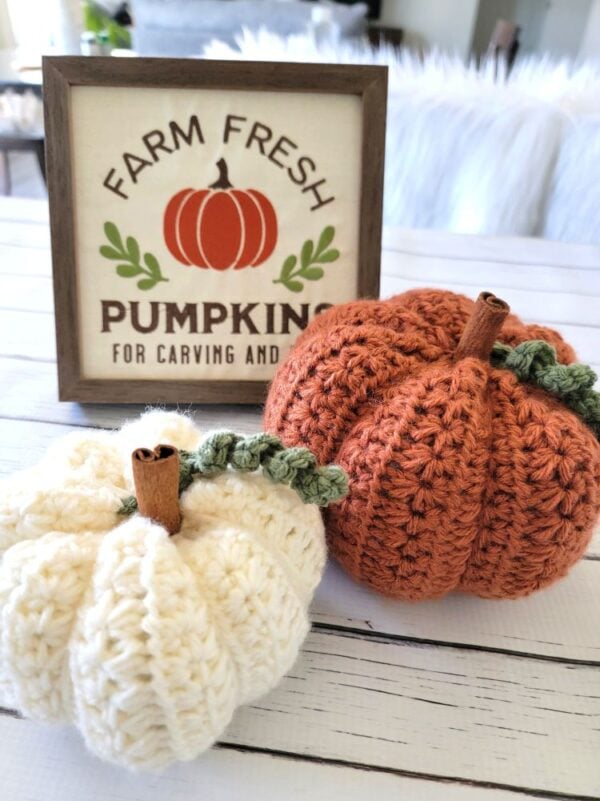
The pumpkin is worked flat using the beautiful star stitch and then shaped at the end. It’s such an easy and exciting fall project, and I hope you’ll love making these pumpkins as much as I did!
Crochet Pumpkin Free Pattern
Pin it for later here.
Materials
1. Size 4 medium worsted-weight yarn. Loops & Threads Impeccable yarn in Baked Clay, Lion Brand Skein Tones yarn in Ivory, and Lion Brand Pound of Love yarn in Olive were used to make the pictured crochet pumpkins.
2. A G (4 mm) crochet hook
3. Tapestry needle to weave in the ends
4. Thick Round Cinnamon Sticks for the stem
5. Fiber fill to stuff the pumpkins
Finished size
Small: 4.5″ wide
Medium: 5.5″ wide
Large: 7″ wide
Yardage
Small: 100 yards
Medium: 120 yards
Large: 175 yards
Stitch Abbreviations
The pattern is written in US terms.
ch: chain
sk: skip
sl st: slip st
sc: single crochet
hdc: half double crochet
YO– yarn over
Stitch Explanations
1. hdc2tog: YO, pull up a loop in the st specified, YO again and pull up a loop in the next st, YO, and pull through all 5 loops on your hook. – hdc2tog completed
2. Front Loops only (FLO): Work inserting your hook or needle only under the loop that is in front, as shown in the picture below.

Gauge
Exact gauge is not critical for this pattern. Keep tension normal. Do not work with a loose tension.
Pattern Notes
1. Overview: First, we will crochet the body of the pumpkin as a flat piece and seam the ends together to form a tube. We will then cinch the bottom closed and fill the pumpkin with fiberfill.
Next, we will place the cinnamon stick in the center and cinch the top closed around it. Then wind yarn through the center and around the outside of the pumpkin to divide it into segments.
Lastly, we will make the curly vine and sew it behind the cinnamon stick stem. Any remaining yarn tails can be tucked inside the pumpkin.
2. The stitch counts for bigger sizes are given in the order: Small (Medium, Large) at the end of each row or round.
Body of the Pumpkin
Ch 28 (32, 36).
Row 1: Pull up a loop in the 2nd ch from hook, pull up a loop in each of the next 3 chs. You will have 5 loops on your hook; yarn over and pull through all 5 loops, then ch 1 to close the star and form the eye of the star.
* (For the next star, pull up a loop in the ch-1 eye of the previous star, pull up a loop in the same chain where the last loop of the previous star was made, pull up a loop in each of the next 2 chs. You will have 5 loops on your hook; yarn over and pull through all 5 loops, then ch 1 to close the star). Repeat from * until you have 1 ch remaining, 1 hdc in the last ch, turn. 12 (14, 16) stars
Row 2: Ch 2 (counts as a hdc), skip first st, work 2 hdc in the first ch-1 eye, *(sk next st, work 2 hdc in next ch-1 eye), repeat from * across until just the beginning ch is left. Work 1 hdc into the top of the beginning ch, turn. 26 (30, 34) hdc
Row 3: Ch 3, pull up a loop in the 2nd ch from the hook. Pull up a loop in the next ch. Then pull up a loop in the first 2 sts. You will have 5 loops on your hook, yarn over and pull through all 5 loops, then ch 1 to close the first star.
*(For the next star, pull up a loop in the ch-1 eye of the previous star, then pull up a loop in the same st where the last loop of the previous star was made, and pull up a loop in each of the next 2 sts. You will have 5 loops on your hook, yarn over and pull through all 5 loops, then ch 1 to close the star).
Repeat from * until just the beginning ch is left, hdc2tog across same st where the last loop of the previous star was made, and beginning ch, turn. 12 (14, 16) stars
Row 4: Ch 2 (counts as a hdc), skip first st, work 2 hdc in the first ch-1 eye, *(sk next st, work 2 hdc in next ch-1 eye), repeat from * across until just the beginning ch is left. Work 1 hdc into the top of the beginning ch, turn. 26 (30, 34) hdc
Repeat Rows 3 and 4 until your piece measures approximately 10 (12, 14.5) inches. Your last row should be a hdc row.
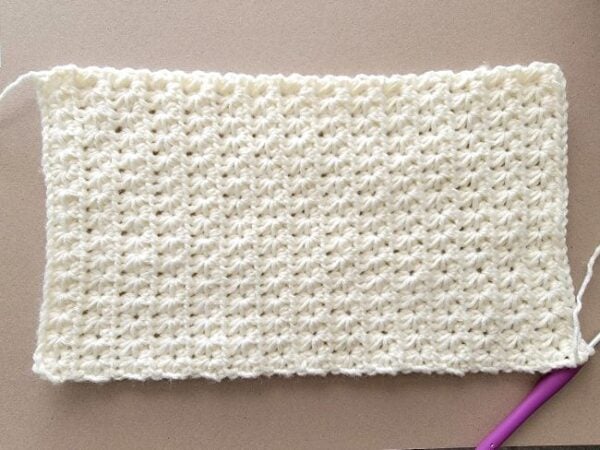
Shaping the Pumpkin
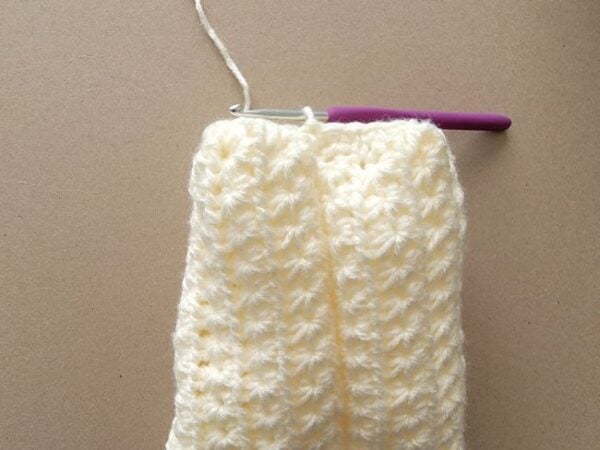
1. Join the first and last rows together on the wrong side of the crochet fabric by working slip stitches through the free loops on the foundation chain and the stitches on the last row, joining each stitch across.
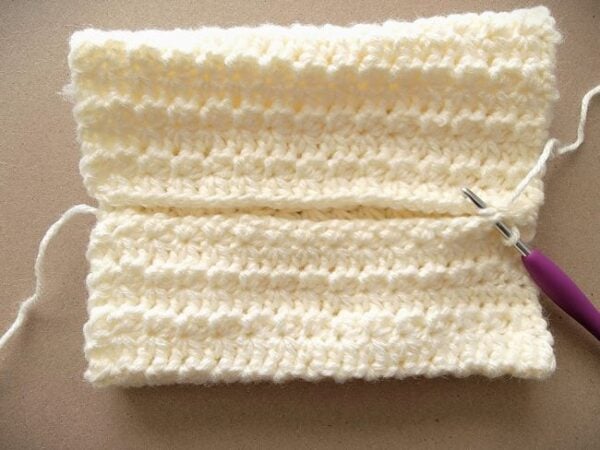
2. Turn the tube right side out and pass the skein through the tube if needed. Then continue to work the sc round below to make the opening smaller before cinching.
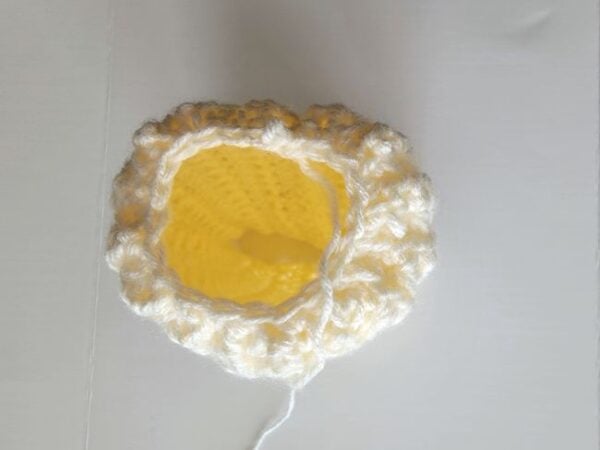
3. Ch 1 at the seam, 1 sc at the seam, and work an average of 2 sc across every 3 rows all the way around the opening. Join with a sl st to the first sc. Fasten off, leaving a 20-inch long yarn tail. Thread the yarn tail through the front loops only (FLO) of all the sc stitches around the opening. Pull the yarn tail firmly to gather and close the opening. Secure the yarn tail with a knot and hide the remaining tail inside the pumpkin. This will be the bottom of your pumpkin.
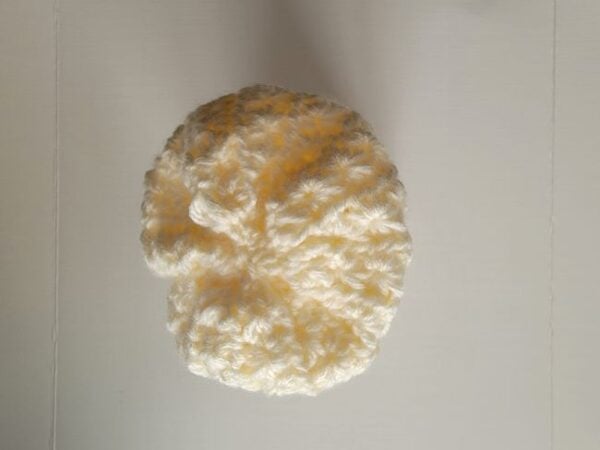
4. Stuff and Close the Pumpkin: Fill the pumpkin evenly with fiber fill; keep pushing the filling to the sides, making sure it is firm and well-shaped. Your pumpkin will look pretty tall now.
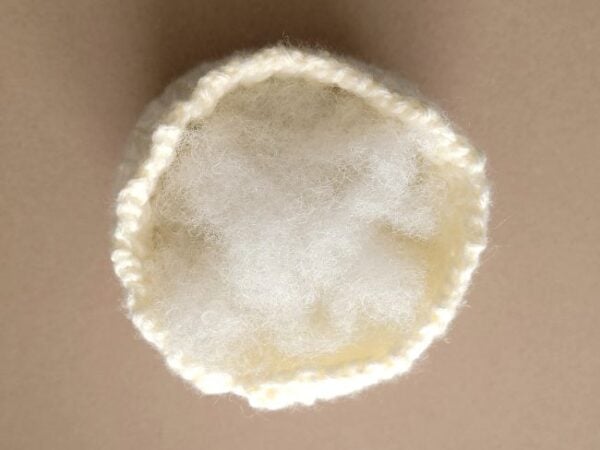
5. Using the same method as above, work a round of sc evenly around the top opening. Fasten off, leaving a long 20-inch tail. Thread the yarn tail through the FLO of all the sc stitches. Place the cinnamon stick in the center, then pull the tail firmly to gather the opening closed around the cinnamon stick. Secure the yarn and weave in the remaining tail.
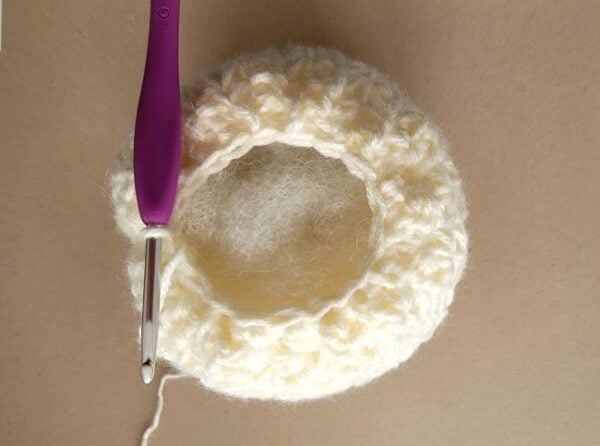
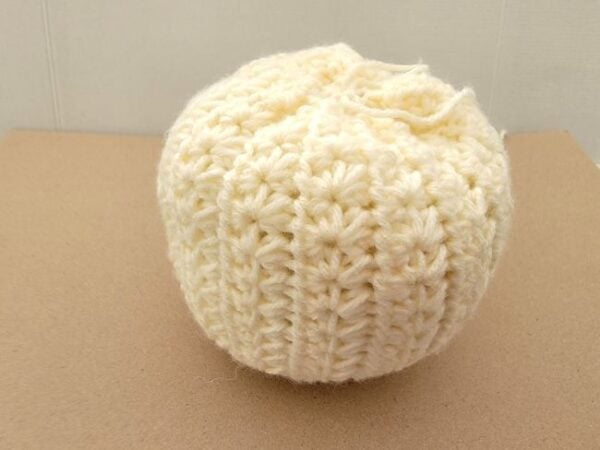
You can now remove the cinnamon stick and continue with the next steps. Once you have adjusted the opening to the right size, you should be able to easily insert and remove the cinnamon stick when stacking your pumpkins.
Adding Segments to the Pumpkin
Using a 4 (4, 5)-yard-long strand of yarn and a long tapestry needle, insert the needle through the bottom center of the pumpkin and bring it out through the top center.
Bring the yarn down along the outside of the pumpkin, then insert the needle through the bottom center again and bring it out through the top. Pull the yarn firmly to create a nice indentation (see pic 10 below).
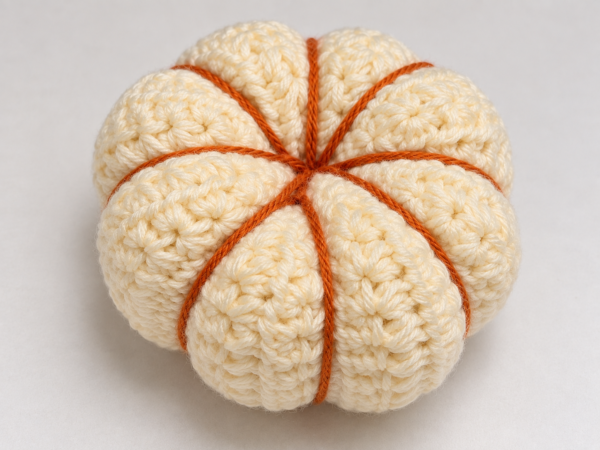
Add more segments by repeating this step. Pull the yarn firmly each time to give your pumpkin its characteristic shape.
I found it easiest to first divide the pumpkin into 4 equal sections. Then, make an “X” between those shaping lines to divide each section in half, giving you a total of 8 segments.
Once all 8 segments are formed, secure the yarn at the bottom with a couple of knots and tuck the remaining tail inside the pumpkin.
Curly Vine Pattern
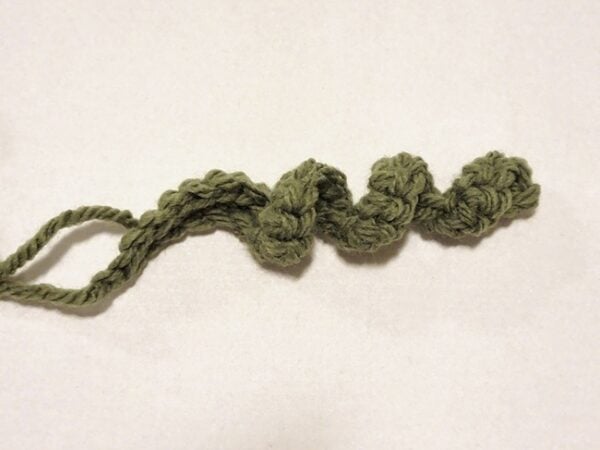
Leave a 12-inch tail and ch 19 (21, 25), 2 sc in 2nd ch from hook and each ch across to end, fasten off with a 12-inch tail. It will curl on itself.
Finishing the Pumpkin
1. Place the cinnamon stick back. Sew the curly vine behind it using both the tails, and then hide the remaining tails inside the pumpkin.
2. Hide any remaining tail inside the pumpkin.
Pin it for later: