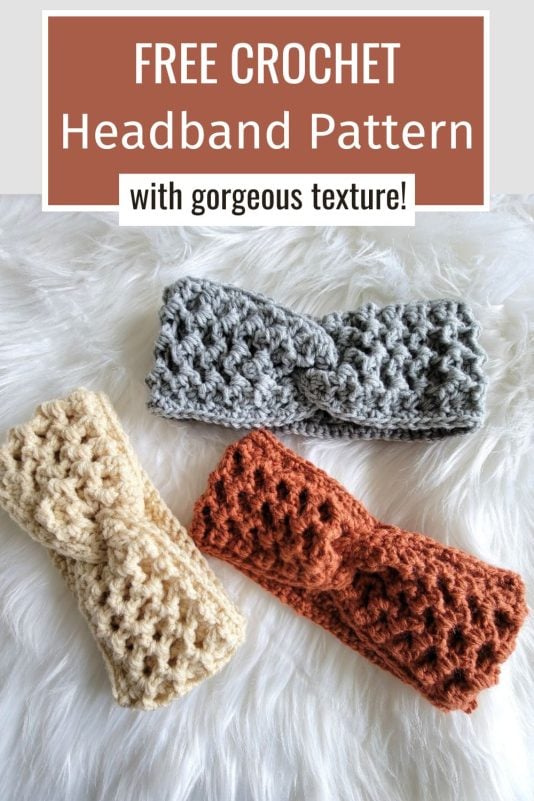
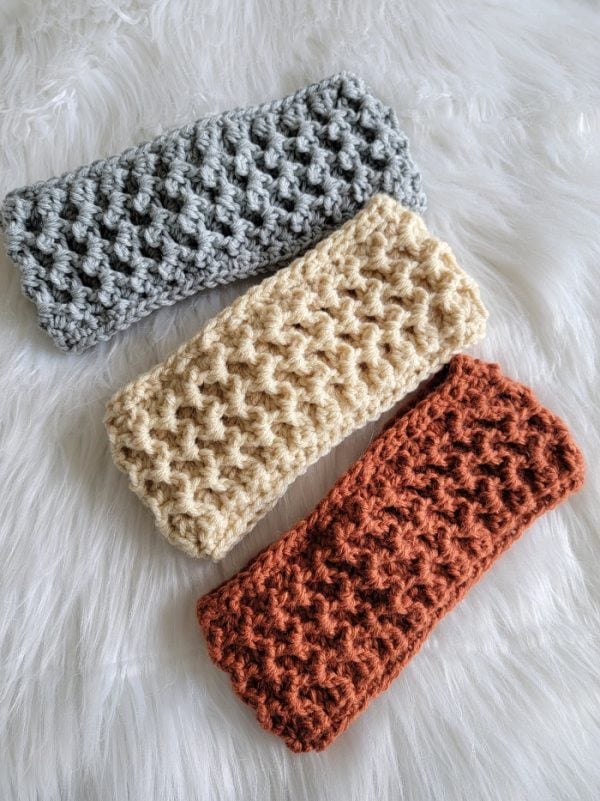
Since spring seems delayed but we’re hesitant to keep wearing our winter hats, this crochet headband free pattern will come in handy. They feature an easy twist design that keeps you stylish and warm at the same time.
These crochet twisted ear warmers were made using worsted weight yarn, although they will look great in DK weight yarn as well. The pattern also provides the initial chain multiples so you can easily adjust the width if you’d like.
These are great stash busters and an amazing way to build your gift inventory or craft fair stock with ease. They also work up quickly, making them perfect for last-minute handmade gifts.
Crochet Headband Pattern
Materials
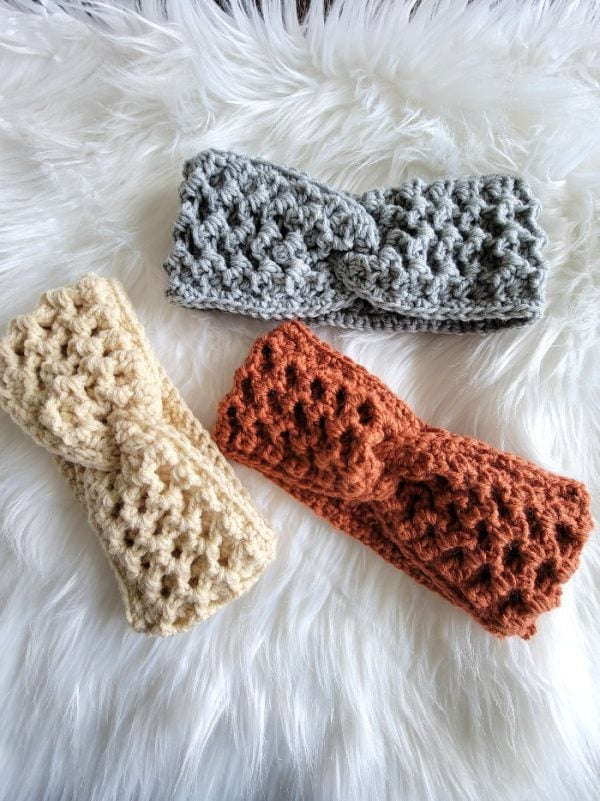
1. Worsted weight size 4 yarn. Loops and Threads Impeccable yarn in colors Pale Gray, Baked Clay, and Heather were used for the sample crochet headbands.
2. A size H (5 mm) hook.
3. Tapestry needle to weave in the ends.
Finished Size
Toddler: 3-1/2″ wide and 16″ in circumference
Child: 4″ wide and 18″ in circumference
Adult Small/Medium: 4″ wide and 19″ in circumference
Adult Large: 4″ wide and 20″ in circumference
Yardage
90 yards for the Toddler size and 100 yards for the bigger sizes.
Stitch Abbreviations
The pattern is written in US terms.
ch: chain
sk: skip
sl st: slip st
sc: single crochet
hdc: half double crochet
YO– yarn over
fpsc: front post single crochet
WS: wrong side of crochet fabric
Stitch Explanations
Front post single crochet (fpsc): It is worked like a regular sc except for the way you insert your hook. Insert your hook to the back through the gap before the post of the hdc st specified, bring it back to the front through the gap after the post, pull up a loop, YO, and pull through 2 loops to complete a fpsc.
You might also like these headband crochet patterns:
Crochet Headband Tutorial
Pattern Notes
Stitch counts for different sizes are given in the order: Toddler (Child, Adult Small/Medium, Adult Large)
Chain 14 (18, 18, 18). You can chain any multiple of 4+2 to increase or decrease the width of the headband.
Row 1: 1sc in 2nd ch from hook and each ch across to end, turn. 13 (17, 17, 17)sc
Row 2: Ch 2 (counts as first hdc here and throughout), 2 hdc in the same st as ch 2, *[sk 3 sts, (1 sc, ch 2, 2 hdc) all into the next st], repeat from * until 4 sts left, sk 3 sts, 1 sc in last st, and turn. 3 (4, 4, 4) projections or repeats
Row 3: Ch 2, 2 hdc in the same st as ch 2, *[sk next hdc, fpsc in next hdc, ch 2, 2 hdc in the adjacent ch-2 space], repeat from * and after 2 hdc in last ch-2 space, sk next 2 hdc, fpsc around beginning ch 2, turn. 3 (4, 4, 4) projections or repeats
Repeat Row 3 until your headband measures 16 (18, 19, 20) inches in length. Do not fasten off.
Border
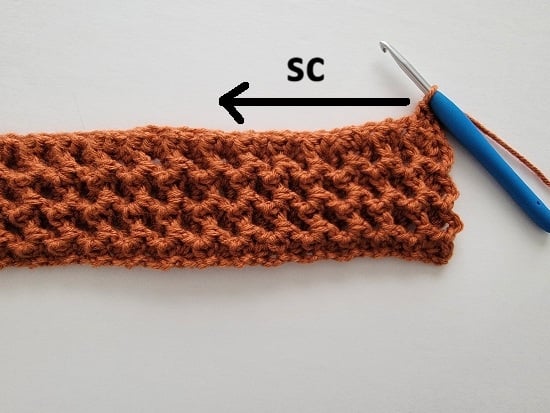
1. Ch 1 at the corner and distribute sc stitches along the left edge
Ch 1 at the corner and evenly distribute sc sts along the long left edge of the headband up to the next corner (see pic 1 above), 1 sl st in each of the free loops on the foundation chain side, ch 1 at the next corner, distribute sc sts along the long right edge of the headband up to the next corner, ch 1 at the corner.
1 sc in beginning ch, *(1 sc in next 2 sts, 1 sc in next ch-2 space), repeat from * to last sc at the corner, 1 sc in last sc, fasten off with a 1/2-yard tail.
Joining the Crochet Headband
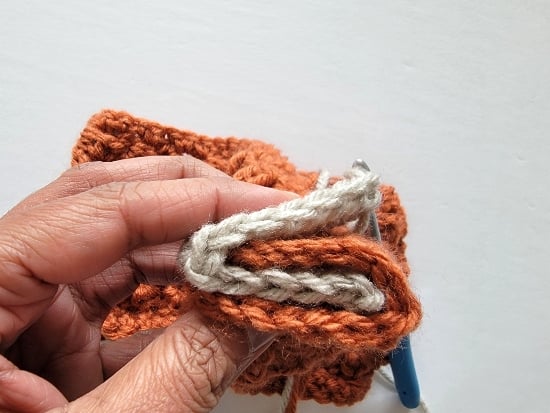
2. Pinch the two ends and tuck them into each other as shown. One end is shown in a contrasting color for clarity.
Make sure the right side (the side where you worked the border) is facing up. Then pinch the 2 shorter ends and insert one fold into the other as shown in pic 2 above. One end is shown in a different color for clarity.
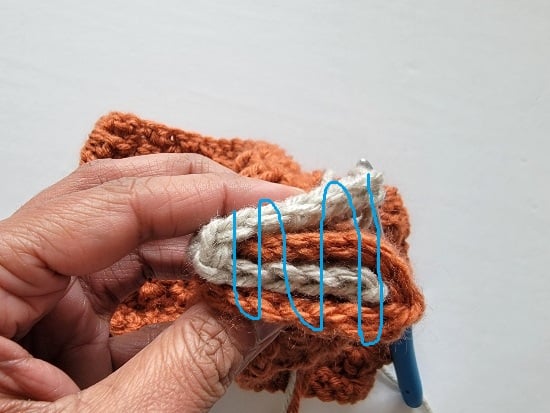
3. Sew the 4 layers together
Now, sew the 4 layers together as shown in pic 3 above. Make a couple of knots and fasten off. You can also sl st the 4 layers together but can be a little tricky to catch the edges.
Finishing the Crochet Ear Warmer
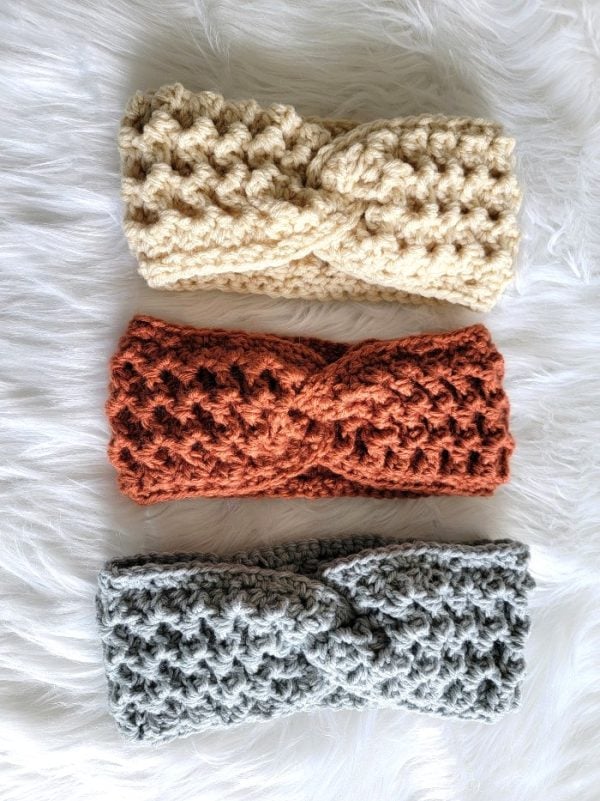
Weave in all the tails and turn your crochet headband inside out. It will have a nice twist design. Enjoy!
You might also like these headband crochet patterns:
15 Minute Ear Warmer for Women
Twist Ear Warmer Crochet Pattern
Pin it for later here: