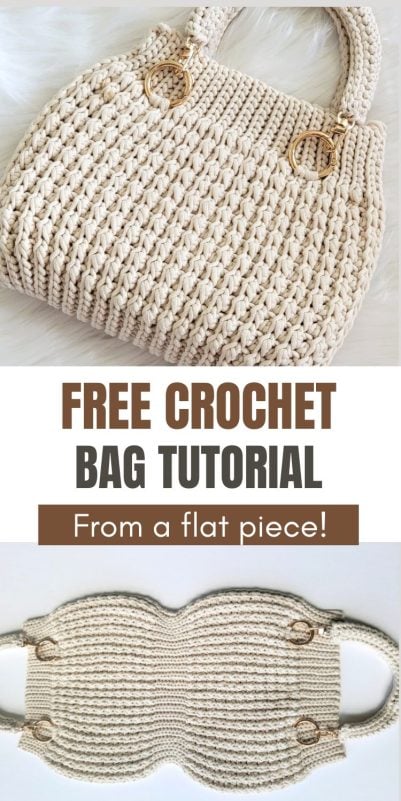
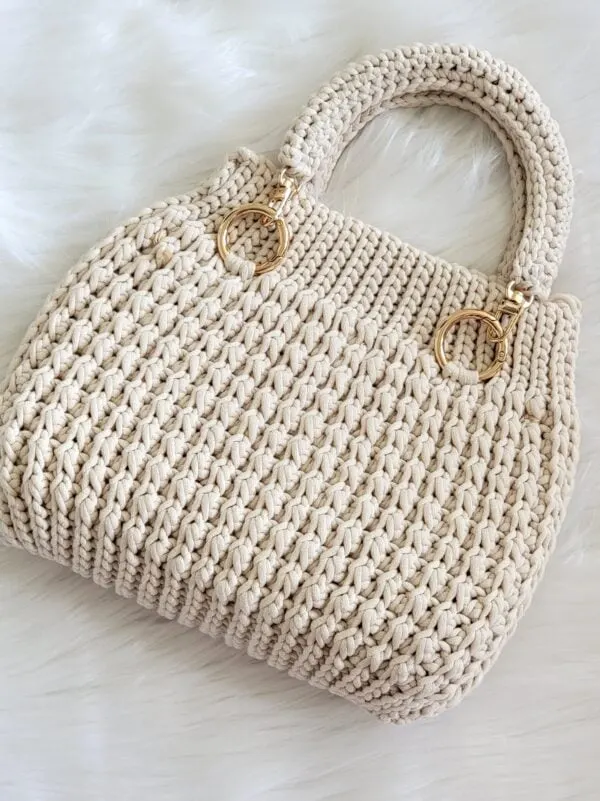
Introducing the Audrey handbag, a timeless mini crochet bag with effortless elegance.

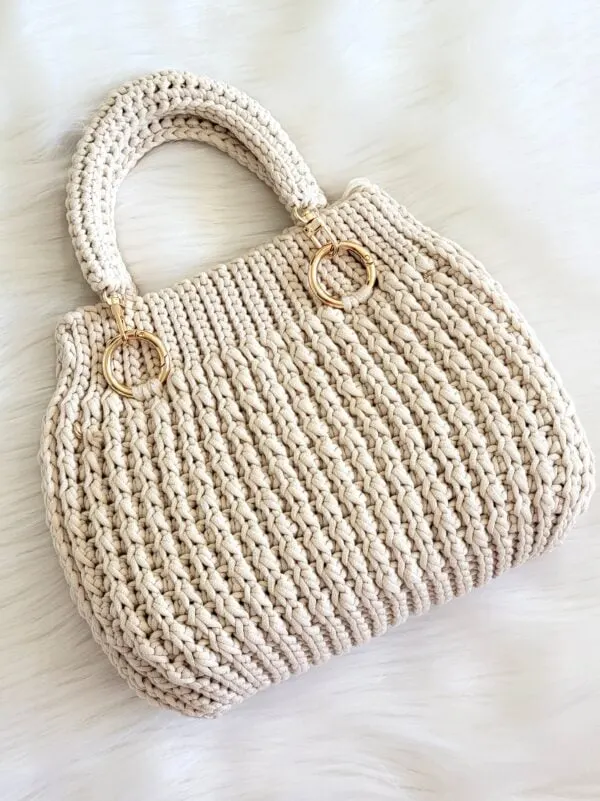
The Audrey Handbag is a crochet classic inspired by the iconic style of Audrey Hepburn. With its soft, sweater-like texture and modern gold accents, this bag is the perfect blend of cozy and sophisticated.

Whether you’re headed to brunch, an evening out, or just want to elevate your everyday look, The Audrey is designed to be both stylish and functional. Its structured shape and sturdy handles make it practical, while its handmade charm makes it one-of-a-kind.
Handmade with care, The Audrey Handbag is more than just an accessory — it’s a statement of grace and simplicity. Let’s make one together!
Crochet Mini Bag Pattern
Pin it for later here.
Materials
Note: This bag includes a plastic canvas and a fabric lining to help it hold its shape better.
1. Bernat Maker yarn in Cream color. It is a size 5 Bulky weight T-shirt yarn.
2. A K (6.5 mm) hook and an H (5mm) hook.
3. Locking stitch markers
4. 12-inch golden chain strap (measured end to end). I removed links from a 15.7″ one to make it 12″.
5. A pair of 1″ keychain rings for attaching the straps.
6. Lining fabric– 1/2 yard.
7. Plastic canvas to stiffen the body of the bag.
8. Matching sewing thread and needle to attach the lining.
Finished Size of the Mini Crochet Bag
10″ wide and 7-1/2″ tall
Yardage
1 skein or 317 yards
Stitch Abbreviations
ch: chain
st: stitch
sl st: slip stitch
sc: single crochet
hdc: half double crochet
BLO: Back loop only (see stitch explanation below)
YO: yarn over
RS: Right side or outside of the bag
WS: Wrong side or inside of the bag
Gauge
With K hook, 12 sc sts and 14 rows = 4″ square
Stitch Explanations
Sl st in the Back Loops Only (BLO): Instead of inserting your hook under both the loops of your stitch, you will insert it only under the back loop and leave the front loop free, see the picture below.


More Crochet Bag Patterns
Easy Crochet Bag from 4 Rectangles
Crochet Pattern
Overview
This bag is worked flat, stiffened with plastic canvas, and the handles are attached. It is then folded in half, the sides are seamed, and finally, a lining is added to complete the bag.
Ch 72.
Row 1: Working into the back bumps of the chain throughout the row, 1 sl st in the 2nd ch and next 8 chs, (1 hdc in next ch, 1 sl st in next ch)11 times, 1 sl st in next 9 chs, *(1 hdc in next ch, 1 sl st in next ch)11 times, 1 sl st in remaining 9 chs to end, turn. (72 sts)
Row 2: Ch 1 (does not count as a st here and throughout), 1 sl st in the BLO of the first 9 sts, (1 sl st in the BLO of next st, 1 hdc in the BLO of next st)11 times, 1 sl st in the BLO of next 9 sts, (1 sl st in the BLO of next st, 1 hdc in the BLO of next st)11 times, 1 sl st in the BLO of next 9 sts to end, turn. (72 sts)
Row 3: Ch 1 (does not count as a st here and throughout), 1 sl st in the BLO of the first 9 sts, (1 hdc in the BLO of next st, 1 sl st in the BLO of next st)11 times, 1 sl st in the BLO of next 9 sts, (1 hdc in the BLO of next st, 1 sl st in the BLO of next st)11 times, 1 sl st in the BLO of next 9 sts to end, turn. (72 sts)
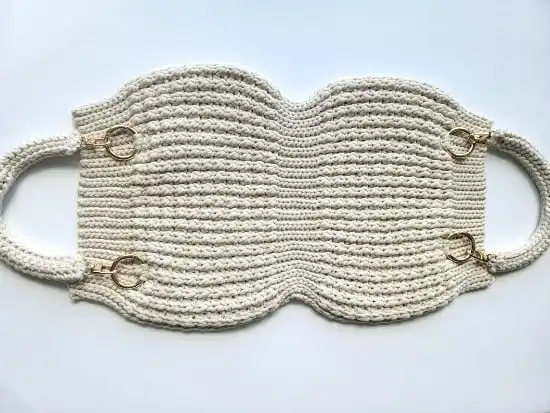
Repeat Rows 2 and 3 until you have worked a total of 41 rows, fasten off, and weave in any ends into the side you want to be the inside or wrong side of your bag. Your finished piece will now look as in pic 1 below.
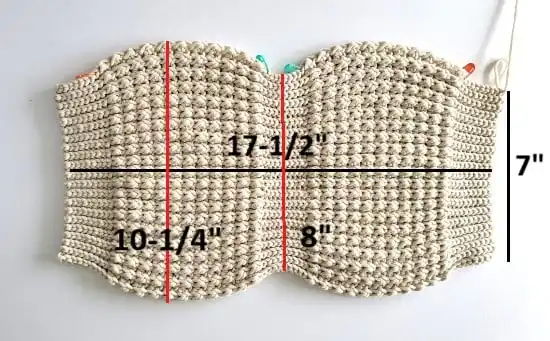

1. Finished body of the bag
Preparing the Lining
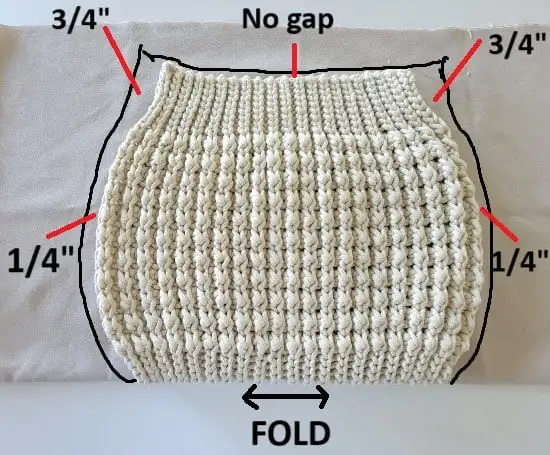

2. Align the folds of the lining fabric and the bag, trace around the bag, leaving gaps as shown
Take your lining fabric and fold it in half to fit the bag. Fold the bag in half as well, and place the fold of the bag on the fold of the lining fabric. Trace around the bag, leaving a 1/4-inch seam allowance along the sides.
When you reach the top 2 inches of the sides, increase the seam allowance to about 3/4 inch on each side (see pic 2 above). If the lining is narrower at the top, it will be difficult to sew it neatly to the bag. Along the top edge, trace close to the actual edge of the bag without adding a gap. Once traced, cut out the lining.
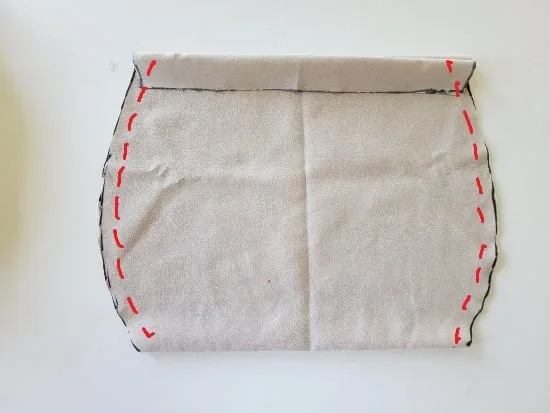

3. Fold the top edges down by 3/4″ and sew the sides shut.
Fold the top edges down by 3/4″ and sew the sides closed as shown in pic 3 above. When sewing by hand, I used a backstitch with a 1/2″ seam allowance. You can also use a sewing machine. Keep the prepared lining aside for later.
Adding the Plastic Canvas
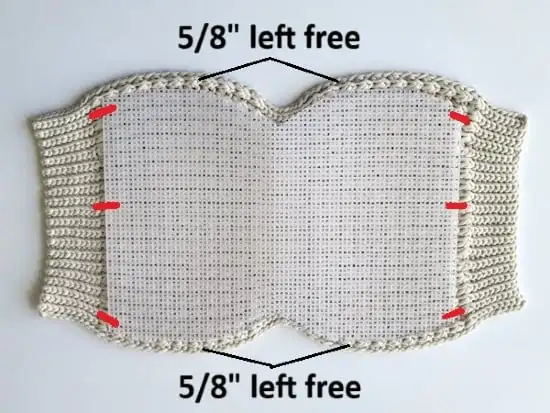

4. Cut out a piece of plastic canvas in the shape of the bag and sew it at the points shown by red lines.
Cut a piece of plastic canvas in the shape of the bag (see pic 4 above). I used a Sharpie to outline the shape before cutting, but be careful not to stain your bag if you use one.
The plastic canvas will help stiffen the bag. It should be 5/8″ smaller on the sides and long enough to reach the start of the slip-stitch ribbing. If it’s any shorter, you won’t be able to attach the bag handles to it, so make sure it extends all the way up to the ribbing.
Using yarn, sew the plastic canvas to the bag at the points shown by the red lines in pic 4 above. Work from the Right Side of the bag, inserting your needle through the grooves on the surface of your bag to keep your stitches from obscuring the stitch pattern.
T-shirt yarn can snag if you pierce the fibers, so take your time and insert the needle only through the gaps between stitches. Finish with a couple of knots on the inside and trim the ends. There’s no need to weave the tails in since the lining will hide them.
Making the Crochet Bag Handles
Row 1: Leave a 1/2 yard tail and with the H (5mm) hook, ch 33, 1 sc in 2nd ch from hook and across to end, turn. (32 sc)
Row 2: Ch 1 (does not count as a st here and throughout), 1 sc in first st and each st across to end, turn. (32 sc)
Row 3 to 6: Repeat Row 2, but do not fasten off.
Now check if your piece is long enough to go around the golden chain strap and will extend from the base of one buckle to the other. If not, redo the pattern with more or fewer chains.
Adding the Chain Strap to the Handle
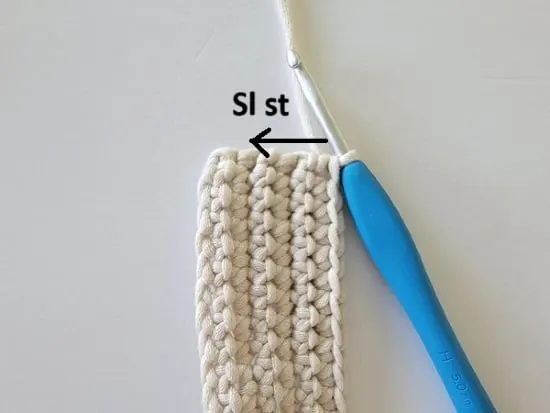

5. After the 6th row, sl st along the shorter edge to finish it. Do not fasten off yet.
Continue with your working yarn and sl st along the shorter edge to finish it (see pic 5 above). Do not cut the working yarn off. Using the tail left at the beginning of this strap, make sl sts along the other shorter edge as well and fasten off.
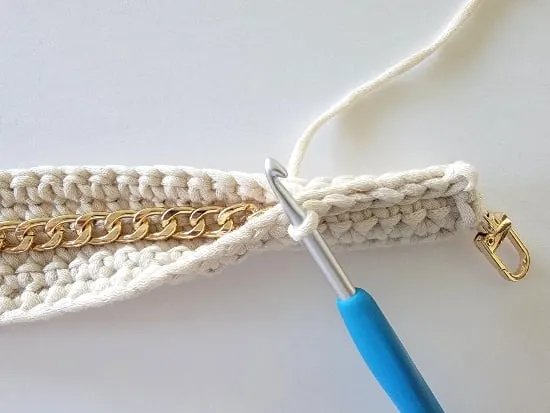

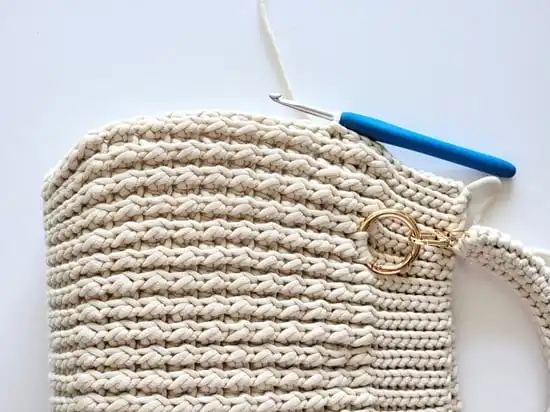
6. Place the golden chain inside the single crochet strip and sl st the longer ends together. Only the buckle is left exposed.
Place the golden chain inside the single crochet strip you made (see pic 6 above), and slip stitch the longer edges together using the yarn already attached to your work. Leave only the buckle exposed.
Finally, whipstitch the edge of the strap to the buckle for reinforcement (see pic 7 below). Weave in any remaining tails and attach the keychain rings to the buckles. Your handles are now ready (see pic 8 below).


7. Whip stitch the edge of the strap to the buckle for reinforcement.
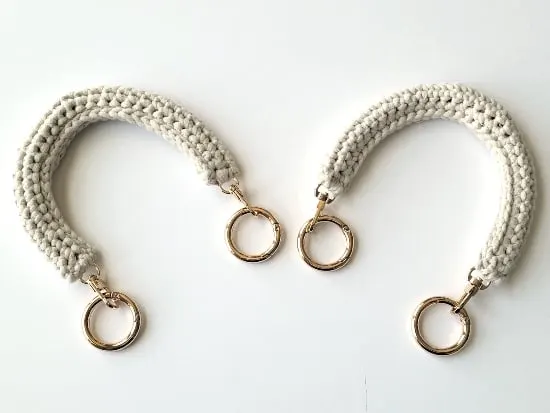

8. Finished handles
Attaching the Handles to the Bag

9. Attach the handles, making sure it is attached to the top of the plastic canvas inside the bag.
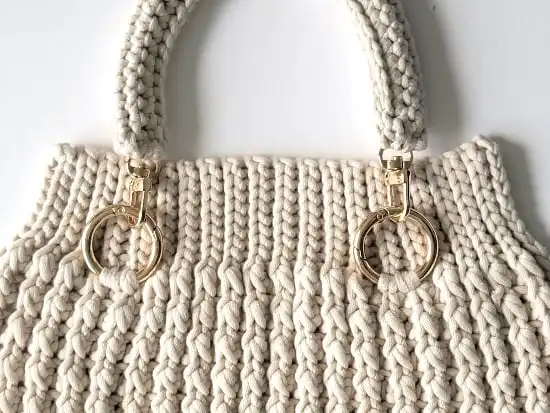

10. Close-up of attached handle.
Attach the handles, making sure they are secured at the top edge of the plastic canvas inside the bag for added strength. The base of the ring is right below the ribbing (see pics 9 and 10 above).
Again, remember that T-shirt yarn can snag if you pierce the fibers, so take your time and insert the needle only through the gaps between stitches. Finish with a couple of knots on the inside and trim the ends. There’s no need to weave them in since the lining will hide them.
Closing the Sides

11. Sew the sides shut with a slip stitch seam
Up to this point, the bag is still a flat piece. Fold the bag in half and working on the right side where the handles are attached, slip stitch the sides closed using the H (5 mm) hook as shown in pic 11 above, then fasten off.
Once finished, insert your hand inside the bag to shape the sides. Pull the bottom tails into the bag—you don’t need to weave them in, as they’ll be hidden inside the lining.
Adding the Lining


12. Insert the prepared lining into the bag and whip st the folded top edge of the lining to the bag
Insert the prepared lining into the bag, making sure it settles neatly on the base. Using a sewing needle and thread, whipstitch the folded top edge of the lining to the bag. You can pin the top in place before stitching to hold it in place. If the fold doesn’t stay in place, press it with an iron before inserting the lining. Enjoy your new crochet bag!