Crochet Makeup Bag Free Pattern
Create this cute crochet makeup bag pattern that’s both practical and beautiful! This crocheted makeup bag includes a secure zipper closure to keep all your essentials safe.

Work a flat piece and transform it into a crochet cosmetic bag with minimal effort. You will love your new crochet toiletry bag.

This versatile crochet makeup pouch is spacious and will hold all your essentials. It will also make a thoughtful Mother’s Day gift.

Crochet Market Bag Pattern
Materials
1. Bernat Blanket yarn in any color of your choice. Colors Lotus and Almond were used for the crochet makeup bags pictured. You can substitute it with any super chunky, size 6 yarn of the same gauge.
2. A size K (6.5 mm) crochet hook.
3. Tapestry needle to weave in the ends.
4. 16″ zipper
5. Matching thread and needle to sew the zipper
Finished Size
8-1/2 inches wide and 6-1/2 inches tall
Yardage
150 yards
Stitch Abbreviations
The pattern is written is standard US crochet terms.
ch: chain
sc: single crochet
sl st: slip stitch
sk: skip
Gauge
Not Crucial
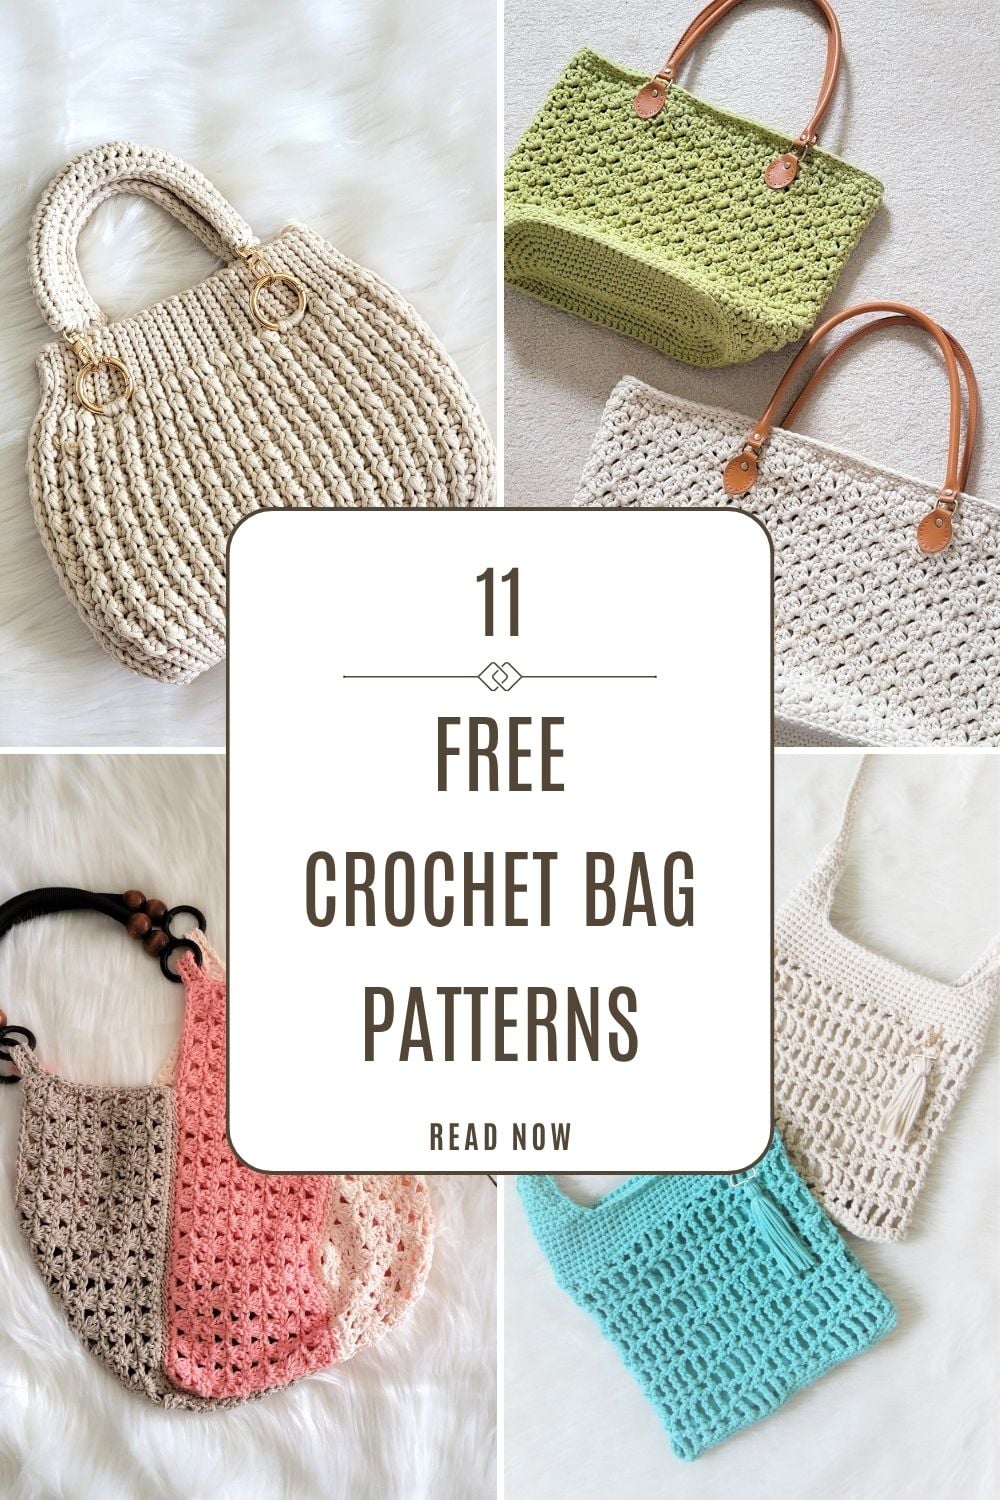
You might also like these bag patterns:
Crochet Pattern for Market Bag
Pattern Notes
The bag is worked flat and then folded and seamed into a box pouch.
Part 1
Cut and keep aside 2 yards of yarn and ch 37 with the remaining skein.
Row 1: 1 sc in 2nd ch from hook and each ch across to end, turn.—–36 sc
Row 2: Ch 1 (does not count as a st here and throughout), 1 sc in 1st st and each st across to end, turn. —-36 sc
Row 3: Ch 1, 1 sc in 1st st and each st across to end, place a marker on this side of the fabric to indicate the right side of the fabric (RS), fasten off and turn. —-36 sc
Part 2
Row 4: Sk the first 7 sts, sl st to the next st, 1 sc in the same st, 1 sc in the next 21 sts, leave the remaining 7 sts unworked, and turn. —-22 sts
Row 5: Ch 1, 1 sc in 1st st and each st across to end, turn. —-22 sc
Repeat Row 5 until you have 16 Rows from the beginning or this narrow part measures 6 inches tall. This is the part that will determine the height of your bag.
Part 3

After your last row, turn, but do not fasten off. Take the hook out of the working yarn, and using the 2 yards of yarn you kept aside in the beginning, sl st to the last st on the opposite top corner, tighten the sl st, ch 7, and fasten off. You have now added some extra chains to the end of the row, as shown in picture 1 above.
Row 17: Return to your working yarn and ch 8 at the corner, 1 sc in the 2nd ch from the hook and next 6 chs, 1 sc in the next 22 sts, 1 sc in the next 7 chs at the end, turn. See picture 1.—–36 sts
Row 18: Ch 1, 1 sc in 1st st and each st across to end, turn. —-36 sc
Repeat Row 18 six more times and fasten off. So this part will have a total of 8 rows.
Part 4
Row 25: Sk the first 7 sts, sl st to the next st, 1 sc in the same st, 1 sc in the next 21 sts, leave the remaining 7 sts unworked, and turn. —-22 sts
Row 26: Ch 1, 1 sc in 1st st and each st across to end, turn. —-22 sc
Repeat Row 26 until you have 13 Rows in this section. It should be the same height as Part 2.
Part 5
This part is worked similar to part 3 with extra chains. After your last row, turn, but do not fasten off. Take the hook out of the working yarn and using the strand of yarn you kept aside in the beginning, sl st to the last st on the opposite top corner, tighten the sl st, ch 7, and fasten off. You have now added some extra chains to the end of the row as you did in Part 3.
Row 38: Come back to your working yarn and ch 8 at the corner, 1 sc in the 2nd ch from the hook and the next 6 chs, 1 sc in the next 22 sts on top, 1 sc in the next 7 chs at the end, turn.—–36 sts
Row 39: Ch 1, 1 sc in 1st st and each st across to end, turn. —-36 sc
Repeat Row 39 once and fasten off. So this part will have a total of 3 rows like Part 1. You can see the completed piece in pictures 2 and 3 below.


Adding Zipper to Crochet Makeup Bag

Place the crochet fabric flat with the right side (side we placed the marker) facing down.
Place your zipper in the middle of your crochet piece and fold the 2 sides down to meet in the middle. The right side of the zipper should be facing up and there should be extra zipper hanging on both sides of the crochet fabric. See pic 4 above.
Sew down the zipper as shown using a needle and thread.
Closing the Sides and Corners

Turn the bag inside out. Ensure the zipper pull is inside the fabric, and single crochet the left and right side openings shut as shown in pic 5 above.
Put your hand inside one of the corner gaps and open the zipper. Now we will seam the corners shut.


Pull the inner corners of the corner opening apart to straighten the gap and sl st the 2 layers together. See pic 6 and 7 above. You don’t have to place the markers. They are used in picture 5 only to demonstrate where you should pull to straighten the opening for easier seaming.
Finishing

Sew down the sides of the zipper to the bag using a needle and thread to anchor it down as shown in pic 8 above. Weave in any tails left and turn your bag right side out. Enjoy!
Pin it for later: