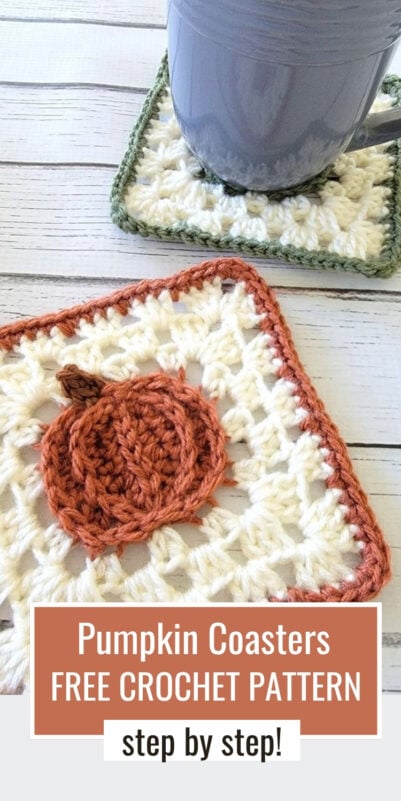
Pumpkin Coasters Free Crochet Pattern
I absolutely loved designing these pumpkin coasters to add a cute handmade touch to my fall décor. Aren’t these crochet pumpkin squares a fun way to decorate for fall?
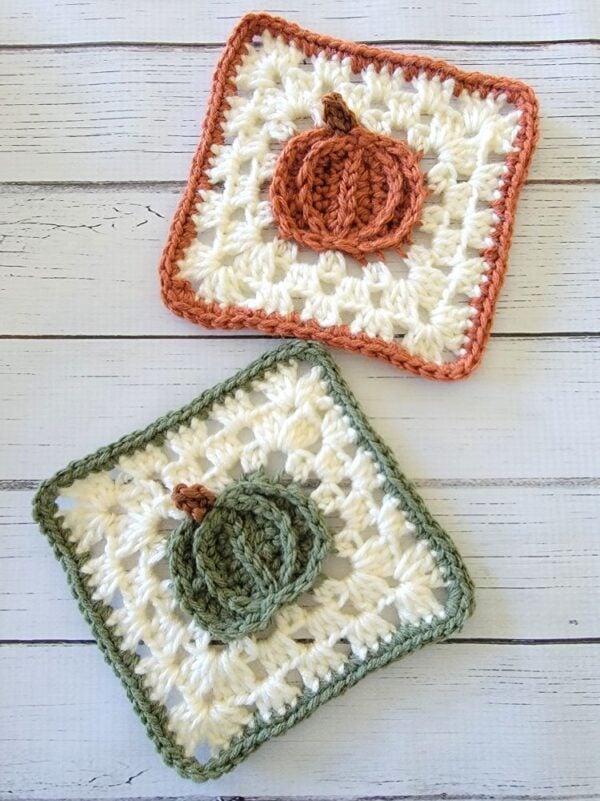
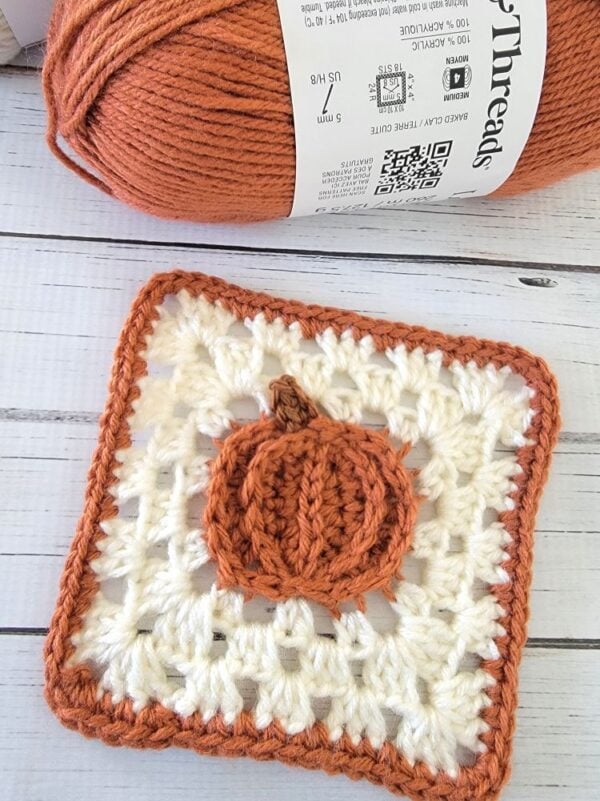
You can use these pumpkin-themed granny squares for so much more than just crochet coasters. You can join them to make blankets, table runners, bags, or other fun fall projects. There are so many possibilities!
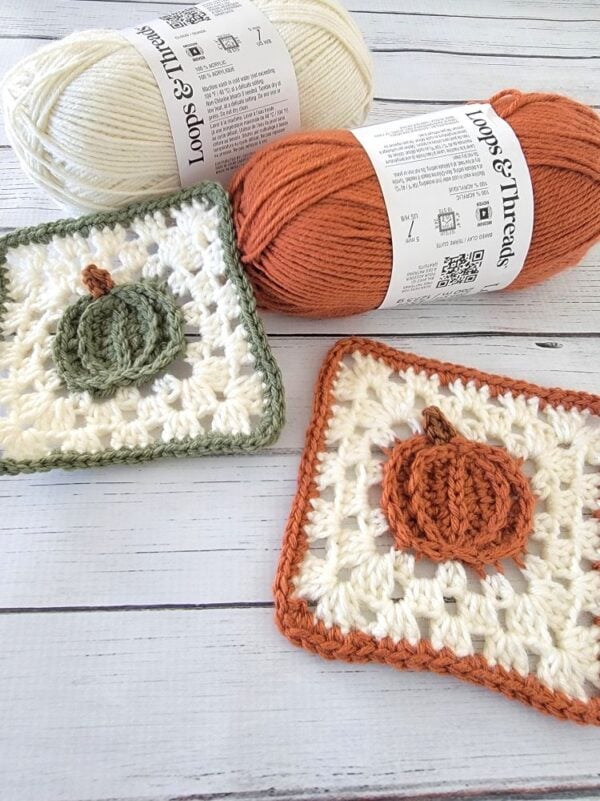
I used orange and green for my pumpkins, but you can experiment with different colors to match your fall décor. I think these squares would look lovely in a mix of warm autumn shades too.
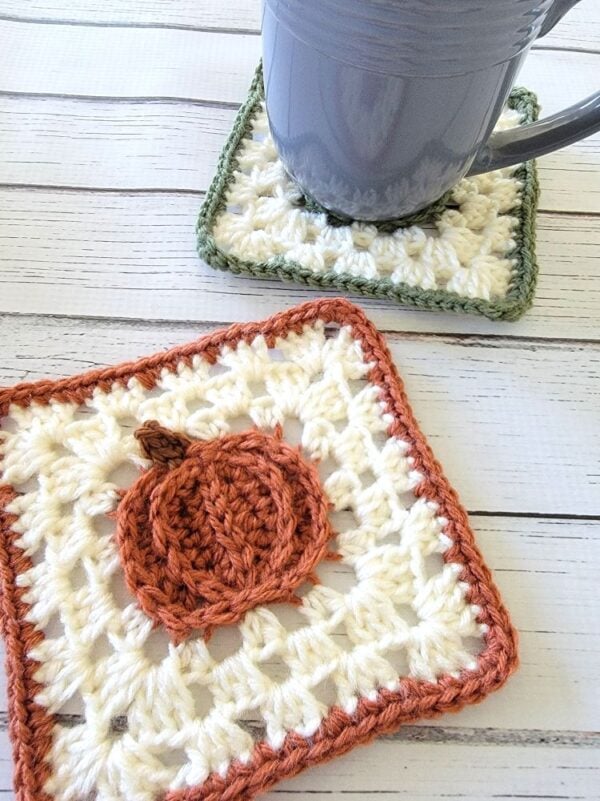
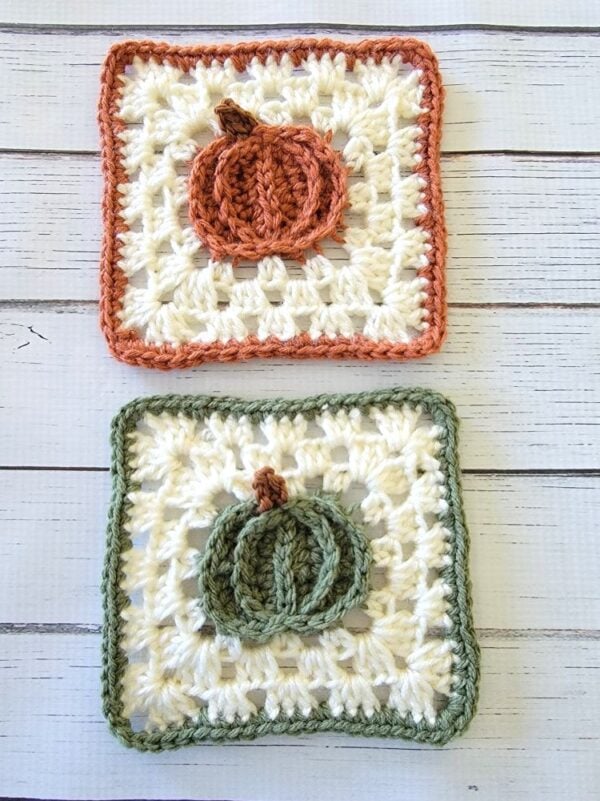
The best part is that you can make just a few squares for a quick project or keep making more for something bigger. I am already imagining how some new projects with these pumpkin squares and some plain granny squares would look!
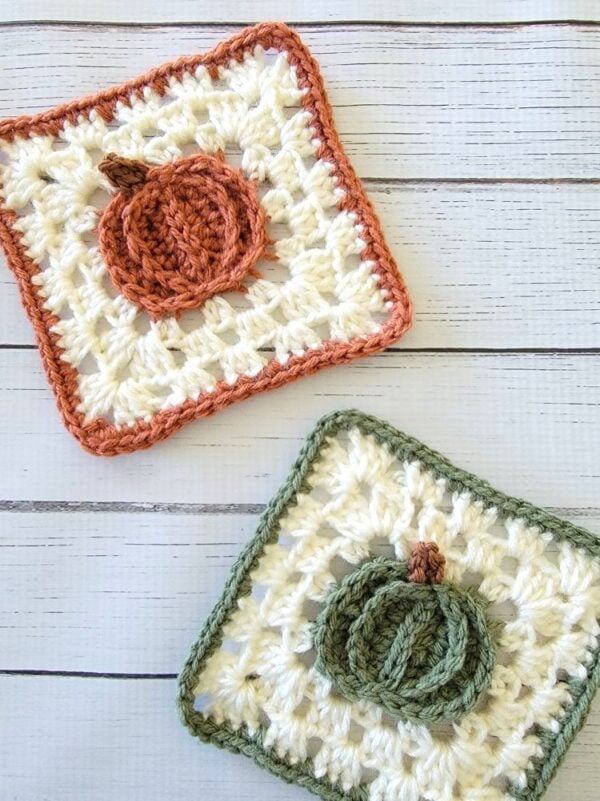
Pumpkin Coasters Free Crochet Pattern
Materials
1. Size 4 medium worsted-weight yarn. Loops & Threads Impeccable yarn in Baked Clay and Aran, and Lion Brand Pound of Love yarn in Olive were used to make the pictured crochet pumpkin coasters.
2. Small amounts of brown colored yarn for the stalk. I used Lion Brand Skein Tones yarn in color Truffle.
3. A H (5 mm) crochet hook
4. Tapestry needle to weave in the ends
Finished Size
5-1/2 inches wide and 5-1/4 inches tall.
Yardage
Pumpkin Square: 15 yards of orange yarn for the pumpkin and about 25 yards of cream yarn.
For the Plain Square: About 30 yards of cream yarn and 6 yards of orange.
Stitch Abbreviations
The pattern is written in US terms.
ch: chain
sk: skip
sl st: slip st
sc: single crochet
hdc: half double crochet
dc: double crochet
YO– yarn over
Stitch Explanations
Back Loop only (BLO): Work inserting your hook or needle only under the loop that is at the back, as shown in the picture below.

Gauge
Exact gauge is not critical for this pattern. Keep tension normal.
Crochet Pattern
Note: A plain square of the same size is also provided at the end so you can mix and match your squares in your projects if needed.
Crochet Pumpkin Applique Pattern
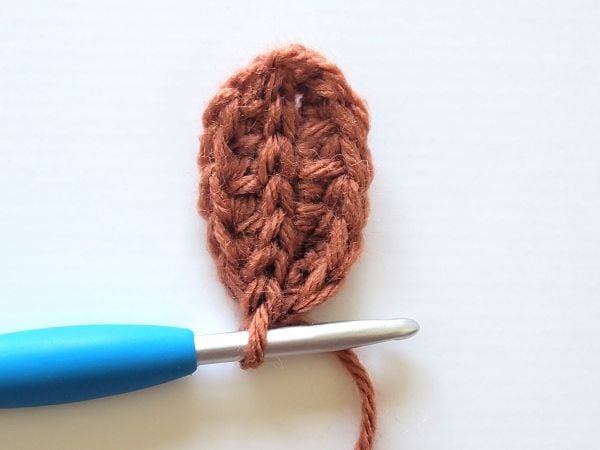
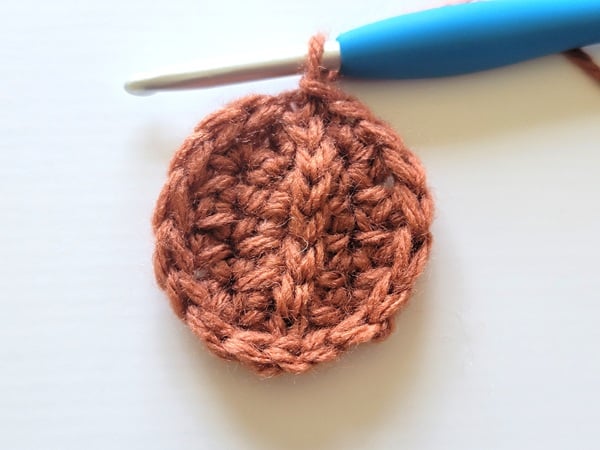
Round 1: With orange color yarn, ch 7, 2 sc in 2nd ch from hook, place a marker in the first sc you made, 1 hdc in next 4 chs, 2 sc in last ch, pivot to work along the opposite edge of the foundation chain into the free loops, working over the yarn tail, 1 hdc in next 5 free loops of the foundation ch, sl st to the next marked sc, ch 1, sl st along the middle line (see pic 1 above), and when you reach the other end, sl st to the st at that point. (13 sts)
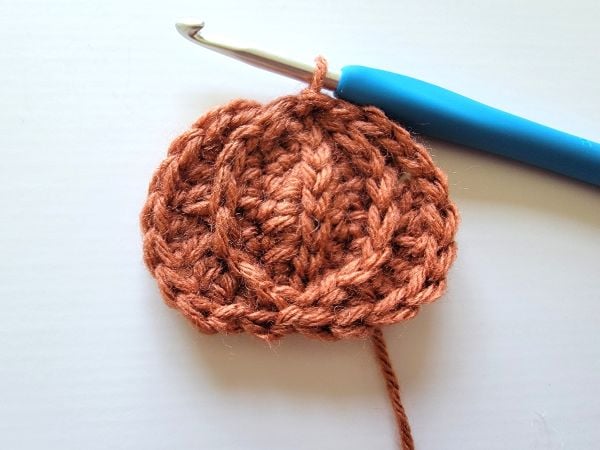
Round 2: Ch 1, 1 sc next st, place a marker in this st, 2 hdc in next st, 1 dc in next 2 sts, 1 hdc in next st, 1 sc in next, sl st to st on top of the ribbed line in the middle, ch 1 and work along the left edge, sl st into BLO of next st, 1 sc in next st, 1 hdc in next st, 1 dc in next 2 sts, 2 hdc in next st, 1 sc in next st (could be hidden), sl st to beginning ch-1 before the marked st, do not turn. See pic 2 above. (18 sts)
Note: All stitches of Round 3 are worked into the 3rd loop behind the sts unless otherwise specified. The third loop behind a hdc st is easy to identify. It is a horizontal loop behind the hdc. The third loop behind a dc will be a tiny loop stuck behind the st to the left. For sc or sl sts, they do not have a 3rd loop, so work into any loop you find behind the sts, no matter how low it is. If needed, lift the third loops with your tapestry needle before inserting your hook into it.
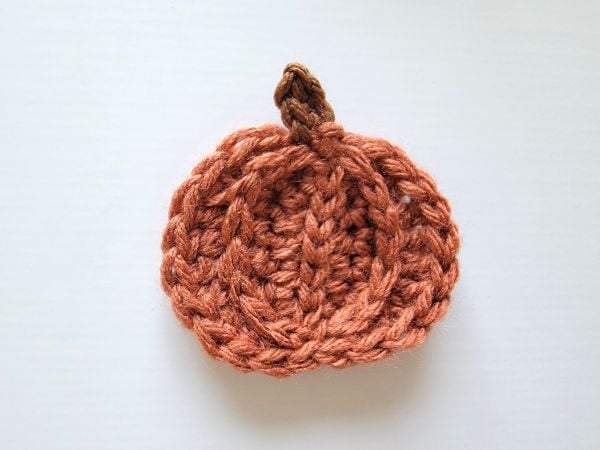
Round 3: Sl st into any loop behind next st (could be very low), 1 hdc in 3rd loop of next st, 2 hdc in 3rd loop of next st, 1 dc in in 3rd loop of next st, 2 dc in 3rd loop of next 2 sts, 1 hdc in 3rd loop of next 2 sts, sl st to the base of the ribbed line in the middle, sk next st, 1 hdc in in 3rd loop of next 2 sts, 2 dc in in 3rd loop of next 2 sts, 1 dc in 3rd loop of next st, 2 hdc in 3rd loop of next st, 1 hdc in in 3rd loop of next st, ch 1, sl st to top of the ribbed line in the middle, pull brown yarn through the loop on your hook, pull orange yarn to tighten the orange loop, cut it and tie the brown and orange tails together to lock it in. See pic 3 above. (24 sts)
Pumpkin Stalk Pattern
Ch 3 with the brown yarn joined, 1 sc in 2nd ch and next ch, sl st to the next st on the pumpkin. Cut and pull the yarn tail out. Use a yarn needle to pull the tail behind your pumpkin. See pic 4 below.
Turning the Pumpkin into a Granny Square
Note: First and last st on either side of the stalk will be tiny and squished. You will have 23 visible sts plus one st hidden behind the stalk.
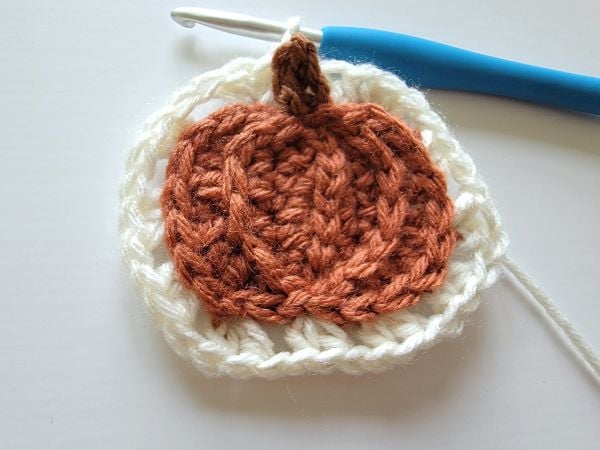
Round 1: With cream-colored yarn, sl st to a loop behind the first st after the stalk, ch 1, 1 hdc in same loop, *(ch 1, sk 1 st, 2 hdc in third loop of next st), repeat from * until you have worked 11 sets of 2 hdc, ch 1, 2 hdc in any loop behind the stalk, ch 1, sl st to beginning ch 1, do not turn. (24 hdc)
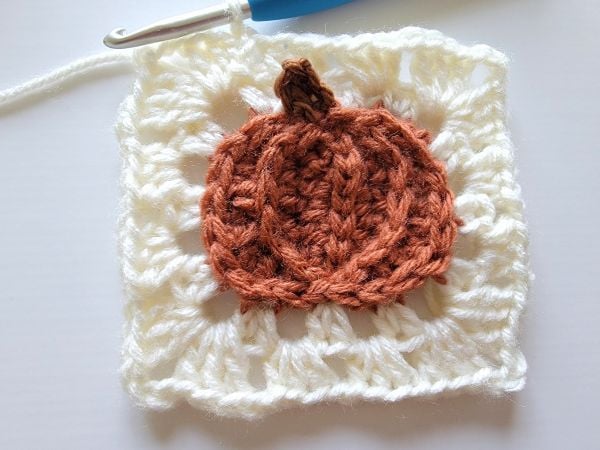
Round 2: Sl st into next st, sl st into next ch-1 space, ch 3 (counts as a dc), 2 dc into the same space, ch 3, 3 dc into the same space, corner made, *(ch 1, 3 hdc in next ch-1 space) twice, (ch 1, 3dc, ch 3, 3dc) in next ch-1 space to make a corner, repeat from * two more times, *(ch 1, 3 hdc in next ch-1 space) twice, ch 1, sl st to top of beginning ch-3. Do not turn.
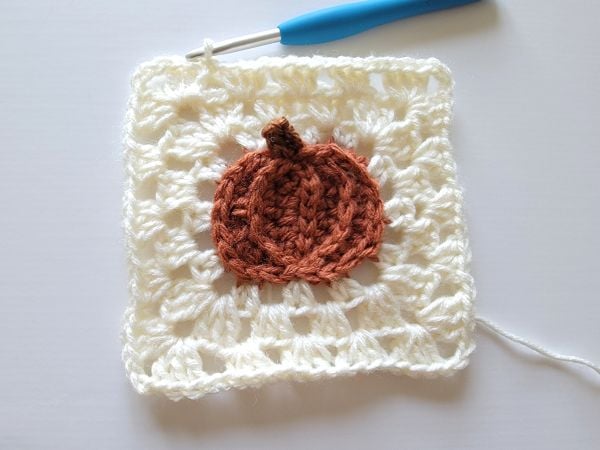
Round 3: Sl st into next 2 sts, sl st into next ch-3 space, ch 3, 2 dc in same space, ch 3, 3 dc in same space, corner made, *(ch 1, 3 hdc in next ch-1 space) thrice, (ch 1, 3dc, ch 3, 3dc) in next ch-1 space to make a corner, repeat from * two more times, (ch 1, 3 hdc in next ch-1 space) thrice, sl st to top of beginning ch-3. Fasten off.
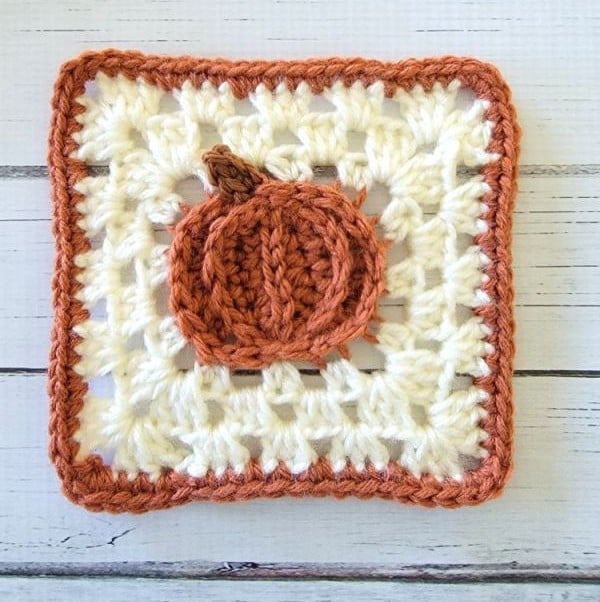
Last Round: Using the orange color yarn, sl st into a corner ch 3 space, 3 sc in the corner space, *(1 sc in next 3 sts, 1 sc in next ch-1 space, repeat from * to the next corner space, 3 sc in the corner space), repeat all around, end with an invisible join or with a sl st to the first sc.
Finishing the Pumpkin Coaster
1. Weave in the tails behind the pumpkin. When weaving in, make sure you only go through the top layer of stitches, or it will show on the front, especially the brown yarn.
2. Weave in any other tails left from the square along its back side.
Plain Square
Note: The picture collage below shows each Round when completed.
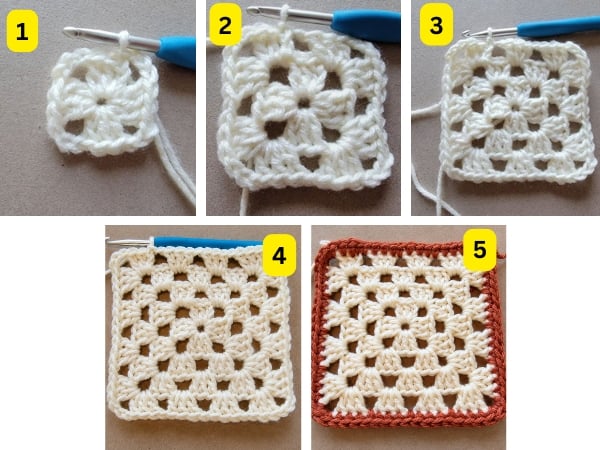
Round 1: Make a magic ring, ch 3 (counts as a dc), 2 dc in the ring, *ch 4, 3 dc in the ring, repeat from * 2 more times, close ring, ch 4, sl st to the top of the beginning ch 3. (12 dc)
Round 2: Sl st into next 2 sts, sl st into next ch-1 space, ch 3 (counts as a dc), 2 dc into the same space, ch 3, 3 dc into the same space, corner made, (ch 1, 3dc, ch 3, 3dc) in each ch-3 space across, ch 1, sl st to top of beginning ch. Do not turn.
Round 3: Sl st into next 2 sts, sl st into next ch-3 space, ch 3, 2 dc in same space, ch 3, 3 dc in same space, corner made, *ch 1, 3 dc in next ch-1 space, (ch 1, 3dc, ch 3, 3dc) in next ch-3 space to make a corner, repeat from * two more times, ch 1, 3 dc in next ch-1 space, ch 1, sl st to top of beginning ch-3.
Round 4: Sl st into next 2 sts, sl st into next ch-3 space, ch 3, 2 dc in same space, ch 3, 3 dc in same space, corner made, *(ch 1, 3 dc in next ch-1 space) twice, (ch 1, 3dc, ch 3, 3dc) in next ch-1 space to make a corner, repeat from * two more times, (ch 1, 3 dc in next ch-1 space) twice, ch 1, sl st to top of beginning ch-3. Fasten off.
Last Round: Using the same cream color or orange color yarn, sl st into a corner ch-3 space, ch 1, 3 sc in the corner space, *(1 sc in next 3 sts, 1 sc in next ch-1 space, repeat from * to the next corner space, 3 sc in the corner space), repeat all around, end with an invisible join or with a sl st to the first sc.
Finishing
Weave in any tails left along the back of the square, enjoy!
Pin it for later: