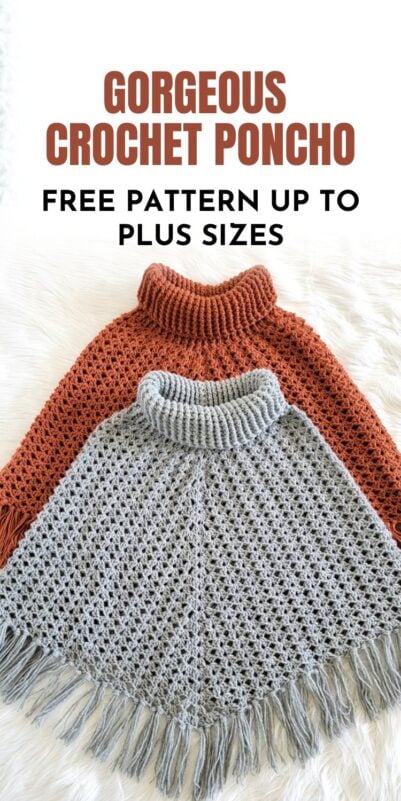
Turtle Neck Poncho Crochet Free Pattern, Capetown Poncho
Turtle Neck Crochet Poncho Free Pattern- Sizes up to 3XL
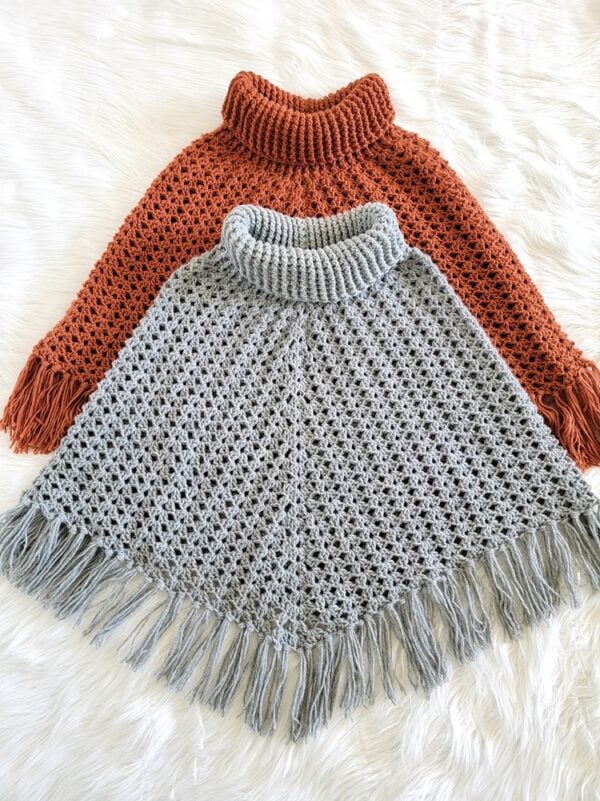
This crochet poncho is worked top-down using an easy shell stitch. Because the repeats are worked into ch-2 spaces, not stitches, the pattern comes together super fast.
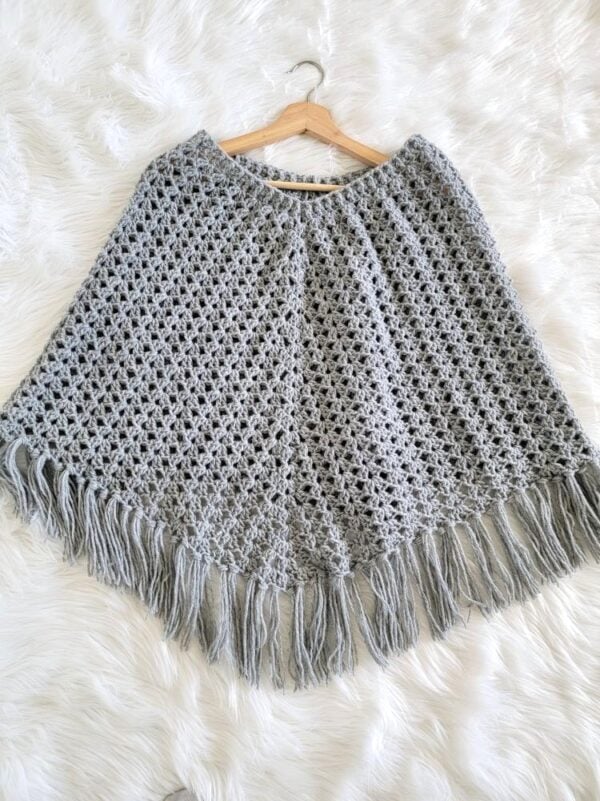
Do you hate turtleneck ponchos and the way they feel around your neck? No problem! You can make the quicker V-neck version.
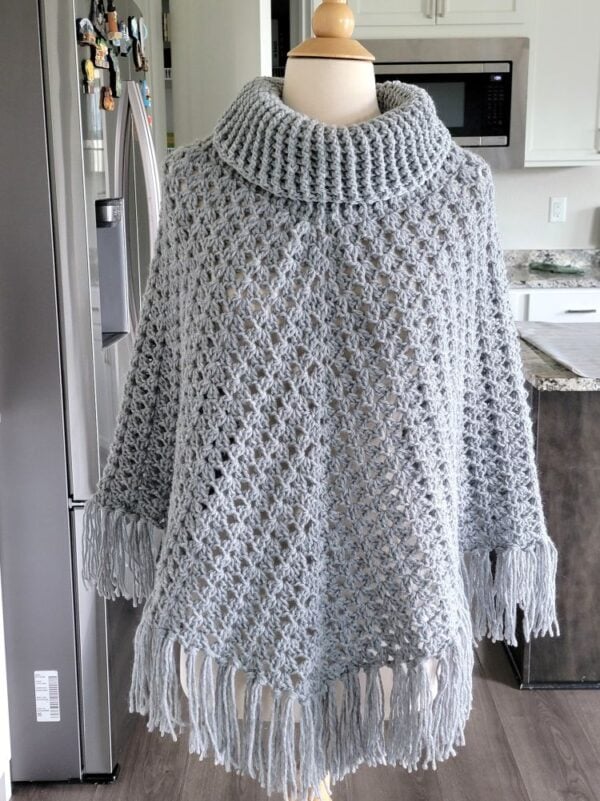
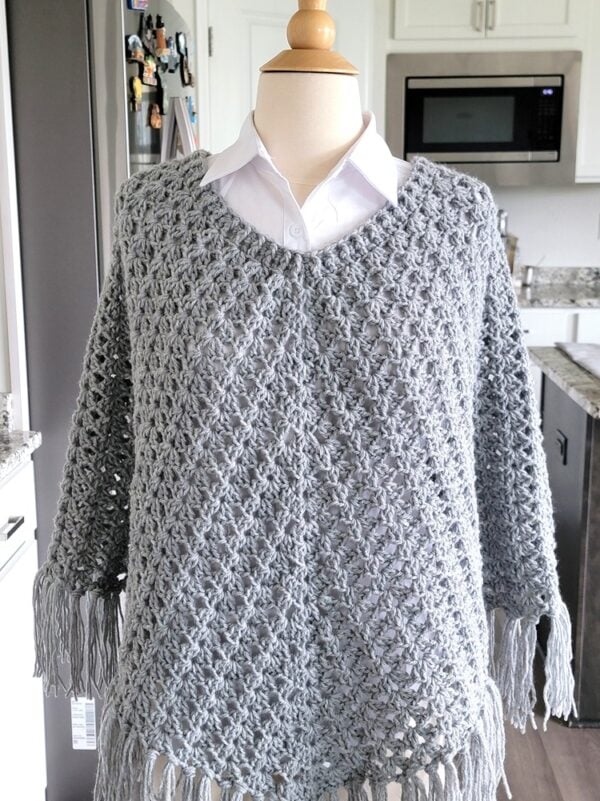
This is a 2-point poncho, designed to be flowy and not too pointy in the front. It is very easy to add length to the poncho to suit your height by repeating theb last few rounds.
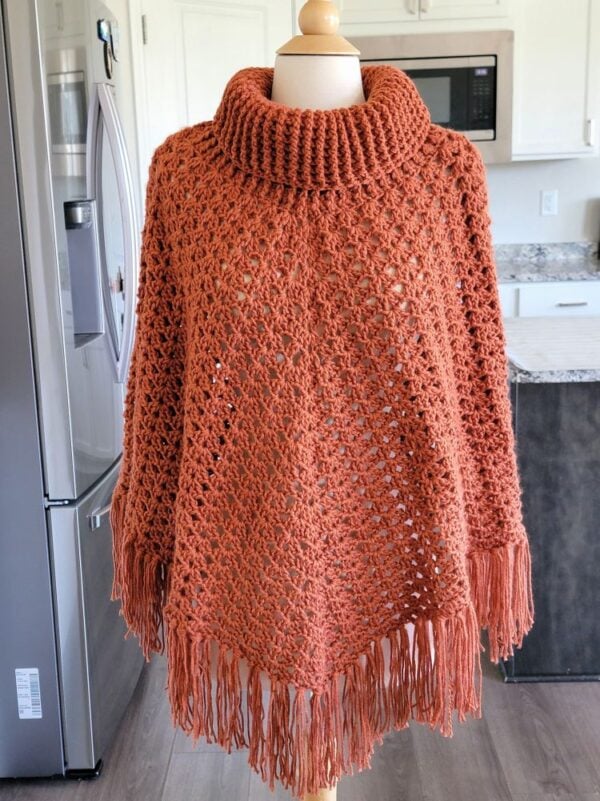
I hope you enjoy making this poncho for fall. It will make a great layering piece and pairs beautifully with jeans or leggings.
Crochet Pattern
Materials
1. Size 4 Medium worsted weight yarn. Loops and Threads Impeccable yarn in color Baked Clay and Lion Brand Wool-Ease in Gray Heather were used for the crochet ponchos.
2. A H (5 mm) hook
3. Tapestry needle to weave in the ends.
4. Stitch markers. You can also use contrasting color yarn scraps.
Finished Size
Sizes include Small to 3XL.
Here are the approximate finished measurements for each size, measured with the poncho laid flat and before adding the fringe.
For size Small/Medium, the poncho measured 19.5″; for Large/XL, 22″; and for 2XL and 3XL, 24″ from the base of the neck to the front point. Fringes will add another 5″.
You can make the poncho longer by repeating the last few rounds if you wish.
Yardage
S/M: 1000 yards
L/XL: 1250 yards
2XL/3XL: 1500 yards
Stitch Abbreviations
The pattern is written in US terms.
ch: chain
st (sts): stitch (stitches)
sl st: slip stitch
sc: single crochet
dc: double crochet
YO: yarn over
fpdc: front post double crochet
bdc: back post double crochet
Stitch Explanations
Shell: (2 dc, ch 2, 2 dc) worked into the same st or space specified.
fpdc (front post double crochet) and bpdc (back post double crochet): See a tutorial for front post double crochet and back post double crochet on my blog here: Front Post and Back Post Double Crochet Tutorial.
bpdc2tog: (YO, insert hook from back to front to back around post of the next dc, and pull up a loop, YO and pull through 2 loops) twice, YO and pull through all 3 loops on hook to complete a bpdc2tog.
fpdc2tog: (YO, insert hook from front to back to front around post of the next fpdc, and pull up a loop, YO and pull through 2 loops) twice, YO and pull through all 3 loops on hook to complete a fpdc2tog.
Gauge
Pattern for Gauge Swatch
Row 1: Ch 29, 1 dc in 4th ch from hook (3 skipped chs count as a dc), 1 dc in each ch across to end, turn. (27 dc)
Row 2: Ch 3 (counts as a dc), sk next 2 sts, shell in next st, *(sk next 3 sts, shell in next st), repeat from * to last 3 sts, sk last 2 sts, 1 dc on top of beginning ch, turn. (6 shells + 2dc)
Row 3: Ch 3 (counts as a dc), shell in each shell across to end, 1 dc on top of beginning ch-3, turn. (6 shells + 2dc)
Repeat Row 3 two more times and measure for gauge.
Gauge
3 shells = 4 inches in length
Row gauge does not matter for this pattern as you work to a certain length.
Related Crochet Poncho Patterns
Rectangle Crochet Poncho Pattern
Free Kid’s Poncho Crochet Pattern
Turtleneck Poncho Crochet Pattern
Crochet Poncho Pattern
Pattern Notes
1. The pattern is written for sizes S to 3XL.
2. Stitch counts for different sizes are given in the order S/M (L/XL, 2XL/3XL)
Round 1: Ch 88 (100, 112), sl st to the first ch without twisting it. Ch 3, (1 dc, ch 2, 2 dc) in same ch, first corner made, mark the ch-2 space of the corner, 1 dc in next 43 (49, 55) chs, (2dc, ch 2, 2dc) in next st, mark the ch-2 space to indicate the 2nd corner, 1 dc in remaining 43 (49, 55) chs, sl st to beginning ch-3, do not turn. (94 (106, 118) sts and 2 ch-2 spaces)
Note: The st right after you work a corner shell can be partly hidden, so do not miss it when you skip the 2 sts after it.
Round 2: Sl st into next dc and next ch-2 space, Ch 3, (1 dc, ch 2, 2 dc) in ch-2 space, move the marker up into the ch-2 space you just made to indicate the corner shell, *(sk next 2 sts, shell in next st), repeat from * until 2 sts are left before the marked ch-2 space, shell in the marked ch-2 space, mark ch-2 of this shell to indicate the corner shell, *(sk next 2 sts, shell in next st), repeat from * to last 2 sts, sl st to top of beginning ch-3, do not turn. (15 (17, 19) shells on each side of the marked corner shells)
Note: At the end of Rounds 3 and 4, the corner will be wide with extra sts.
Round 3: Sl st into next dc and next ch-2 space, Ch 3, (1 dc, ch 2, 2 dc) in ch-2 space, move the marker up into the ch-2 space you just made to indicate the corner shell, 1 dc in next 2 dc, shell in each shell across until you work a shell in the last shell before the corner, sk next 2 dc, 1 dc in next 2 dc before marked ch-2 space, shell in ch-2 space, move the marker up into the ch-2 space you just made to indicate the corner, 1 dc in next 2 sts, shell in each shell across to end, sk next 2 dc, 1 dc in last 2 dc, sl st to beginning ch-3, do not turn. (15 (17, 19) shells on each side of the wide marked corners with extra sts)
Round 4: Sl st into next dc and next ch-2 space, Ch 3, (1 dc, ch 2, 2 dc) in ch-2 space, move the marker up into the ch-2 space you just made to indicate the corner, ch 2, sk next dc, 2 dc in next st, sk next 2 sts, shell in each shell across to the next corner, sk next 4 sts, 2 dc in next st, ch 2, shell in marked ch-2 space, ch 2, sk next st, 2 dc in next st, sk next 2 sts, shell in each shell across to end, sk next 4 st, 2 dc in next st, ch 2, sl st to beginning ch-3, do not turn. (15 (17, 19) shells on each side of the wide marked corners with extra ch 2 and extra sts)
Round 5: Sl st into next dc and next ch-2 space, Ch 3, (1 dc, ch 2, 2 dc) in ch-2 space, move the marker up into the ch-2 space you just made to indicate the corner, shell in each ch-2 space across until 2 sts left before the marked ch-2 space, shell in marked ch-2 space, move the marker up into this ch-2 space, shell in each ch-2 space across to end, sl st to beginning ch-3, do not turn. (17 (19, 21) shells on each side of the marked corner shell)
Round 6: Sl st into next dc and next ch-2 space, Ch 3, (1 dc, ch 2, 2 dc) in ch-2 space, move the marker up into the ch-2 space you just made to indicate the corner, shell in each shell to the next marked corner shell, shell in marked shell, move marker up into the ch-2 space of this corner shell, shell in each shell across to end, sl st to beginning ch-3, do not turn. (17 (19, 21) shells on each side of the marked corner shell)
Repeat Rounds 3 to 6 until your poncho measures about 19.5 ( 22, 24) inches from the base of the V-neck to the front point. Fasten off. Fringes will add another 5 inches to the length.
In the end-of-round stitch counts, the number of shells will increase by 2 with each repeated round. For example, when you repeat Round 3 next time, you will get (17 (19, 21) shells on each side of the corner.
Finishing the Neck
Note: You can finish it as a V-neck or turn it into a turtleneck.
Round 1 (all sizes): Sl st to the point right before the base of the V-neck at the back where you have the beginning tail, 1 fpdc in next st, bpdc2tog across the next 2 sts on either side of ch-2 at the base of the V-neck, (fpdc in next st, bpdc in next st), repeat from * until 1 st is left before the ch-2 in front point of the V-neck, bpdc2tog across the next 2 sts on either side of ch-2, (fpdc in next st, bpdc in next st), repeat from * to end, sl st to first st. Fasten off if you are opting for the V-neck. (92 (104, 116) sts
Continue for Turtleneck
Sizes S/M and L/XL Only
Round 2: Continue without turning, ch 1 (does not count as a st here and throughout), (fpdc in fpdc, bpdc in bpdc) repeat from * across to end, sl st to first st, do not turn. 92 (104)sts
Repeat the above round until your ribbed collar is 7-1/2″ tall from the level of the shoulder. Fasten off.
Sizes 2XL/3XL
Round 2 (sizes 2XL/3XL): Continue without turning, ch 1 (does not count as a st here and throughout), (fpdc in fpdc, bpdc in bpdc) repeat from * across to end, sl st to first st, do not turn.
Round 3: Ch 1, 14 sts in the established fpdc and bpdc pattern, fpdc2tog over the next 3 sts (skipping the middle bpdc), work 28 sts in pattern, fpdc2tog over the next 3 sts, work 24 sts in pattern, fpdc2tog over the next 3 sts, work 28 sts in pattern, fpdc2tog over the next 3 sts, work the last 10 sts in pattern, sl st to join. (108 sts)
Repeat Round 3 until your ribbing measures 8-1/2 inches tall from the shoulder. Fasten off
Adding Fringes
Note: Attach fringes in the ch-2 space of each shell and also between each pair of shells.
I used a small book to make tassels. You can also substitute a thick 5.75-inch-wide cardboard for the book. Wrap the yarn multiple times around the small book or your cardboard. Cut along one side to get many strands of equal length.
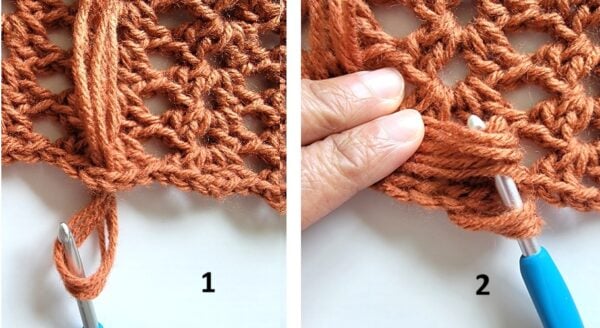
Take 3 strands, fold at the middle of the strands, and pull through the edge of the poncho to form a loop, grab the ends with your hook, and pull through the loop (see pic above). Now tug gently to tighten the loop.
Finishing
Weave in any tails along the inside of the poncho, and enjoy your new crochet turtleneck poncho!
Pin it for later here: