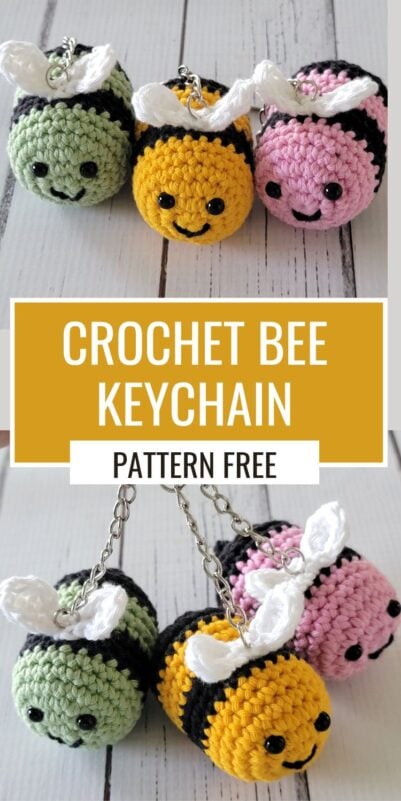
Crochet Bee Keychain Pattern Free
Free Crochet Bee Keychain Pattern – Cute Stashbuster
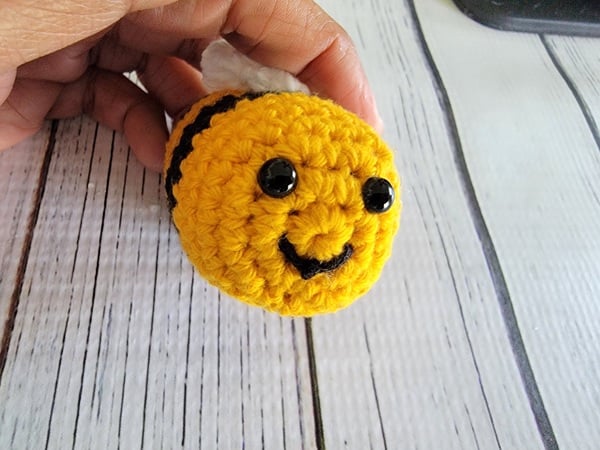
These cute crochet bee keychains are quick, fun projects that make adorable gifts, bag charms, or craft fair items. Their small size means you can finish one in just 20 minutes or less using leftover yarn from your stash.
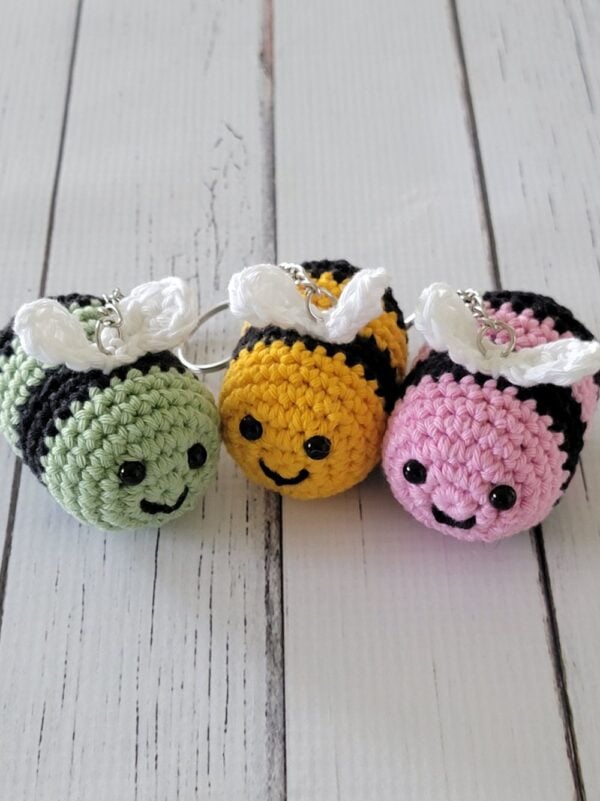
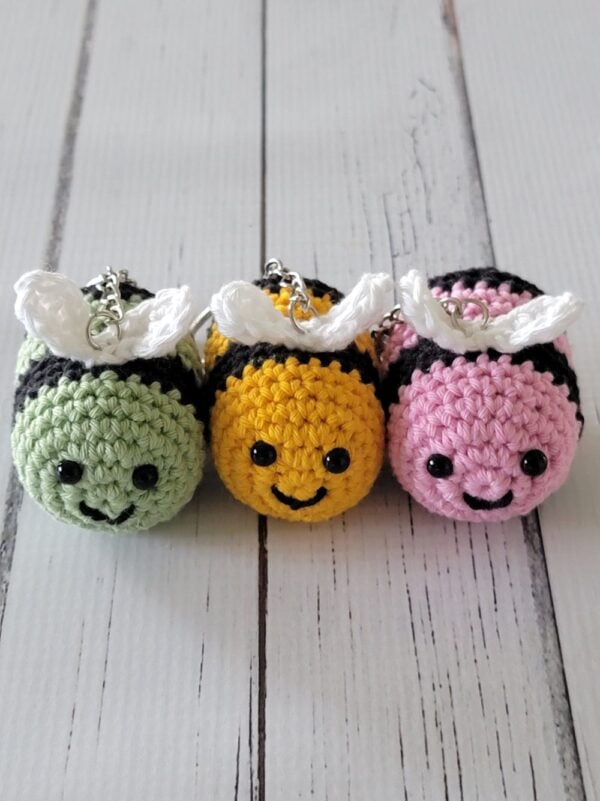
The pattern is beginner-friendly and uses basic stitches to create a round, smiling bee with sweet little wings. You can make them in classic yellow and black or experiment with fun colors like pink, green, or any shade you love.
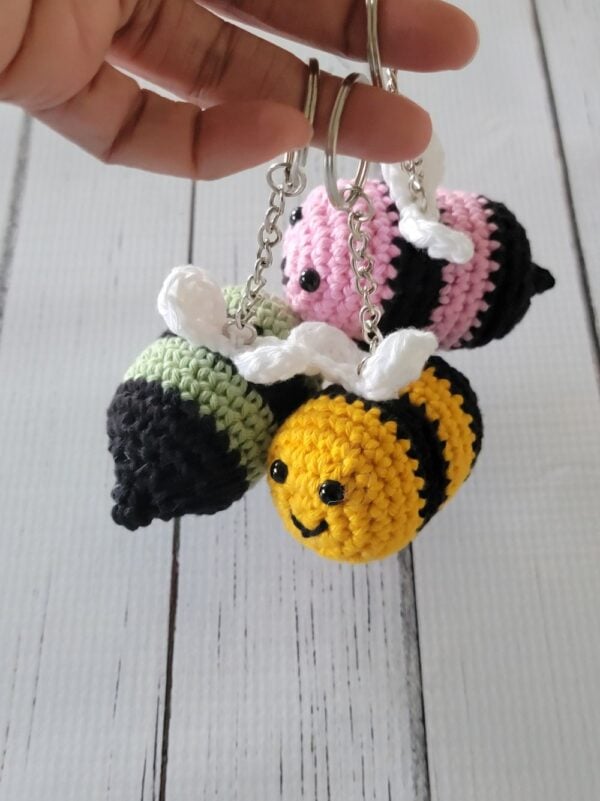
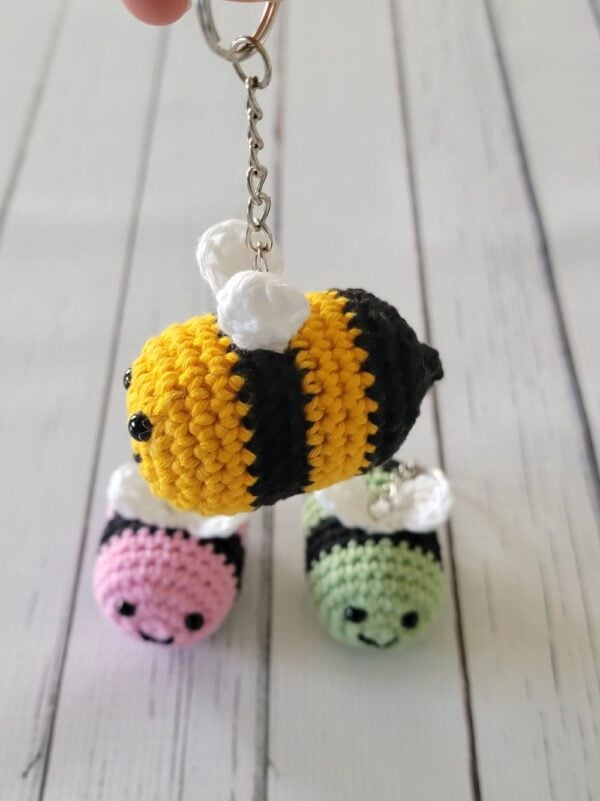
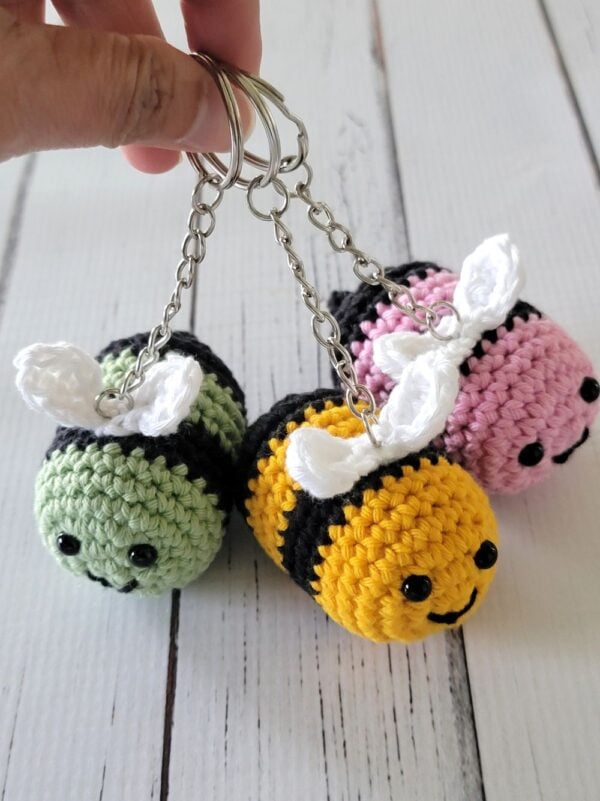
Add a keyring to turn your bee into a practical accessory, or make a whole collection to share with friends and family. These cheerful little bees are sure to bring a smile wherever they go.
Disclosure: This post might contain affiliate links, and I might earn a small commission if you purchase using my links. You can read my full Disclosure Policy here.
Crochet Bee Keychain Pattern Free
Materials
1. DK Weight size 3 cotton yarn in 3 colors: yellow, white, and black. I used OMoiut Milk cotton yarn from Amazon, and it came with a free 3mm hook.
4. Key Ring with Chain. I joined 2 chains using a pair of pliers to make them longer.
5. Locking stitch markers to keep track of the rounds
6. Fiber Fill
7. Tapestry needle to weave in the tails and attach the wings.
Finished size
Approximately 1-1/2″ tall and 2-3/4″ long
Yardage
Approximately 15 yards of each color.
Stitch Abbreviations
The pattern is written in US terms.
st: stitch
ch: chain
sc: single crochet
hdc: half double crochet
YO: yarn over
dec: invisible decrease for Amigurumi (explained below)
inc: increase
Rnd: Round
Stitch Explanations
inc (increase): work 2 sc into the same stitch.
dec (invisible decrease): Insert hook into the front loop of the first st, insert hook into the front loop of the second st, YO, and pull through first 2 loops on your hook, YO, and pull through remaining 2 loops on your hook. This leaves no holes.
sc2tog: This is a regular decrease and can be used if it leaves no holes. To work a sc2tog, pull up a loop in the next 2 sts, YO, and pull through all the 3 loops on your hook.
BLO: Insert your hook only under the back loop of your stitch (see diagram below).

Gauge
The exact gauge is not critical for this pattern. Keep tension normal. Do not work with a loose tension.
More free Amigurumi Patterns:
Crochet Keychain Pattern
Pattern Notes
1. First, we will crochet the body and wings separately, and then sew them together using the tails left.
2. Any beginning chain does not count as a stitch.
3. Use a stitch marker to mark the first stitch of each round.
4. Every time you work into the marked stitch, move the marker up into the first stitch you worked into the marked stitch. This will help you keep track of the rounds.
5. You do not slip stitch at the end of rounds except when changing colors.
6. To change color at the end of a sc round, start working your last sc, and when you have 2 loops on your hook, pull through the new-color yarn to complete your st.
Now to start the next round in the new color, sl st to the BLO of the next marked st, and 1 sc in both loops of the same st, move the marker into this st. Continue in spiral without sl stitching at the end of the rounds until the next color change.
7. To change color at the end of a sl st round, start working your last sl st by inserting your hook into the st and pulling the new color through the loop on your hook to complete the sl st.
Now to start the next round in the new color, sl st to the BLO of the next marked st, and 1 sc in both loops of the same st, move the marker into this st. Continue in spiral without sl stitching at the end of the rounds until the next color change.
Crochet Bee Keychain Pattern Free

Rnd 1: 1 sc into the magic ring, place a marker in this first st, 7 more sc in the ring. Close the ring. (8 sc)
Rnd 2: (inc) 8 times. (16 sc)
Tighten the beginning yarn tail again and knot and weave it in now.
Rnd 3: (1 sc, inc) 8 times. (24 sc)
Rnds 4 to 6: 1 sc in each st around. (24 sc)
Change the color to black (see stitch explanation above on how to change colors).
Rnd 7 & 8: 1 sc in each st around. (24 sc)
Rnd 9: 1 sl st in each st around. (24 sl sts)
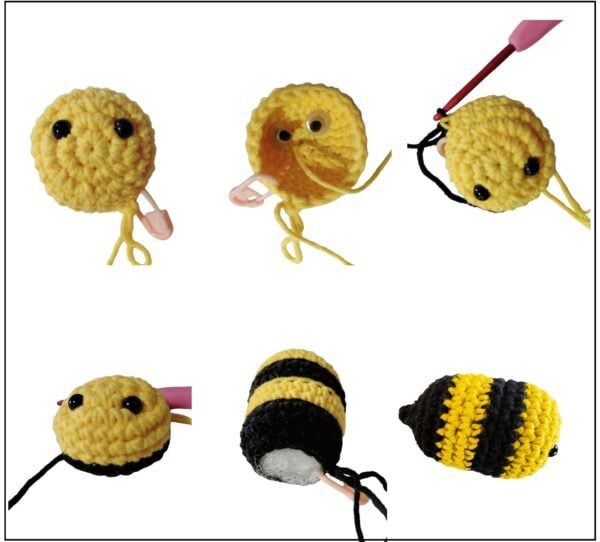
Attach eyes between rounds 2 and 3, leaving 2 sts in between them.
Change the color to yellow (see stitch explanation above on how to change colors).
Rnd 10: 1 sc in BLO of each st around. (24 sc)
Rnds 11 to 12: 1 sc in each st around. (24 sc)
Pull tails to close any holes at this point.
Change the color to black. Cut off the yellow yarn now.
Rnd 13 & 14: 1 sc in each st around. (24 sc)
Notes
Wherever the pattern asks you to work a decrease (dec), you may substitute it with a sc2tog if it does not create noticeable holes that allow the fiberfill to show through.
For the tail, decreases can be difficult to work, and using sc2tog may leave small holes. In this case, you can either:
1. Patiently work an invisible decrease (dec) for the neatest finish, or
2. Use sc2tog and then close any remaining holes with the ending yarn tail after using it to close the hole at the back.
Rnd 15: (1 sc, dec) 8 times. (16 sts)
Fill the body with fiber fill.
Rnd 16: 8 dec. (8 sts)
Rnd 17: (2 sc, dec) 2 times. (6 sts)
Add more stuffing using the back of a wooden skewer if needed at this point.
Rnd 18: (1 sc, dec) 2 times. Fasten off with a 10-inch tail. (4 sts)
Using the yarn tail left earlier, whipstitch through the front loops of each stitch around. Pull tight to close the hole, then make a knot. Use the tail to close any extra holes left and hide the tail inside the bee.
Adding the mouth
Use black yarn to add a curved mouth under the first round. You can make a small stitch in the middle to hold the mouth in a curved shape, or secure it with a tiny dab of fabric glue.
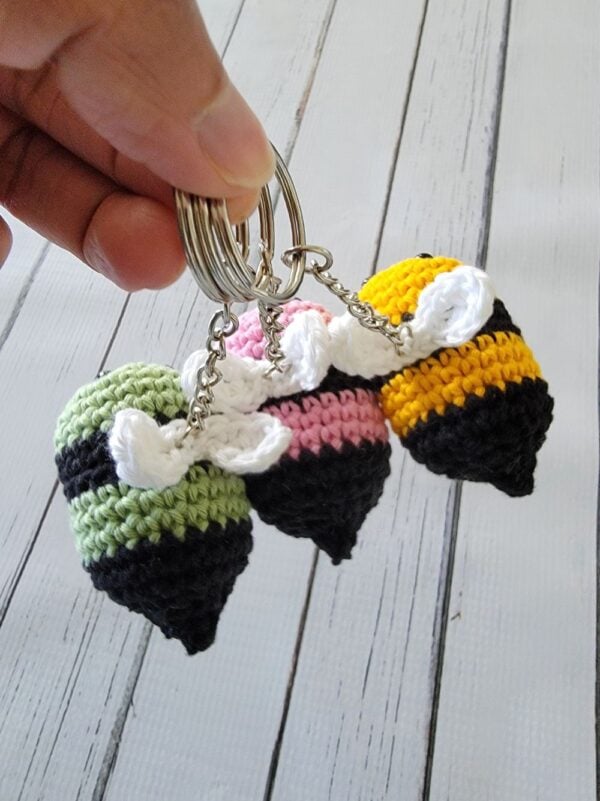
Wings
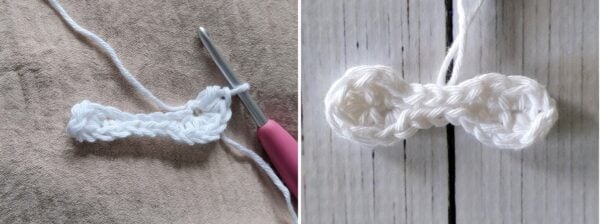
Leave a 12-inch tail and ch 10, 2 hdc in 3rd ch from hook, mark the top of beginning ch-2, 1 sc, 4 sl sts, 1 sc, 5 hdc in last ch, pivot to work along the free loops of the foundation ch, 1 sc, 4 sl sts, 1 sc, 2 hdc in last loop, sl st to top of beginning ch-2, fasten off and use the tail to close any hole in the wing, then weave it in to reach the middle of the wing.
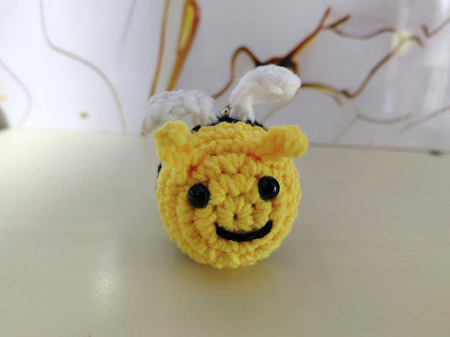
Do the same with the beginning tail. Once in the middle, use the tails to attach the wing to the first black stripe. Use the remaining tail to attach the keychain before hiding it inside the body of the bee.

Antennae (Optional)
With yellow yarn, insert your hook above one of the eyes and ch 5, 1 sc in 2nd ch from hook, sl st in next 3 chs, cut and pull the tail out. Hide both the tails inside the bee. Repeat to make one more antenna on the other side. Enjoy your cute bee crochet keychain pattern!
Pin it for later: