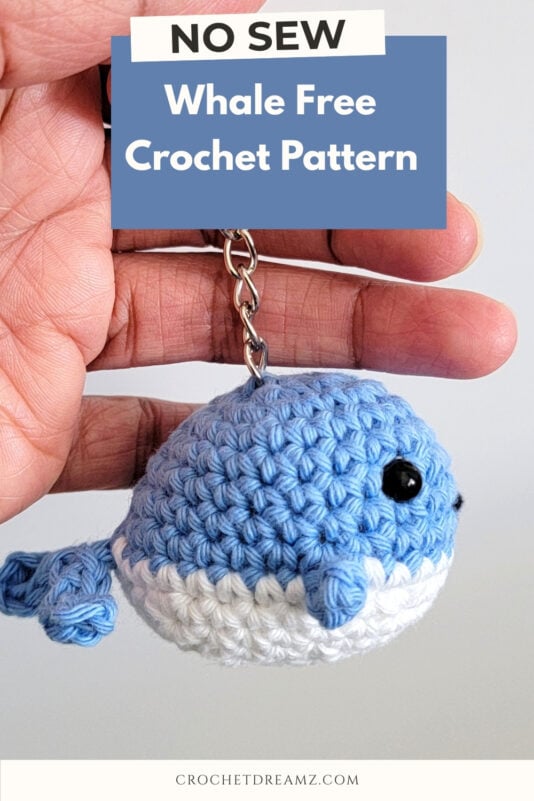
No Sew Tiny Whale Crochet Pattern
This no-sew tiny whale crochet pattern is a fun and quick project to make as a keychain or a bag charm. Its cute shape and happy face make it hard to resist.
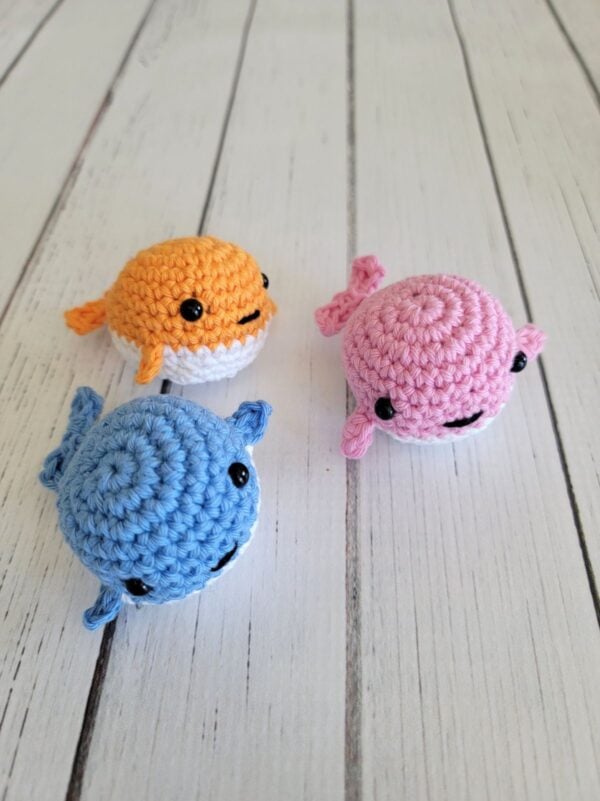
You can even turn it into a zipper pull. It also makes a sweet gift, party favor, or market craft.
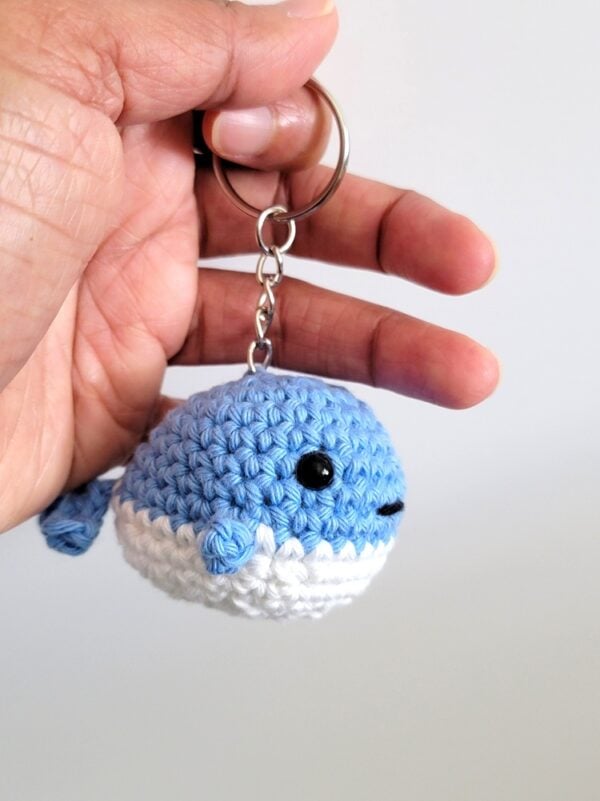
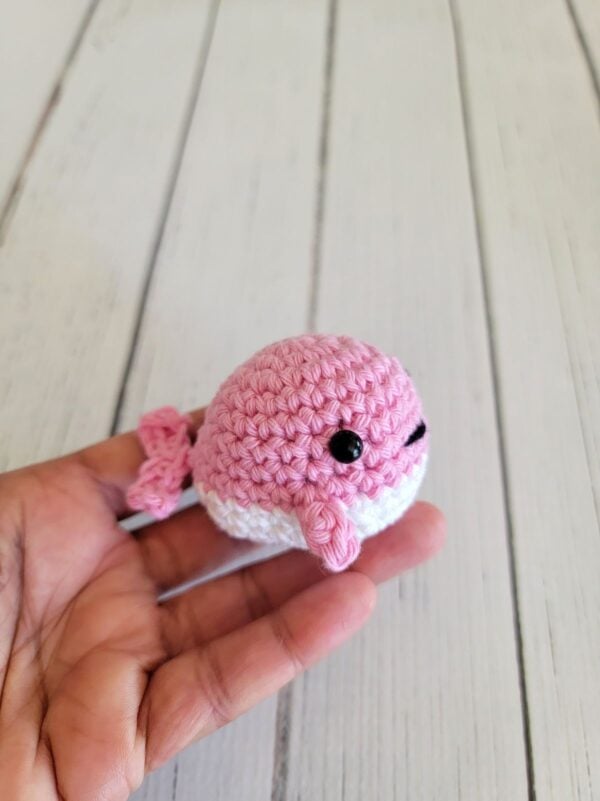
This free crochet whale pattern is perfect for using leftover yarn. You only need small amounts, making it a great stash-busting project.
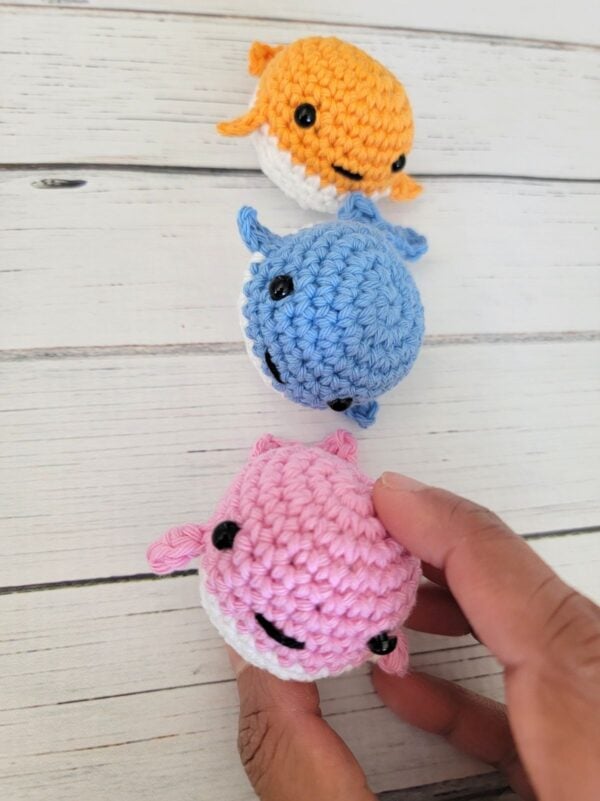
Make one in your favorite color or crochet a whole pod in different shades. They are easy to make, fun to collect, and even more fun to gift.
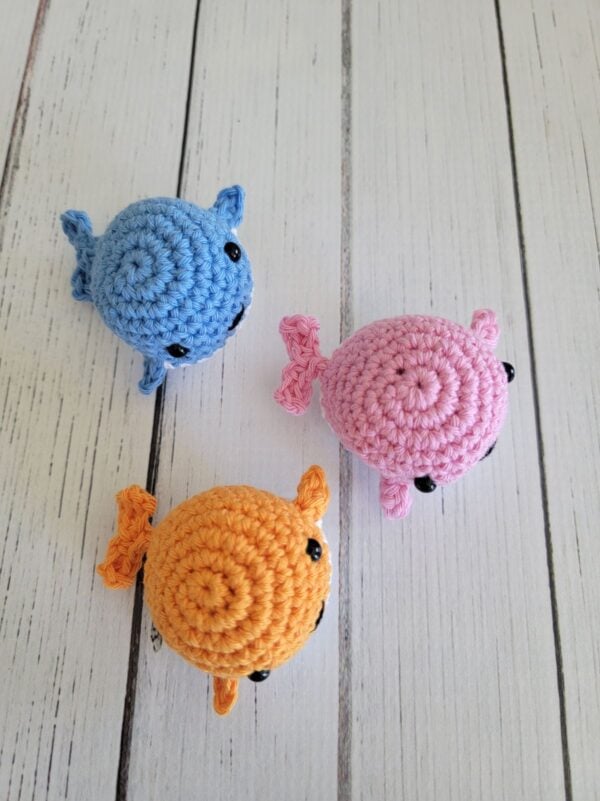
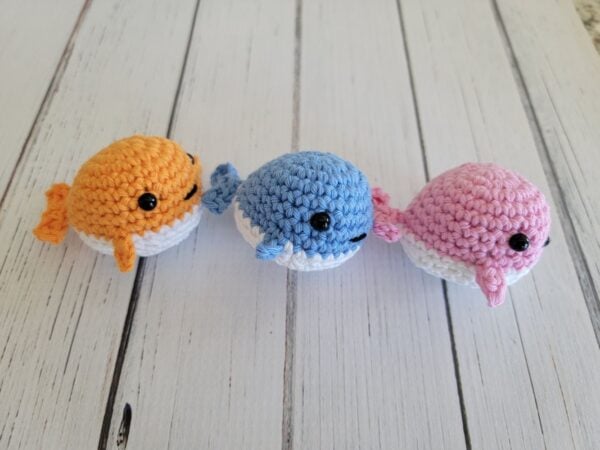
Disclosure: This post might contain affiliate links, and I might earn a small commission if you purchase using my links. You can read my full Disclosure Policy here.
No Sew Tiny Whale Crochet Pattern
Materials
1. DK Weight size 3 cotton yarn in 2 colors: white and blue, white and orange, or white and pink. I used OMoiut Milk cotton yarn from Amazon, and it came with a free 3mm hook.
4. Key Ring with Chain. I joined 2 chains using a pair of pliers to make them longer.
5. Locking stitch markers to keep track of the rounds
6. Fiber Fill
7. Tapestry needle to weave in the tails
Finished size
Approximately 1-1/2″ tall and 2-3/4″ long
Yardage
Approximately 20 yards of each color.
Stitch Abbreviations
The pattern is written in US terms.
st: stitch
ch: chain
sc: single crochet
hdc: half double crochet
YO: yarn over
dec: invisible decrease for Amigurumi (explained below)
inc: increase
Rnd: Round
Stitch Explanations
inc (increase): work 2 sc into the same stitch.
dec (invisible decrease): Insert hook into the front loop of the first st, insert hook into the front loop of the second st, YO, and pull through first 2 loops on your hook, YO, and pull through the remaining 2 loops on your hook. This leaves no holes.
sc2tog: This is a regular decrease and can be used if it leaves no holes. To work a sc2tog, pull up a loop in the next 2 sts, YO, and pull through all 3 loops on your hook.
BLO: Insert your hook only under the back loop of your stitch (see diagram below).

Gauge
The exact gauge is not critical for this pattern. Keep tension normal. Do not work with a loose tension.
More free Amigurumi Patterns:
Whale Crochet Pattern
Pattern Notes
1. Use a stitch marker to mark the first stitch of each round.
2. Every time you work into the marked stitch, move the marker up into the first stitch you worked into the marked stitch. This will help you keep track of the rounds.
3. You do not slip stitch at the end of rounds except when changing colors.
4. To change color at the end of a sc round, start working your last sc, and when you have 2 loops on your hook, pull through the new-color yarn to complete your st.
Now to start the next round in the new color, sl st to the BLO of the next marked st, and 1 sc in both loops of the same st, move the marker into this st. Continue in spiral without sl stitching at the end of the rounds until the next color change.
5. You can choose to work a sc2tog in place of an invisible decrease (dec) if it leaves no holes in your work.
Rnd 1: With blue yarn, make a magic ring, 1 sc into the magic ring, place a marker in this first st, 7 more sc in the ring. Close the ring. (8 sc)
Rnd 2: (inc) 8 times. (16 sc)
Tighten the beginning yarn tail to close the hole, knot, and weave it in now.
Rnd 3: (1 sc, inc) 8 times. (24 sc)
Rnd 4 to 5: 1 sc in each st around. (24 sc)
Rnd 6: (inc, 11 sc) 2 times. (26 sts)
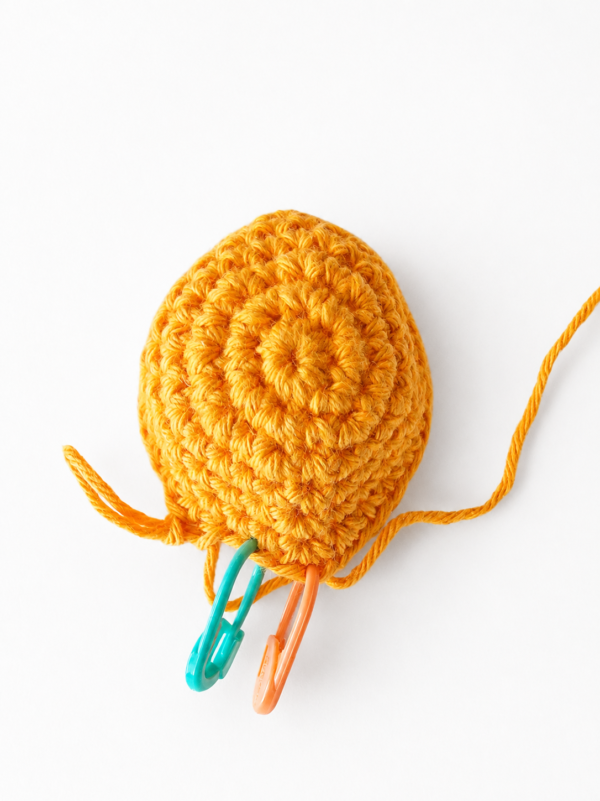
Rnd 7: 1 sc, inc, mark 2nd st of this increase with a different color marker for point of tail, now you have 2 markers one st apart (see pic 2), inc in next st, 23 sc. (28 sts)
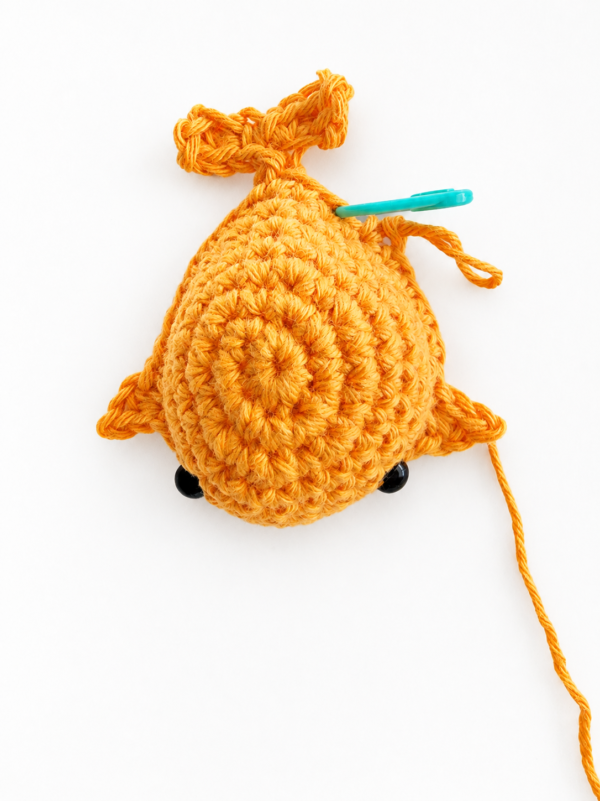
Rnd 8: 1 sc in marked st, move the marker up, 1 sc to reach tail marker, remove tail marker, sc in marked st, ch 5, 2 hdc in 3rd ch, sc in next ch going under 2 loops of the ch to avoid leaving a hole, sl st into same ch, ch 4, 2 hdc in 3rd ch, sc in next st going under 2 loops of the ch, sl st to same ch as this sc, sc in last ch near the body, sl st to same st on body where you started the tail, sc in next 7 sts, sc in next st, ch 3, sl st in 2nd ch, hdc in next, sl st to same st on body, side fin made, sc in next 11, sc in next st, ch 3, sl st in 2nd ch, hdc in next, sl st to same st, second fin made, 5 sc to end of round. Unravel the last sc you made and join white color yarn, fasten off blue (see stitch explanation above on how to change colors). You can see how your work looks with the 3 fins added in pic 3 above. (28 sts)
Attach eyes between rounds 6 and 7 in front of the side fins, leaving 6 sts in between. (See the picture above)
Rnd 9: 2 sc, 1 sc in st right before tail, fold tail down and working behind it, tighly work 1 sc in st after tail to leave no hole, 6 sc, 1 sc in st before first side fin, fold it down, 1 tight sc in st after the fin, 10 more sc, 1 sc in st before next side fin, fold it down, 1 tight sc in st after the fin, 4 sc to end of round. The white st before the marked st should not be worked into, as it is the joining sl st. (28 sc).
Rnd 10: Starting from the marked st, (5sc, dec) repeat 4 times. (24 sts)
Rnd 11: 24 sc. (24 sc)
Rnd 12: (2 sc, dec) repeat 6 times. (18)
Stuff the body with fiber fill.
Rnd 13: (1 sc, dec) repeat 6 times. (12 sc)
Rnd 14: 6 dec. (6 sts)
Fasten off with an 8-inch tail. Using the tail, whip stitch through the front loops of each stitch around. Pull tight to close the hole, then make a knot and hide the tail inside the body.
Adding a Mouth
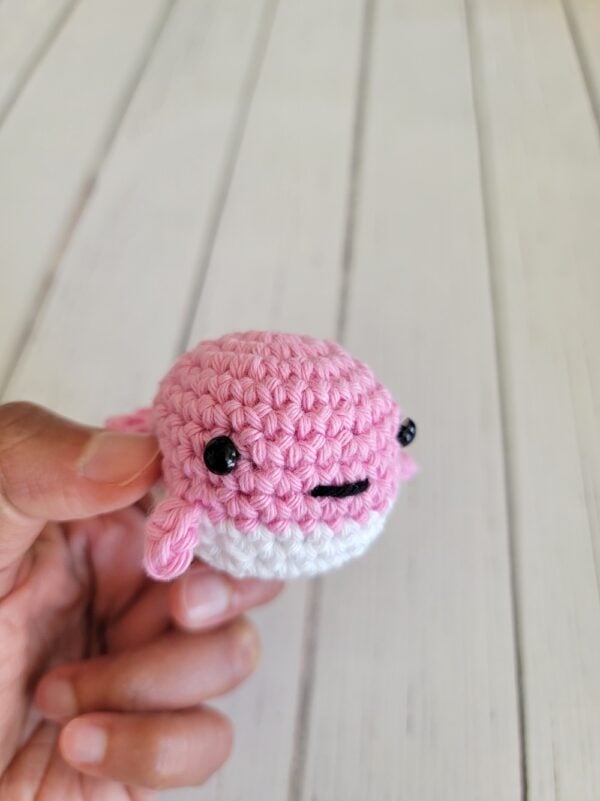
Use black yarn to add a mouth one row below the eyes. I made a straight line, but you can make it curved if you like.
Finishing
Use blue yarn to attach the key ring with chain to the top of the whale if you want to use it as a keychain.