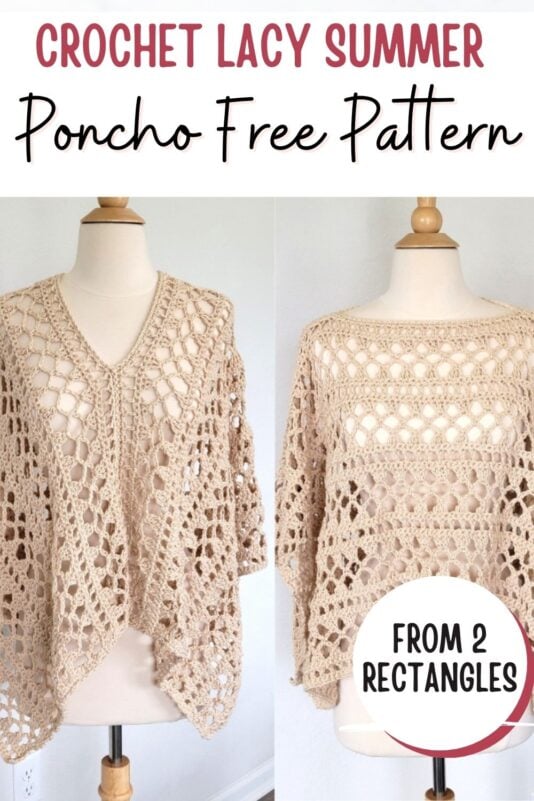
Crochet Lacy Summer Poncho, Midsummer Poncho
Create a lightweight and elegant crochet lacy summer poncho that’s perfect for warm weather layering. This beautiful Lacy Poncho Crochet Pattern Tutorial features airy stitches and an easy construction from 2 rectangles.
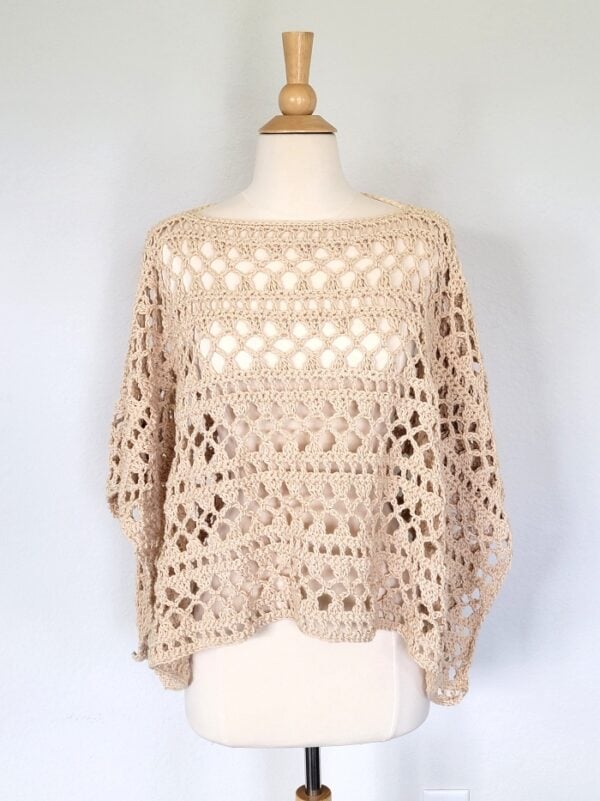
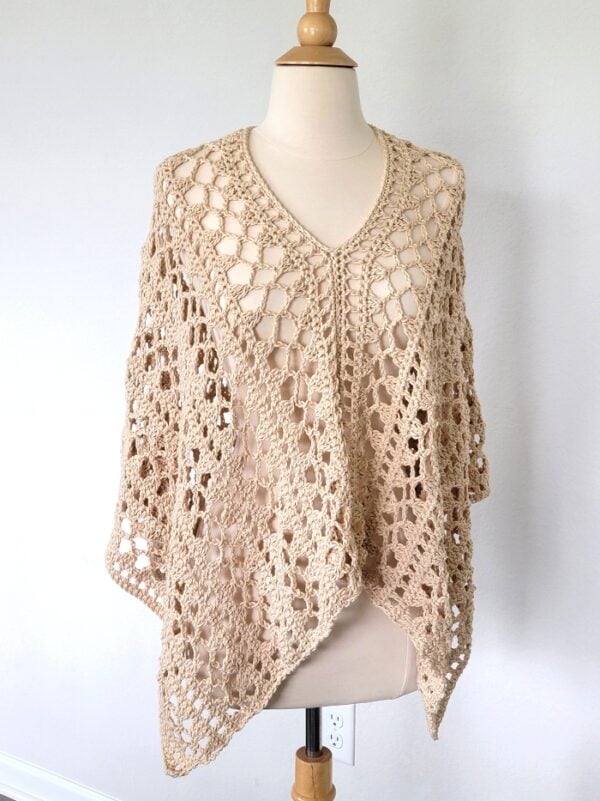
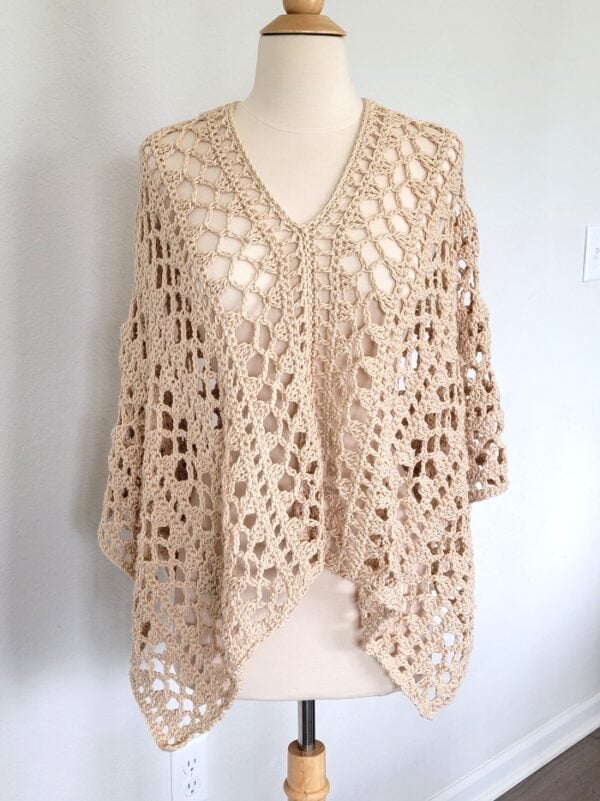
One of my favorite things about this poncho is that it can be worn two different ways. Wear it with the deep V-neck in the front for a classic flattering look, or turn it around for a beautiful boat neck style with a more relaxed feel. It’s like getting two looks in one!

The open stitch design gives it an airy feel that’s perfect for warm weather, while the relaxed drape makes it easy to throw on over a tank top, dress, or swimsuit. It’s the kind of effortless layering piece you’ll reach for all season long.
Whether you’re making it for yourself or as a handmade gift, this is a stylish and versatile project you’ll love adding to your wardrobe. Try it today!
Crochet Lacy Summer Poncho
Materials
1. Friends Cotton 8/8 100% Cotton from Hobbii in color Beige (05). It is marked DK (size 3) but is closer to a worsted-weight yarn (size 4) in thickness. You can substitute with any yarn that meets the gauge and has good drape.
2. H (5mm) and I (5.5mm) hooks
3. Locking stitch markers
4. Tapestry needle to weave in the ends.
Finished Size
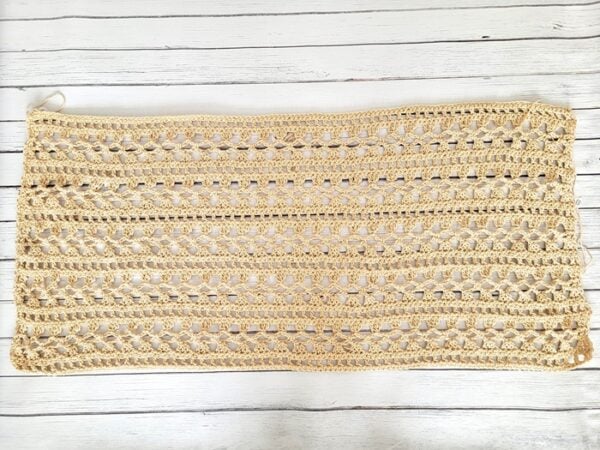
The poncho is made from 2 rectangles, and the dimensions of each rectangle, when laid flat, are as follows. When worn, the poncho will stretch by 6 to 10 inches in height, depending on the size you are making.
S/M: 38 inches long and 18 inches wide
L/XL/2XL: 42 inches long and 21.5 inches wide
3XL/4XL/5XL: 46 inches long and 25 inches wide
Yardage
S/M: 820 yards or 10 skeins
L/XL/2XL: 1060 yards or 13 skeins
3XL/4XL/5XL: 1310 yards or 16 skeins
Stitch Abbreviations
The pattern is written in US terms.
ch: chain
st: stitch
sc: single crochet
dc: double crochet
sk: skip
YO: yarn over
Stitch Explanations
Back bumps of the chain: The tiny loops behind your foundation chain as shown in the pic below.

dc2tog: *(YO, insert your hook into the next st and pull up a loop, YO and pull through 2 loops), repeat from * one more time, YO and pull through all the 3 loops on the hook.
dc3tog: *(YO, insert your hook into the next st and pull up a loop, YO and pull through 2 loops), repeat from * 2 more times, YO and pull through all the 4 loops on the hook.
Gauge
Pattern for gauge swatch
Ch 40 and follow the pattern from Rows 1 to 13 of the Front and Back Panel below. Then measure for gauge.
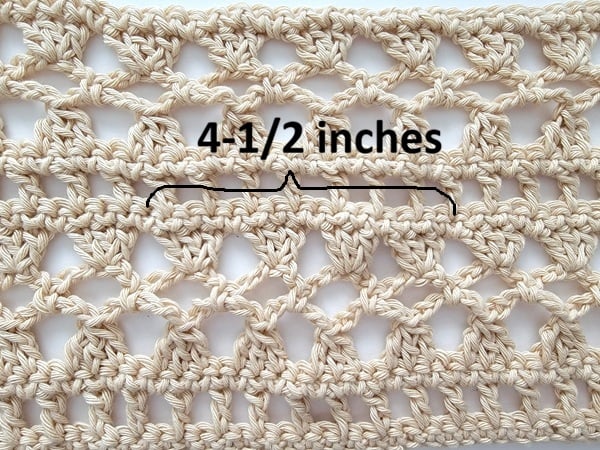
Gauge: Four 3 dc groups = 4-1/2 inches
Pattern Notes
1. Stitch counts for bigger sizes are given in the order S/M (L/XL/2XL, 3XL/4XL/5XL)
2. The poncho is made by joining 2 identical rectangles at the shoulders.
Front and Back Panel
With the bigger hook, ch 124 (140, 156)
Row 1: 1 sc in the back bump of the 2nd ch from the hook, 1 sc in back bump of each ch across to end, turn. (123, 139, 155)sc
Row 2: Switch to H(5mm) hook, Ch 3 (counts as a dc here and throughout), 1 dc in next st, *(ch 1, sk next st, 1 dc in next st), repeat from * to last st, 1 dc in last st, turn. 63 (71, 79) dc
Row 3: Ch 1 (does not count as a st here and throughout), 1 sc in first st, *( 1 sc in next st, 1 sc in next ch-1 space), repeat from * until a dc and beginning ch is left, 1 sc in next st, 1 sc on top of beg ch, turn. (123, 139, 155)sc
Row 4: Ch 3, dc2tog across next 2 sts, *(ch 5, sk next sc, dc3tog across next 3 sts), repeat from * to last 4 sts, ch 5, sk next sc, dc2tog across next 2 sts, 1 dc in last sc, turn. 31 (35, 39)clusters
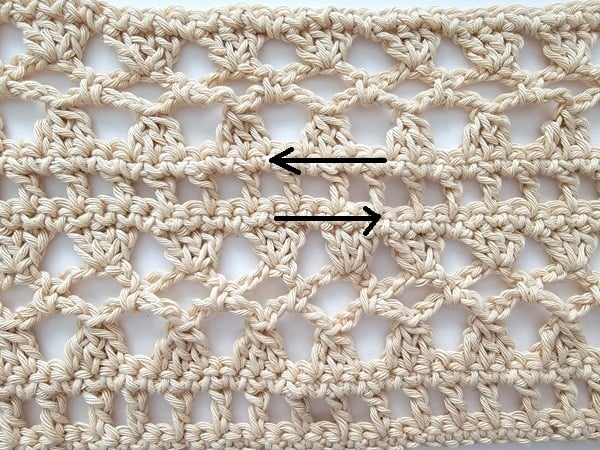
Note: In the next 2 rows, working the last dc into the beginning ch-2 rather than the beginning ch-3 will give a straighter edge.
Row 5: Ch 3, 1 dc on top of adjacent dc2tog, ch 2, 1 sc in next ch-5 space, *(ch 5, 1 sc in next ch-5 space), repeat from * and after sc in last ch-5 space, ch 2, 1 dc in next dc2tog, 1 dc on top of beg ch-2, turn. 29 (33, 37) ch-5 loops + 2 ch-2 loops
Row 6: Ch 3, 2 dc in next dc, *(ch 1, 3 dc in the third ch of next ch-5 loop), repeat from * and after working 3 dc in last ch-5 loop, ch 1, 2 dc in next dc right before the beginning ch, 1 dc on top of beg ch, turn. 31 (35, 39) dc groups
Row 7: Ch 1, 1 sc in first st, 1 sc in next 2 dc sts, *( 1 sc in next ch-1 space, 1 sc in next 3 dc), repeat from * to end. Your last sc will be on top of the beg ch. Turn. 123 (139, 155)sc
Repeat Rows 2 to 7 four (five, six) more times.
Next Row: Repeat Row 2 and fasten off. 63 (71, 79) dc
Last Row: Work on the same side you worked on your last row. This is to ensure that this row is worked on the Outside of the poncho for a cleaner-looking neck edge. Sl sl to the top of the beginning ch of the previous row, 1 sc in the beginning ch, and each st and ch-1 space across to the end. Place a marker on this side of the fabric to indicate the right side. 123 (139, 155)sc
Make one more rectangle following the same pattern and place the marker to indicate the right side.
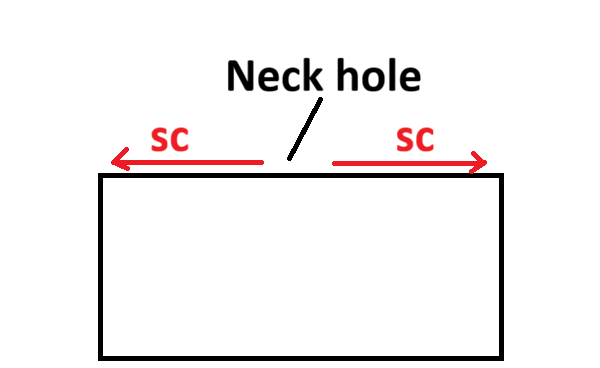
Joining the Front and Back
Place one rectangle with the marked right side facing up. Next, place the next rectangle on top of it with the marked side facing down.
Pin it for later: