Simple Crochet Baby Blanket Free Pattern, Pebble Path Blanket
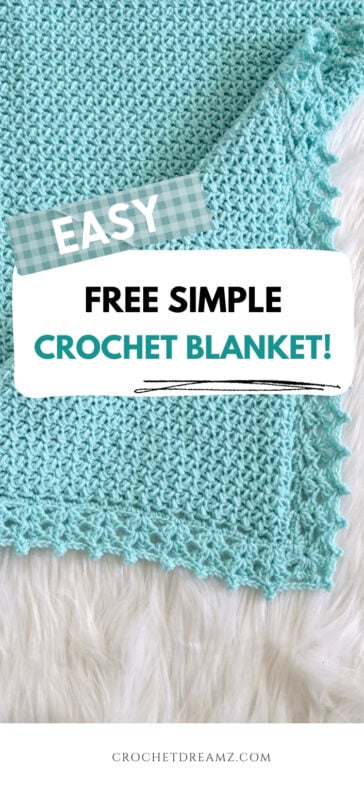
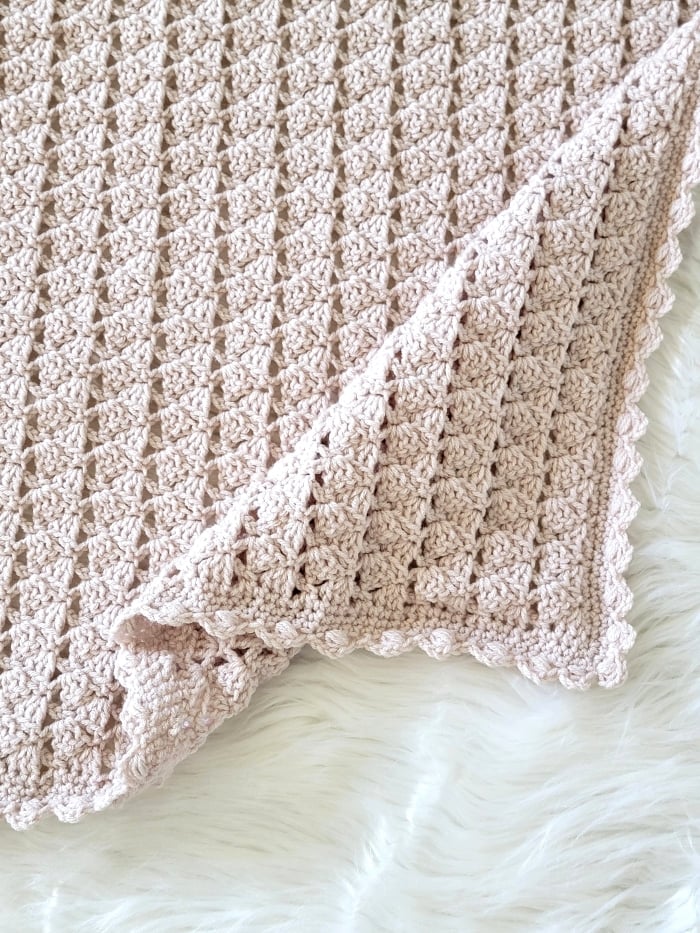
This simple crochet baby blanket free pattern uses a one-row repeat stitch for the main body and complements it with a gorgeous lacy border. It gives the blanket a delicate, vintage look that you will love.
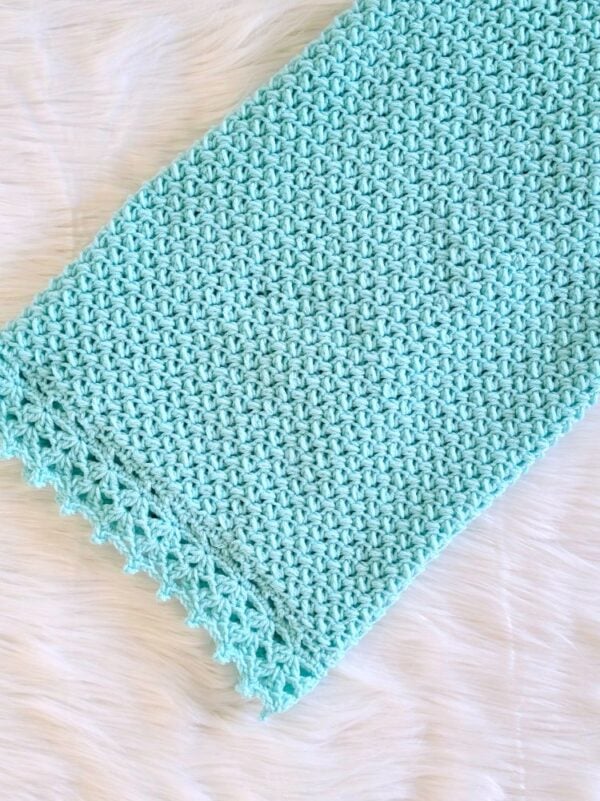
You can make it as a receiving blanket or adjust the size and make it bigger so it can grow with your baby. The pattern is written in a way that makes it very easy to adjust the size.
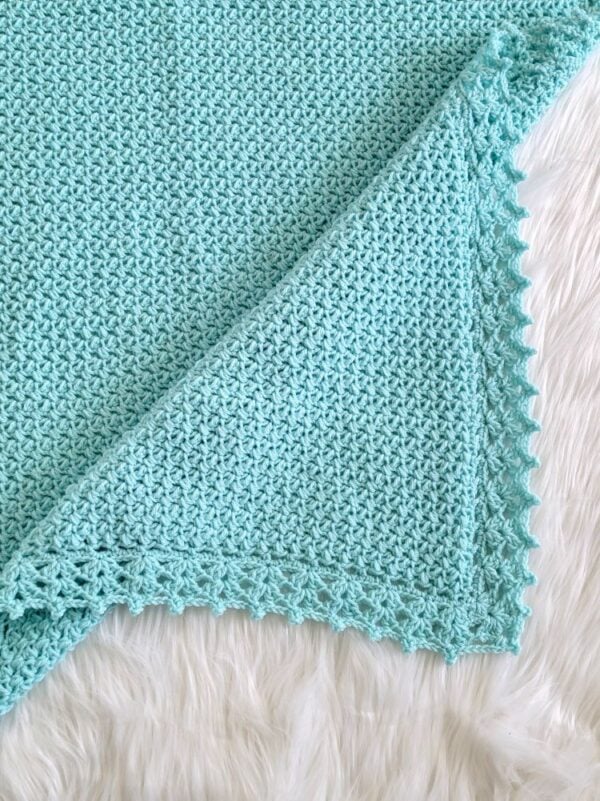
The yarn used for this pattern is Premier Basix DK, which comes in a range of colors and is very affordable. After JoAnn closed, Premier Yarns has become one of my go-to online stores for yarn.
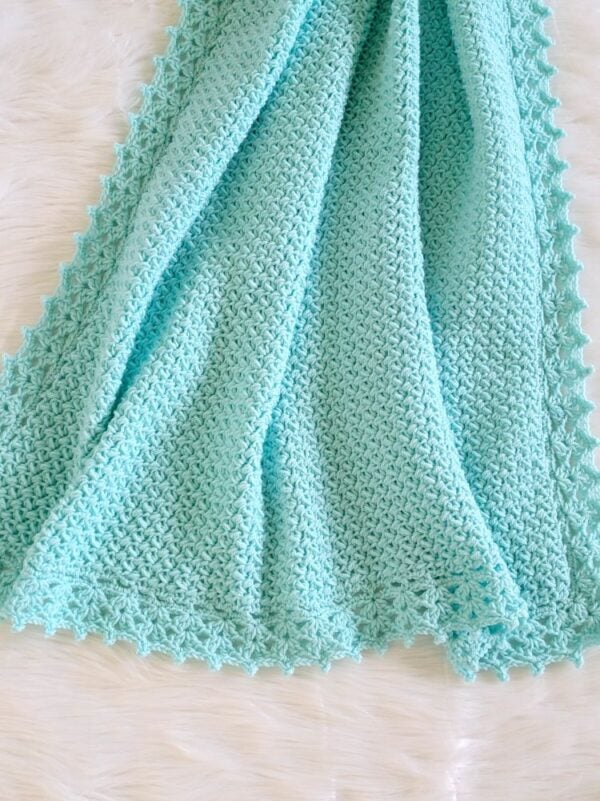
You can also use any DK weight yarn to make this simple baby blanket. Wrap it up with a book or a couple of baby toys, and it will make a lovely baby shower gift.
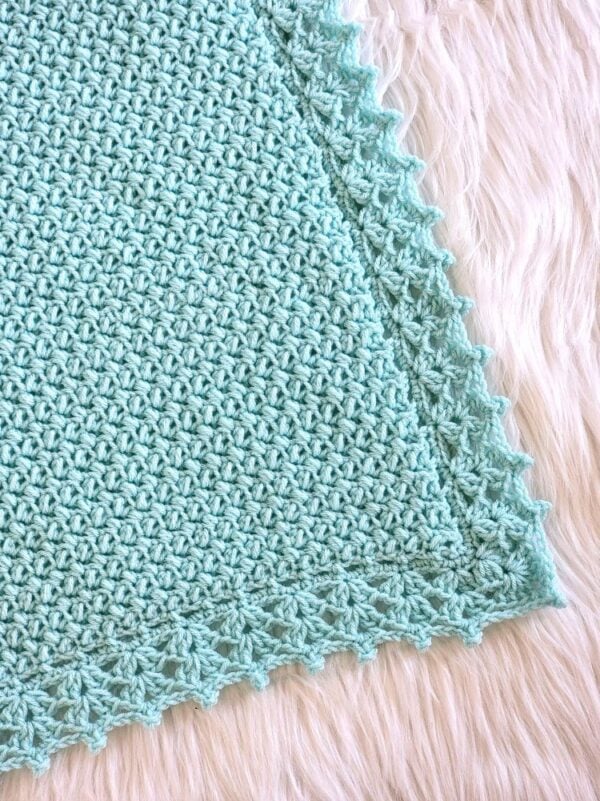
If you have never steam-blocked this yarn before, I recommend testing it on a small swatch first.
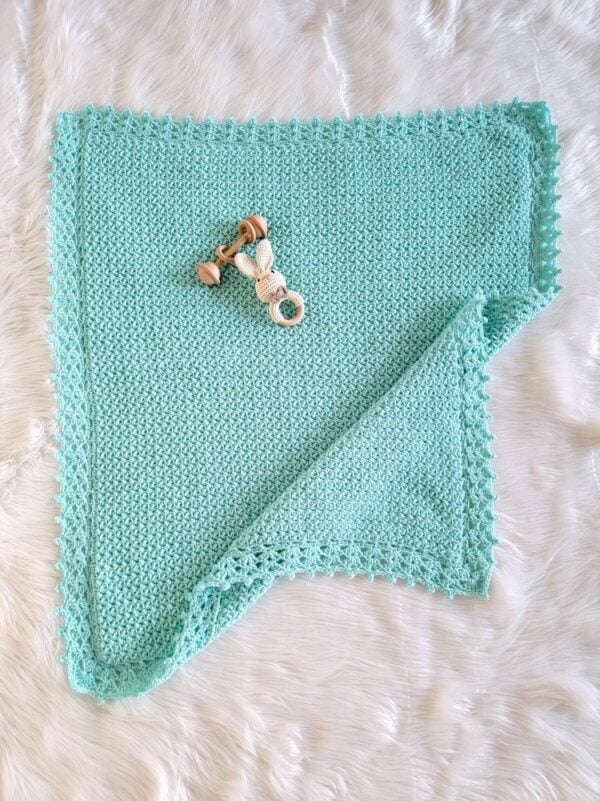
Simple Crochet Baby Blanket Free Pattern
Materials
1. Premier Basix DK yarn in color Mint
2. US size 7 (4.5mm) hook
3. Tapestry needle to weave in the ends
4. One locking stitch marker or safety pin
Finished Size
32″ wide and 35″ long after working the border. Before adding the border, the blanket was 28″ wide and 31″ long.
Yardage
4 skeins of Premier Basix DK or 1200 yards of any other yarn of the same gauge
Stitch Abbreviations
ch: chain
st: stitch
sc: single crochet
hdc: half double crochet
dc: double crochet
sk: skip
YO: yarn over
RS: Right side of the blanket
Gauge
7 cl alternating with 7 chs= 4 inches
Stitch Explanations
Cluster Stitch (cl): Pull up a loop in the st specified, YO, pull up a loop in the same st again, YO, and pull through all 4 loops on your hook. —–cl made
Shell: (2dc, ch 1, 2dc) in the same st
sc2tog (decrease): Pull up a loop in the next 2 sts, YO, and pull through all 3 loops on your hook to complete a sc2tog
More Crochet Baby Blankets:
Pattern
Chain 106. You can chain any multiple of 2+4 to make your blanket a different width.
Row 1: 1 cl in 4th ch from hook (2 skipped chains count as a hdc), *(ch 1, sk 1, 1 cl in next st), repeat from * to last 2 sts, ch1, sk 1, 1 hdc in last ch, turn. (51 clusters)
Note: Once you turn your work, cl is the stitch before the vertical loops and not the stitch right on top of the cl. The stitch on top of the cl is actually the ch you made in Row 1. See pic below.
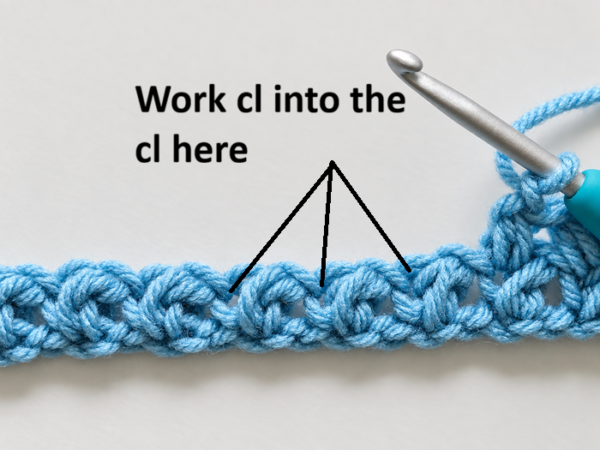
Row 2: Ch 3 (counts as a hdc+ch 1), cl in first cl, *(ch 1, cl in next cl), repeat from * and after cl in last cl, ch 1, 1 hdc on top of beginning ch-2, place a marker on this side of the fabric to indicate the RS, and turn. (51 clusters)
Repeat Row 2 until your blanket measures approximately 30-1/2 inches long, ending on the RS of the blanket where you placed the marker. Continue to make the border below without turning your work.
Border
Note
1. All the rounds of the border are worked on the RS of the blanket where you place the marker, without turning at the end of each round.
2. After Round 1, the edges will curl up a bit but it will even out once you work Round 2.
Round 1: ch 1 (does not count as a st), 1 sc in the same ch where you worked your last hdc, mark this sc, now work along the left edge of the blanket along the row ends, *(ch 2, sk about 1/2 an inch, 1 sc in next point), repeat from * until you end with a sc in the next corner.
*(ch 2, sk 2 loops of the foundation ch, 1 sc in next loop), repeat from * until you end with a sc in the next corner.
*(ch 2, sk about 1/2 an inch, 1 sc in next point), repeat from * until you end with a sc in the next corner (in the bottom ch of beginning ch-3).
ch 2, sk 2 chs, 1 sc in next st, *(ch 2, sk 2 sts, 1 sc in next st), repeat from * until 2 sts are left to the corner where you started this round, ch 2, sl st to first marked sc. If you do not have exactly 2 sts left before the corner, adjust as follows:
- If you have 1 stitch left before the corner (instead of the expected 2), simply skip 1 stitch and sl st to the first marked st.
- If you have 3 stitches left before the corner, unravel the last single crochet, work a sc2tog, chain 2, then skip the remaining 2 stitches and sl st to the first marked st.
Round 2: Ch 1 (does not count as a st), 2 sc in same st, mark the first sc, *(2 sc in next ch-2 space, 1 sc in next sc), repeat from * and after 2 sc in last ch-2 space of this edge, 3 sc in the corner st. Repeat from * 3 more times, and end last repeat with 2 sc in the last ch-2 space before the first marked st, work a sc in the same st as the marked st, sl st to the marked st.
Round 3: Ch 3 (counts as a dc), (2 dc, ch 1, 3dc) in same st as beginning ch-3, sk next 2 sts, * (shell in next st, sk next 4 sts), repeat from * and when you are near the corner, sk 2/3 sts, (3dc, ch 1, 3dc) in next corner st, sk next 2 sts. If you do not have exactly 2/3 stitches left before the corner, adjust as follows:
- If you only have 1 stitch before the corner, unravel the previous shell, sk 3 sts from the shell before it, and rework it; then sk 2 sts and work (3 dc, ch 1, 3 dc) in the corner.
- If you have 4 or 5 stitches left before the corner, unravel the previous 6 or 7 shells. Rework 2 of those shells by skipping 3 stitches instead of 4 before each shell. Choose 2 shells that are spaced apart rather than next to each other. For the remaining shells, continue to skip 4 stitches as usual. This adjustment should leave you with 2 or 3 stitches before the corner.
Repeat from * to work all around, sk last 2/3 sts, sl st to top of beginning ch-3.
Round 4: Sl st into next 2 dc, sl st into next ch-1 space, ch 3 (counts as a dc), (3 dc, ch 1, 4dc) in same ch-1 space, shell in ch-1 space of each shell across, working (4dc, ch 1, 4dc) in each corner ch-1 space. After shell in last shell, sl s to top of beginning ch-3.
Last Round: Sl st to next 3 dc, sl st to ch-1 space, ch 1, 3 hdc in ch-1 space, place a marker in first hdc, ch 3, sl st to top of the hdc from which ch-3 is emerging, 3 hdc in same ch-1 space, ch 3, *(2sc, ch 3, sl st to top of sc, 2sc) in next ch-1 space, ch 2, repeat from* until you work into the ch-1 space before the corner, ch 3, (3 hdc, ch 3, sl st to top of hdc, 3 hdc) in corner ch-1 space, ch 3. Repeat from * all around, and after working on top of the last shell, ch 3, sl st to the top of the first hdc, and fasten off.
More Crochet Baby Blanket Patterns:
Pin it for later here: