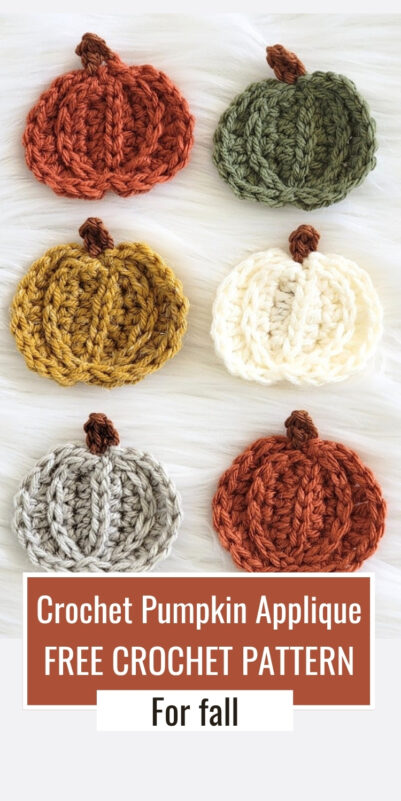
Crochet Pumpkin Applique Free Pattern
Are you looking for a cute crochet pumpkin applique to add a handmade touch to your fall projects? Then I have the best pumpkin crochet applique for you.
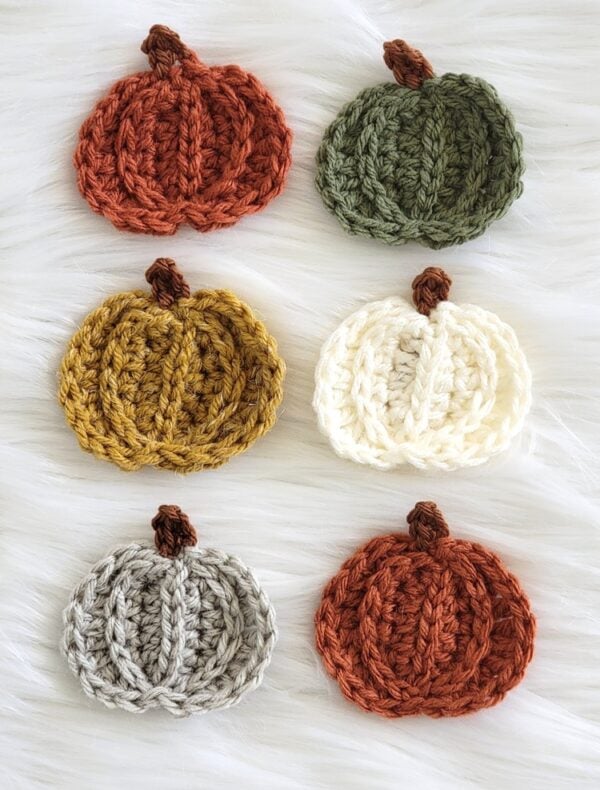
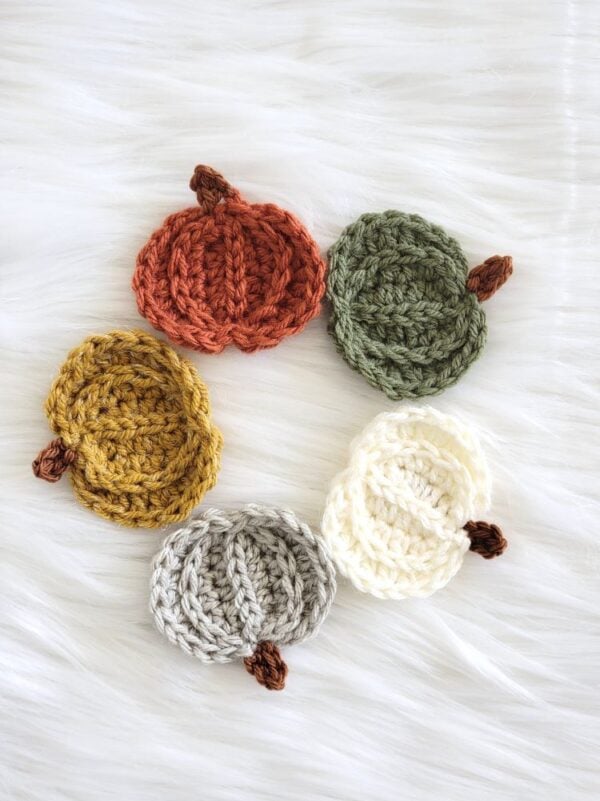
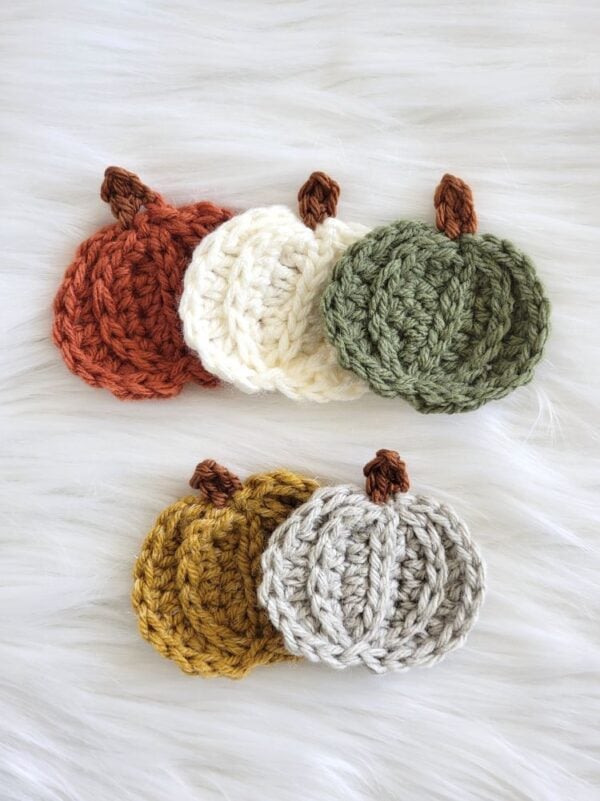
This crochet applique free pattern is perfect for decorating blankets, bags, hats, or other autumn projects.
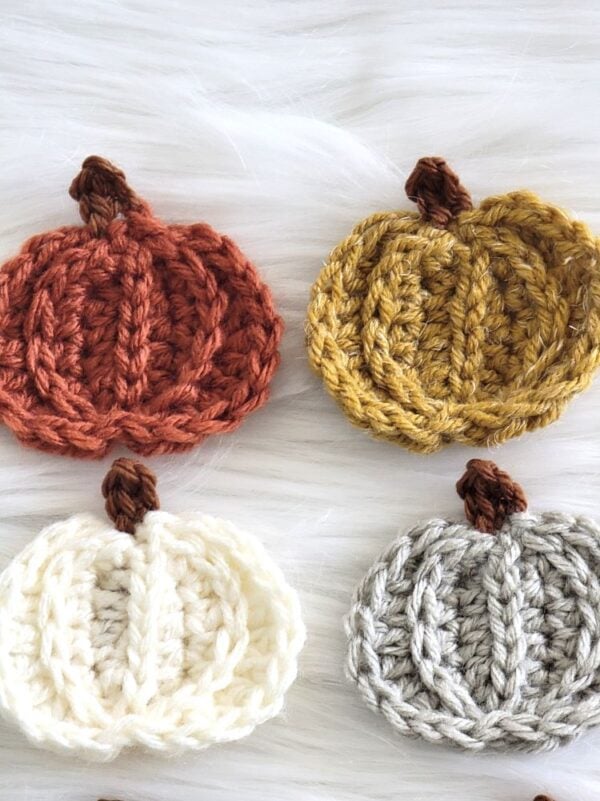
It is a great stashbuster project. So dig into your stash and whip up some cute pumpkin appliqués today!
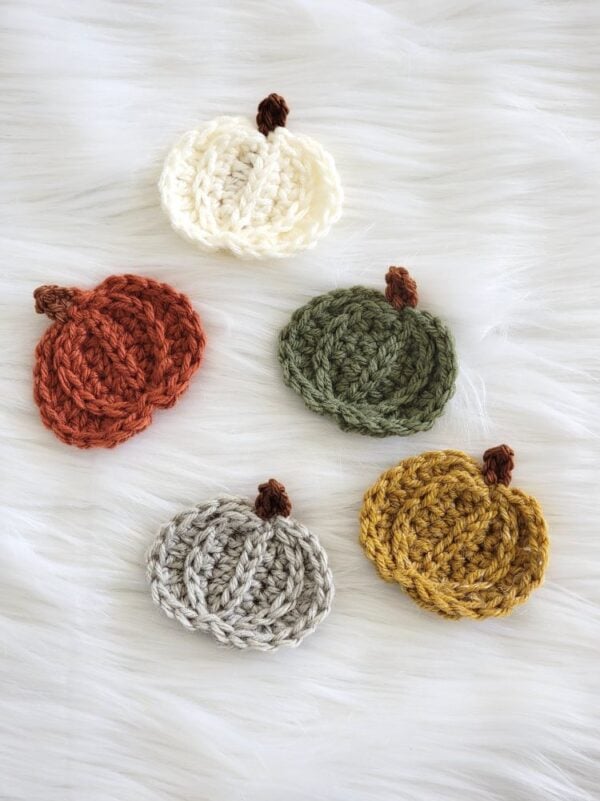
Crochet Pumpkin Applique
You can work from the free pattern below or purchase an ad-free PDF for $3.99 here. You will receive a download link once you make payment and click “Return to Merchant”
Pin it for later here.
Materials
1. Any size 4 medium worsted-weight yarn. Loops & Threads Impeccable yarn and Lion Brand Pound of Love yarn were used to make the pictured crochet pumpkin appliqués.
2. Small amounts of brown colored yarn for the stalk. I used Lion Brand Skein Tones yarn in color Truffle.
3. A H (5 mm) crochet hook
4. Tapestry needle to weave in the ends
Finished Size of Pumpkins
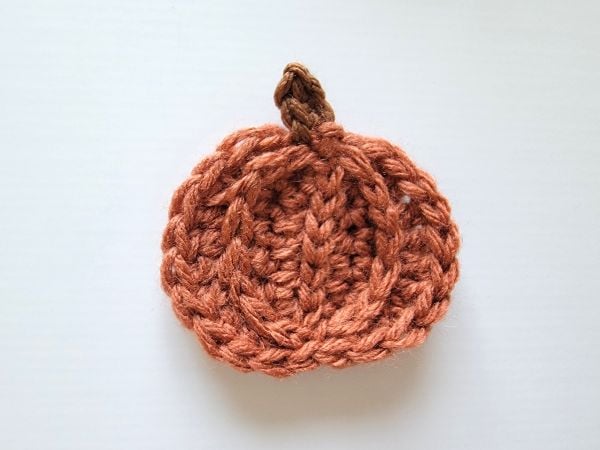
2-3/4″ wide and 2-1/8″ tall without the stalk
Yardage
10 yards for one pumpkin.
Stitch Abbreviations
The pattern is written in US terms.
ch: chain
sk: skip
sl st: slip st
sc: single crochet
hdc: half double crochet
dc: double crochet
YO– yarn over
Stitch Explanations
Back Loop only (BLO): Work inserting your hook or needle only under the loop that is at the back, as shown in the picture below.

Gauge
Exact gauge is not critical for this pattern. Keep tension normal.
Crochet Pattern
Crochet Pumpkin Applique Pattern
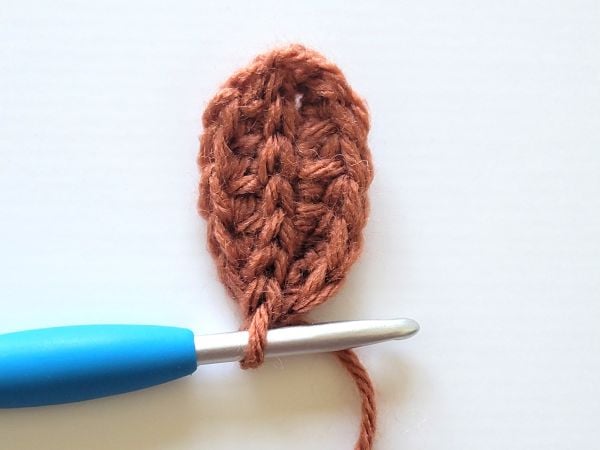
Round 1: With orange color yarn, ch 7, 2 sc in 2nd ch from hook, place a marker in the first sc you made, 1 hdc in next 4 chs, 2 sc in last ch, pivot to work along the opposite edge of the foundation chain into the free loops, working over the yarn tail, 1 hdc in next 5 free loops of the foundation ch, sl st to the next marked sc, ch 1, sl st along the middle line (see pic 1 above), and when you reach the other end, sl st to the st at that point. (13 sts)
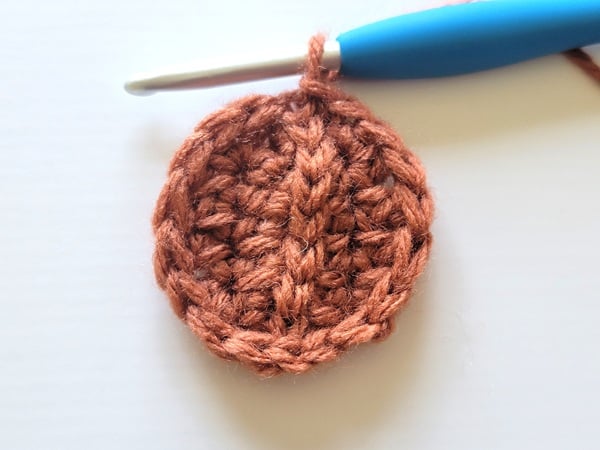
Round 2: Ch 1, 1 sc next st, place a marker in this st, 2 hdc in next st, 1 dc in next 2 sts, 1 hdc in next st, 1 sc in next, sl st to st on top of the ribbed line in the middle, ch 1 and work along the left edge, sl st into BLO of next st, 1 sc in next st, 1 hdc in next st, 1 dc in next 2 sts, 2 hdc in next st, 1 sc in next st (could be hidden), sl st to beginning ch-1 before the marked st, do not turn. See pic 2 above. (18 sts)
Note: All stitches of Round 3 are worked into the 3rd loop behind the sts unless otherwise specified. The third loop behind a hdc st is easy to identify. It is a horizontal loop behind the hdc. The third loop behind a dc will be a tiny loop stuck behind the st to the left. For sc or sl sts, they do not have a 3rd loop, so work into any loop you find behind the sts, no matter how low it is. If needed, lift the third loops with your tapestry needle before inserting your hook into it.
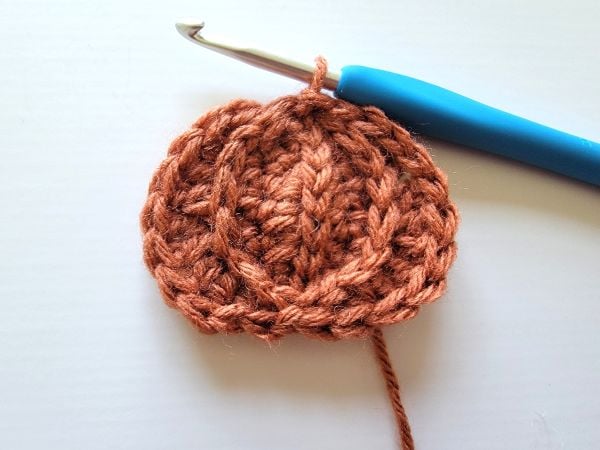
Round 3: Sl st into any loop behind next st (could be very low), 1 hdc in 3rd loop of next st, 2 hdc in 3rd loop of next st, 1 dc in in 3rd loop of next st, 2 dc in 3rd loop of next 2 sts, 1 hdc in 3rd loop of next 2 sts, sl st to the base of the ribbed line in the middle, sk next st, 1 hdc in in 3rd loop of next 2 sts, 2 dc in in 3rd loop of next 2 sts, 1 dc in 3rd loop of next st, 2 hdc in 3rd loop of next st, 1 hdc in in 3rd loop of next st, ch 1, sl st to top of the ribbed line in the middle, pull brown yarn through the loop on your hook, pull orange yarn to tighten the orange loop, cut it and tie the brown and orange tails together to lock it in. See pic 3 above. (24 sts)
Pumpkin Stalk Pattern
Ch 3 with the brown yarn joined, 1 sc in 2nd ch and next ch, sl st to the next st on the pumpkin. Cut and pull the yarn tail out. Use a yarn needle to pull the tail behind your pumpkin. See pic 4 below.
Finishing
Weave in any tails left along the back of the crochet pumpkin appliqué. Take care to go through the top layer of fibers so the tails don’t show on the right side of the pumpkin.
Pin it for later: