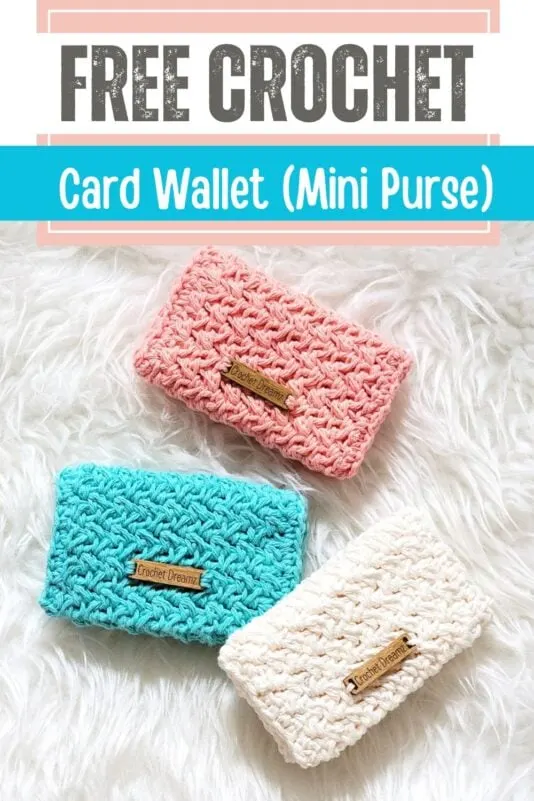
Crochet Card Holder
This crochet credit card holder is great for a quick gift or to sell at craft fairs.


The crochet card holder free pattern has a beginner friendly construction. It is made by folding a simple rectangle.

Try using up your leftover cotton yarn to make this crochet card holder pattern. I am sure you will love it!


Disclosure: This post might contain affiliate links and I might earn a small commission if you purchase using my links. You can read my full Disclosure Policy here.
Crochet Card Holder
Materials
1. Worsted weight cotton yarn. I used Lily Sugar ‘n Cream cotton yarn in colors Coral Rose, Seabreeze, and Soft Ecru.
2. A 4.5mm crochet hook
3. Sew-on magnetic snaps for closure
4. An optional branded tag in wood or faux leather for embellishment. I got mine made from Etsy.
5. Locking stitch markers or safety pins. I love the ones from Clover as they are easy to open and close and don’t snag.
6. Regular sewing needle and thread for sewing the magnetic snaps.
Finished Size of the Crochet Card Holder
3.25″ tall and 4.75″ wide
Yardage
Approximately 80 yards
Stitch Abbreviations
ch- chain
sc-single crochet
sk-skip
YO- yarn over
Stitch Explanations
SHD(single half double decrease)-Insert your hook into the next st and pull up a loop, YO, and pull up a loop in the next st, YO, and pull through all the 4 loops on your hook to complete your SHD. It is like single crochet and a half double crochet stitch joined together.
Gauge
Start working on the crochet card holder and if after a few rows it is not wide enough to fit your credit cards, switch to a bigger or smaller hook.
Crochet Credit Card Holder Free Pattern
Note: There is a video at the end of this post.
Ch 19. You can chain any multiple of 2+1 to adjust the width of the crochet card holder.
Row 1: SHD across 3rd and 4th ch from hook, *(ch 1, SHD over next 2 ch), repeat from * across to last ch, ch 1, 1 sc in last ch, turn. See Stitch Explanation above to learn how to work an SHD. ——8 SHD
Row 2: Ch 2 (does not count as a st here and throughout), SHD over first sc and next ch-1 space, *(ch 1, SHD over next SHD, and next ch-1 space), repeat from * across to last SHD, ch 1, sk last SHD, sc on top of skipped ch 2, turn. ——8 SHD
Row 3: Ch 2, SHD over first sc and next ch-1 space, *(ch 1, SHD over next SHD, and next ch-1 space), repeat from * across to last SHD, ch 1, sk last SHD, sc on top of beginning ch 2, turn. ——8 SHD
Keep repeating row 3 until your rectangle measures 11-1/4″. DO NOT fasten off.
Border for Crochet Credit Card Holder

Ch 1 at the corner, 1 sc in the same corner, and distribute sc sts along the side of the rectangle. You will be working across row edges and won’t have stitches along this edge. So, distribute your sc as evenly as possible until you reach the next corner.
(sc, ch 1, sc)in the corner, 1 sc into each free loop of the foundation chain side until you reach the next corner.
(sc, ch 1, sc)in the corner, distribute sc sts along the right side until you reach the top corner, (sc, ch 1, sc)in the corner, 1 sc in each st and ch-1 space of the last row until you reach the corner where you started, 1 sc in the corner, ch 1, sl st to the first sc. Cut the yarn and pull it out. Thread a yarn needle and insert it under the next st and insert it back into the sl st to make an invisible join.
Weave in any tails left now.

Place 2 credit cards inside, and fold the crochet card holder from both sides to make sure they fit. The side of the fabric where you worked your sc border is the Right Side and should be visible outside.

Position the branded tag on top and sew it down with yarn. Weave in the remaining tails inside the wallet. It will be harder once you fold and sew the holder.

Now is also the best time to sew and attach the bottom half of the magnetic snap with a regular needle and thread.
Shaping the Crochet Card Holder

Lock the 2 folds in position using 4 locking stitch markers or safety pins. Using a moderately loose running stitch sew the fold down. Do not start from the very corner of the fold, leave 1 st at the folded corner for a better look. When you reach the middle where there is only a single layer, continue making a running stitch through the edge of the single layer until you reach the fold on the other side, continue sewing the fold and stop one stitch before the corner.
Bring the beginning and ending tails inside the pocket, make a knot, and weave in the ends.

Repeat with the other folded edge. Now you can attach the top half of the magnetic snap to match the bottom half you attached earlier. Putting one hand inside the pocket will make it easier to sew the snap. You card wallet is now ready!
Pin it for later: